Slapchop: The Art on How to Paint an ARMY of Minis Really Fast
Hacks to Save a Lot of Time in Miniature Painting
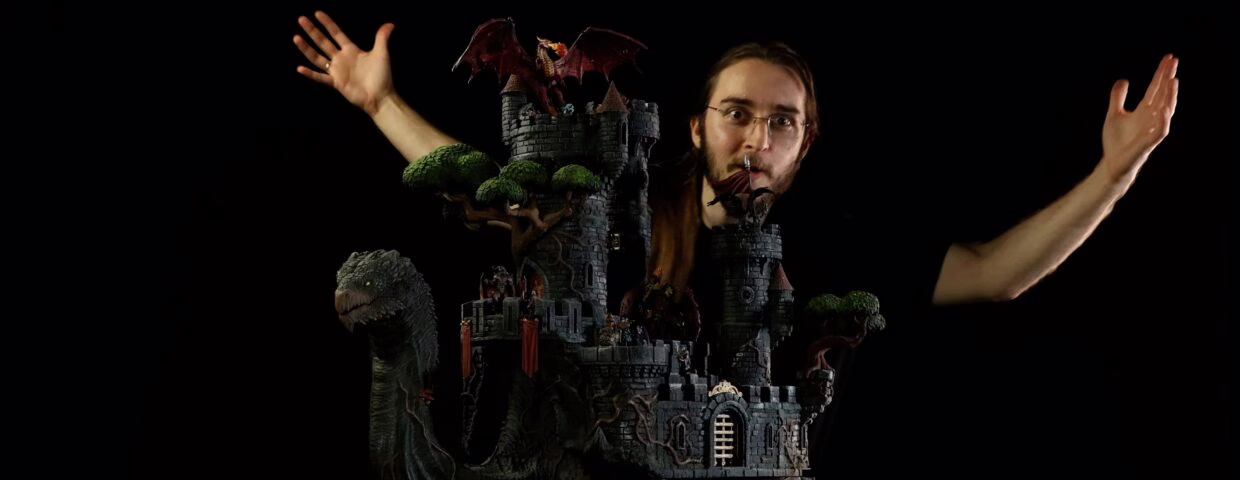
Want to see slapchop in action? We’ve got a full video tutorial to walk you through the process, from a black prime to a finished mini.
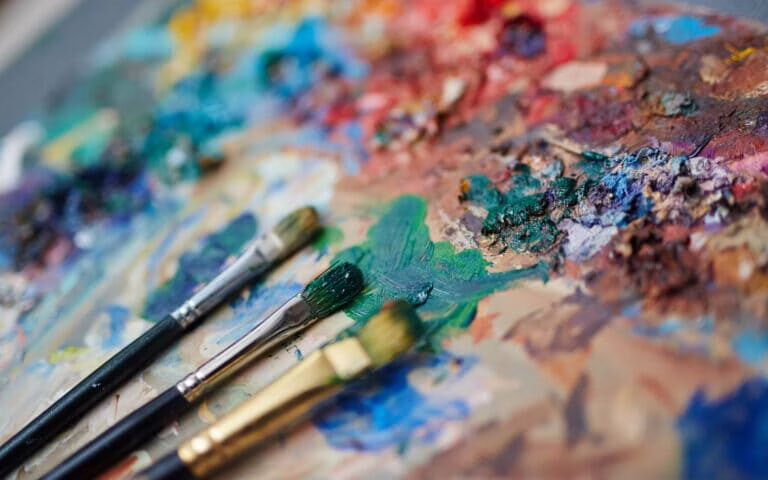
Painting an entire army of minis can be daunting, but with the right approach and some planning, you can do it in no time. We call this technique “Slapchop.”
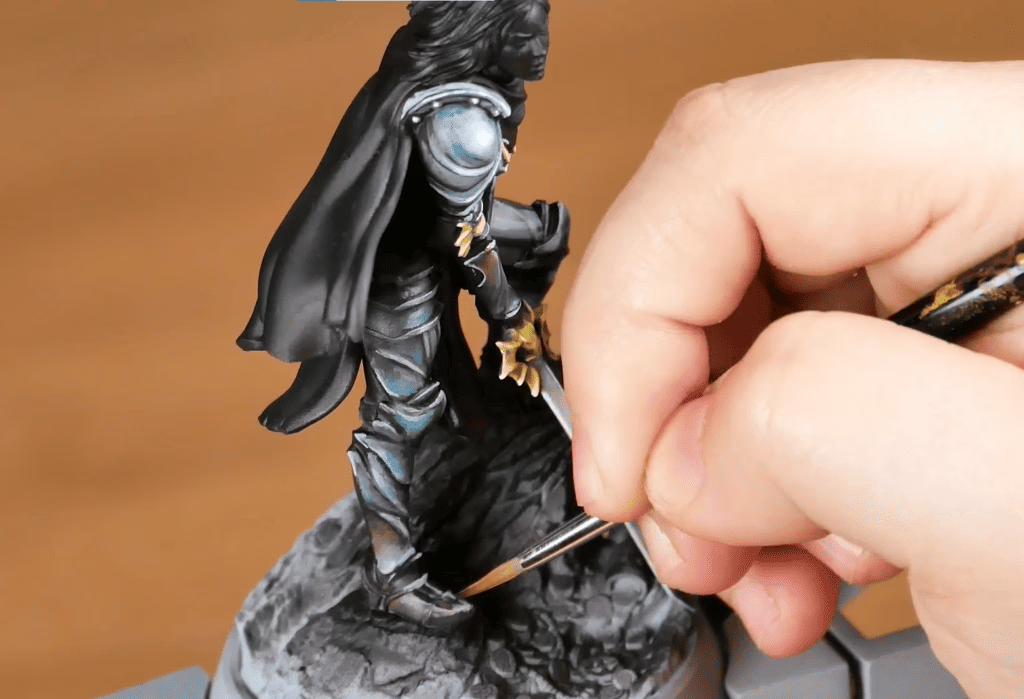
Preparing yourself is mandatory, because there are a lot of painting hacks you can – and should – use to your advantage. Get ready for some mess, wear your best “armor” to the task, and let’s get it on! However, if this is the first mini you’re painting, you might want to check out this beginner’s guide.
Prepare your area, choose a nice playlist or even a podcast you enjoy, check all your materials, and prepare a list of each step you’re gonna do. I’m a list lover, what can I say? But they really help you control your workflow AND your time. Make sure you have all the supplies and envision the result you want to have at the end of the process.
But what is Slapchop, really? Let’s break it down.
Slapchop is a new, catchy name for a classic art technique called “Grisaille” (or “underpainting”).
The entire process is based on a simple idea: do all of your highlighting before you add any color.
Instead of spending hours meticulously layering and blending colors, you create a perfect, pre-highlighted, black-and-white version of the miniature first. Then, you finish the job with new “transparent” paints (like Citadel’s Contrast or Army Painter’s Speedpaints) that let all that hard work show through.
It’s fast. It’s easy. And it looks surprisingly good.
Why Use This Method?
Speed. Consistency. Confidence.
It uses simple, repeatable steps; your 1st skeleton will look just like your 50th. It’s the perfect way for a beginner to get results that look “advanced” without the frustration of learning complex blending.
What You’ll Need
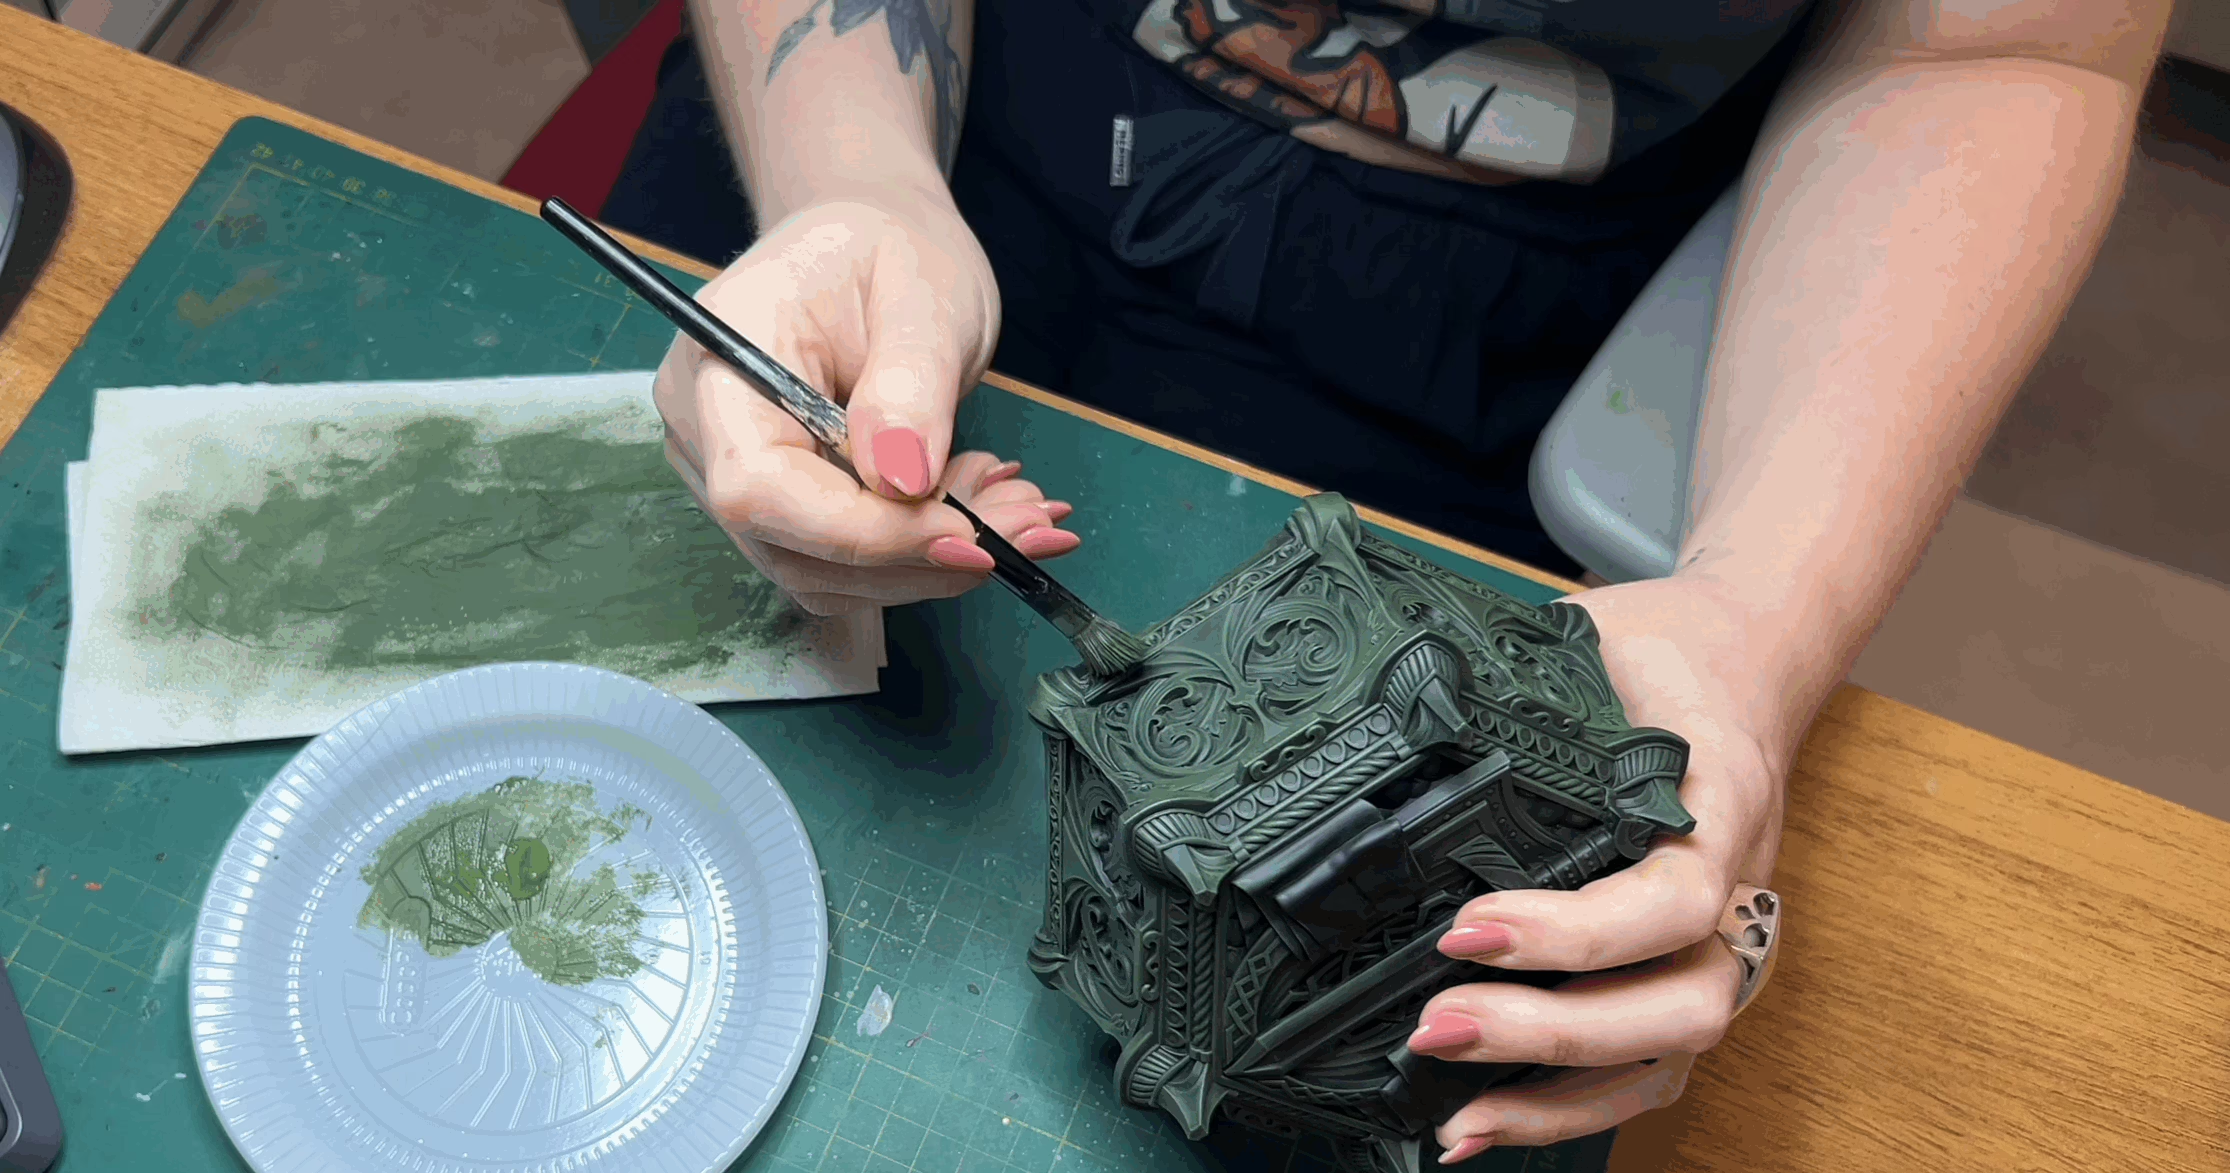
- You don’t need fancy tools. In fact, cheap craft paint can be better for this.
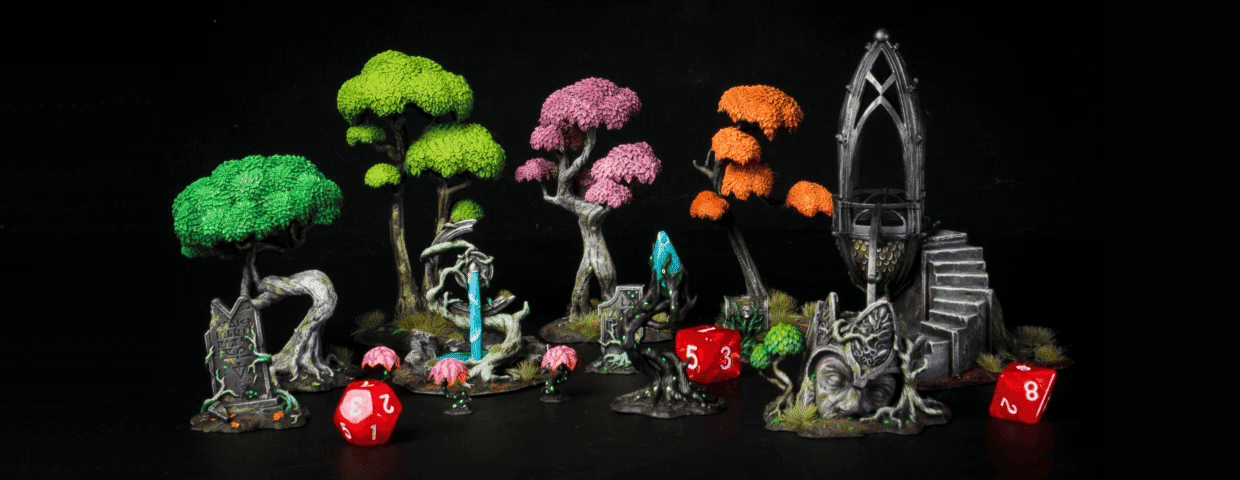
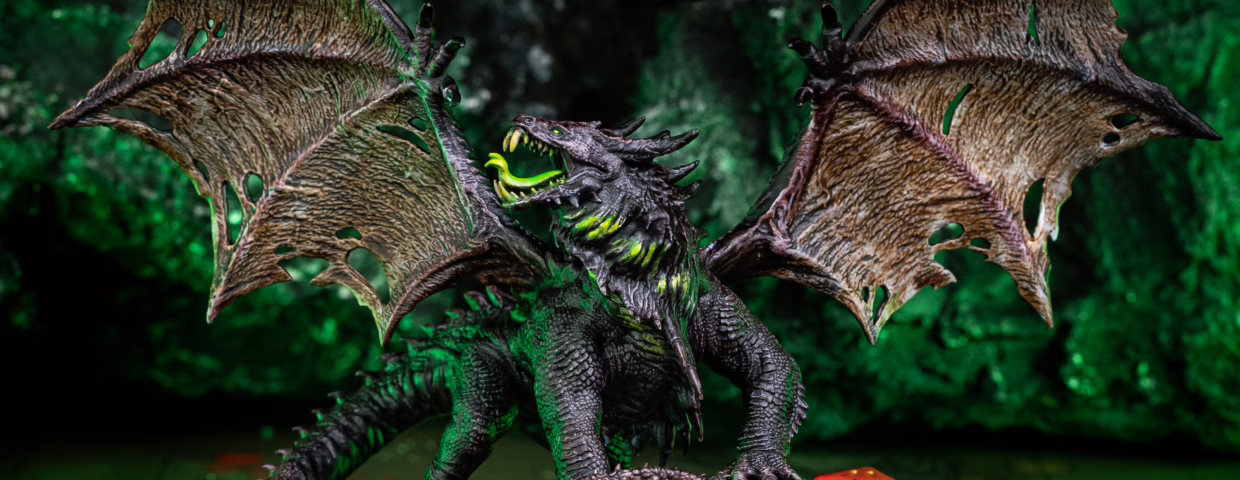
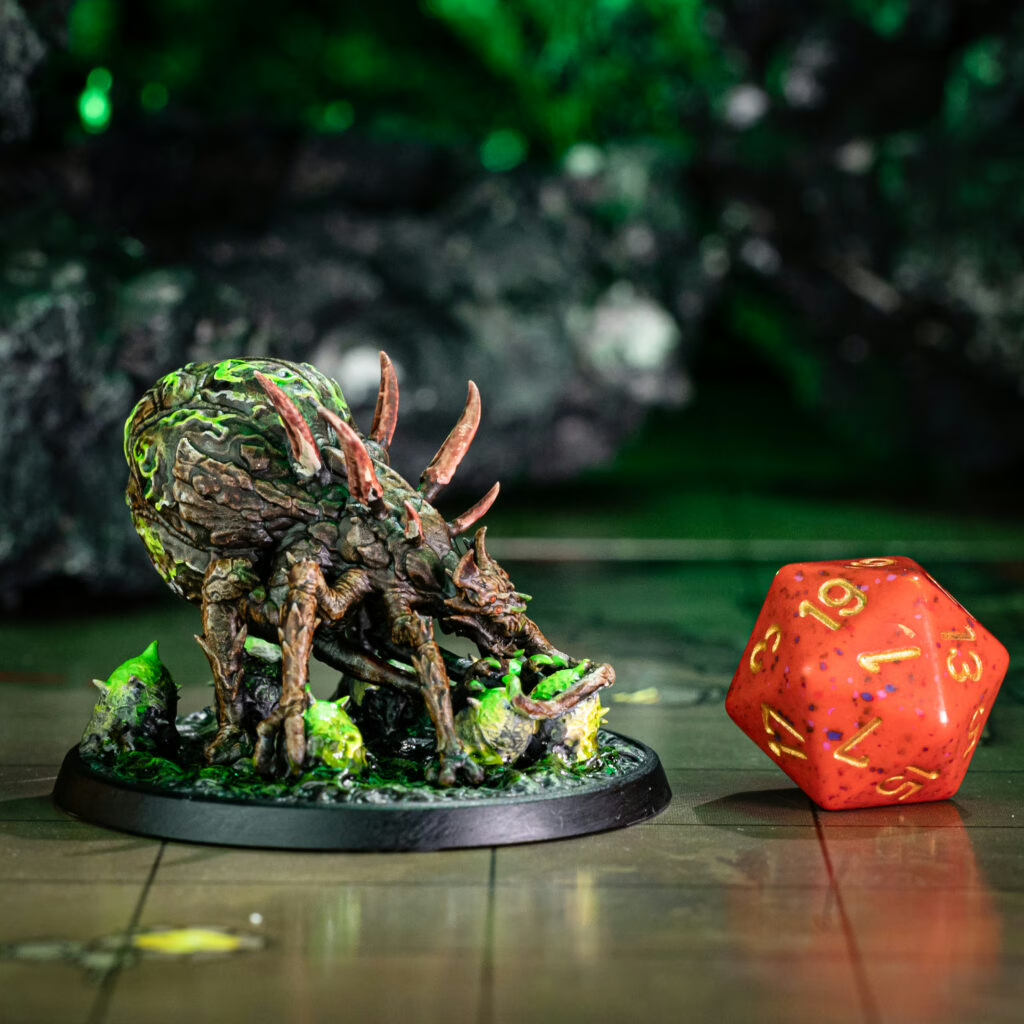
- A miniature (preferably one with lots of texture, like fur, chainmail, or scales) – And you know you can find the best STLs on Loot’s website!
- Black Primer (A matte rattle can is perfect)
- A Mid-Tone Grey Paint (Any cheap craft acrylic is fine)
- A Bright White Paint (Again, cheap craft paint is great)
- A Stiff Drybrush (Don’t use your good sable brush! A cheap makeup brush is a perfect choice)
- Transparent Paints (Citadel Contrast, Army Painter Speedpaint, Vallejo Xpress, etc.)
The 4-Step “Slapchop” Method
Here’s the simple, step-by-step process.
Step 1: The Black Base
Prime your entire miniature black. Make sure you get a solid, matte, all-over coat. This black layer will serve as all your deepest shadows, so you’re already 50% done with shading! Let it dry. Completely.
Step 2: The “Chop” (Heavy Grey Drybrush)
Now, take your stiff drybrush, get a good amount of your grey paint on it, and then wipe most of it off on a paper towel.
You want the brush to be “dry,” but not that dry. Now, vigorously brush all over the model. You’ll be “heavy-handed” here (this is the “Chop”). This first pass will pick out all the mid-tones and raised surfaces, leaving the black in the deep recesses. It will look messy, but trust the process.
Step 3: The “Slap” (Light White Drybrush)
Let the grey layer dry. Now, clean your drybrush (or use a different one) and grab your white paint.
This time, wipe almost all the paint off the brush until it’s just a dusty whisper of white. Now, gently brush the model, aiming only for the uppermost, “final” highlights—the top of the head, the shoulders, the knuckles, the tip of the nose. This is the “Slap.”
You should now have a perfect black-and-white “grayscale” mini.
Step 4: The “Magic” (Add Your Colors)
Here’s the fun part. Grab your Contrast, Speedpaint, or other transparent paint. Don’t thin it. Just apply one coat of your chosen color directly over the top.
The transparent paint will pool in the recesses (making them darker) and tint the highlights (making them brighter). The black, grey, and white undercoat does all the work for you. The color simply “stains” the highlights you’ve already created.
Pro-Tips & Common Mistakes
This technique is easy, but there are a few traps to avoid.
My mini looks ‘chalky’!”
This happens if your drybrushing is too aggressive or the paint is too thick. Make sure your brush is truly “dry,” and build the highlight up in 2-3 passes instead of one thick, chalky one.
My mini looks ‘ghostly’ or ‘dirty’!”
This is the most common mistake. You used too much white. The white “Slap” (Step 3) is only for the highest, sharpest points. 90% of the model should still be black and grey. If you highlight everything, the final color will have no shadows to contrast with.
Final Thoughts: A Tool in Your Toolbox
Slapchop won’t replace traditional layering for your “hero” models. But it’s an incredible tool to have.
It’s the best method ever invented for getting through a “pile of shame” and turning a grey army into a fully painted, tabletop-ready force. It’s fun, it’s fast, and the results will give you the confidence to get even more models on the table.
And remember, if you are looking for awesome RPG miniatures, Loot Studios can help you tell your story through highly detailed miniatures, statues, terrains and props. Choose your favorite bundle from our previous releases or sign up for Fantasy or Sci-Fi to receive at least one new bundle every month. You can also check out some tips on our YouTube Channel.