What is and How to Use Stippling
How to Create Realistic Textures With a Busted Old Brush
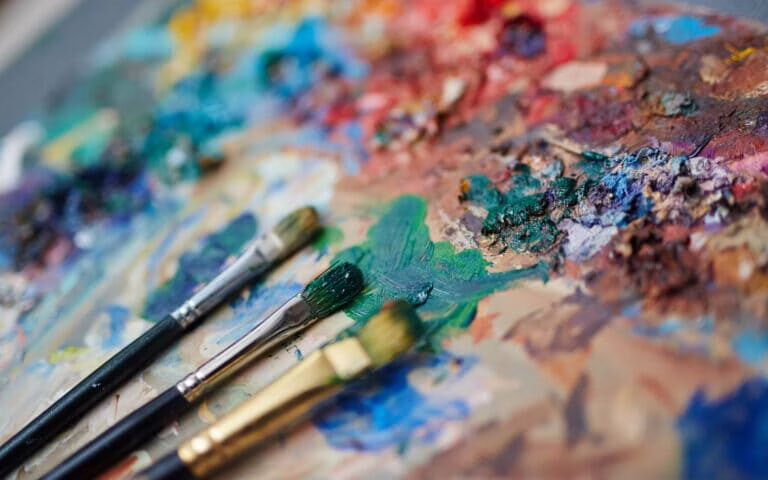
Stippling is a foundational technique for adding the illusion of texture to miniatures. It’s a simple, brilliant trick. It consists of building up irregular layers of speckles by applying thousands of tiny dots, scratches, or random marks with a brush. It’s also a fantastic way to play with color variation and add a natural, aged look.
But how does it work?
Think about the pixels on your TV screen. Up close, they’re just tiny red, green, and blue dots. But when you step back, your brain interprets those dots to form a bigger, complex picture. Stippling is how artists mimic that effect. It’s a technique that helps differentiate materials, like the rough grain of leather from the smooth weave of cloth, and it can create stunningly realistic textures.
This is a simple guide to enhance your painting and get you started with this highly experimental (and fun) technique.

Materials: The Right Tools for the Job
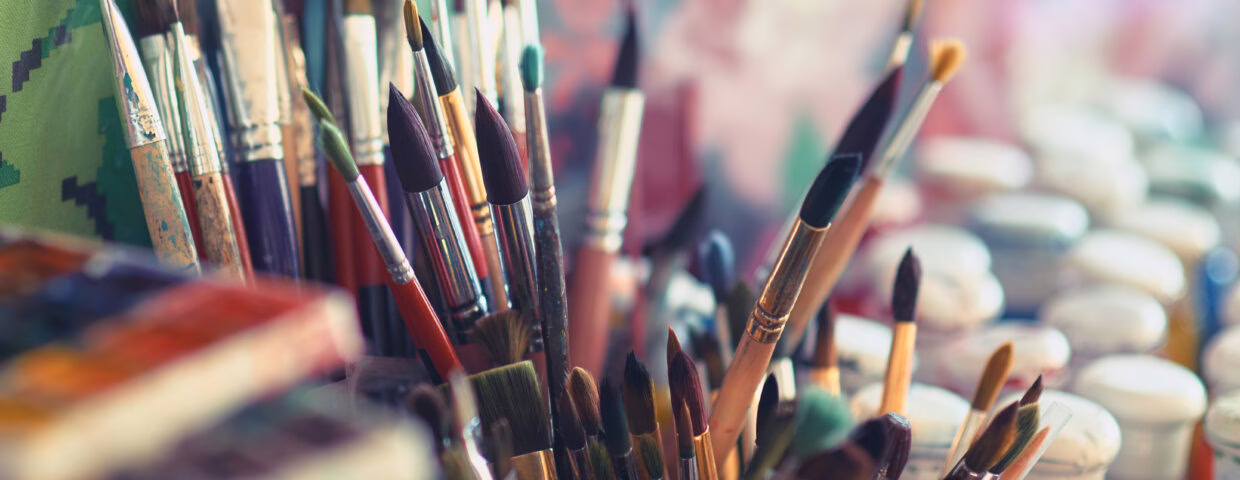
There are no specific brands required. In fact, stippling is famous for destroying brushes.
Brushes: Do not use your expensive Kolinsky sable. Use a synthetic one. My personal go-to is an old busted brush—one whose bristles are already splayed and ruined from drybrushing. Don’t throw it away! It’s now your perfect stippling brush.
WANNA KNOW MORE ABOUT BRUSHES? CLICK HERE!
The Master Tool (A Sponge): Even better, don’t use a brush at all. The true master tool for random texture is a piece of sponge. Grab a bit of foam from a miniature blister pack, hold it with a pair of tweezers, and use that to dab on the paint. It creates a random, natural pattern that no brush can replicate.
Palette: A dry palette is best for texturing. If you’re attempting the “Pointillist Gradient”, you will want a wet palette.
How to Do It: From Theory to Practice
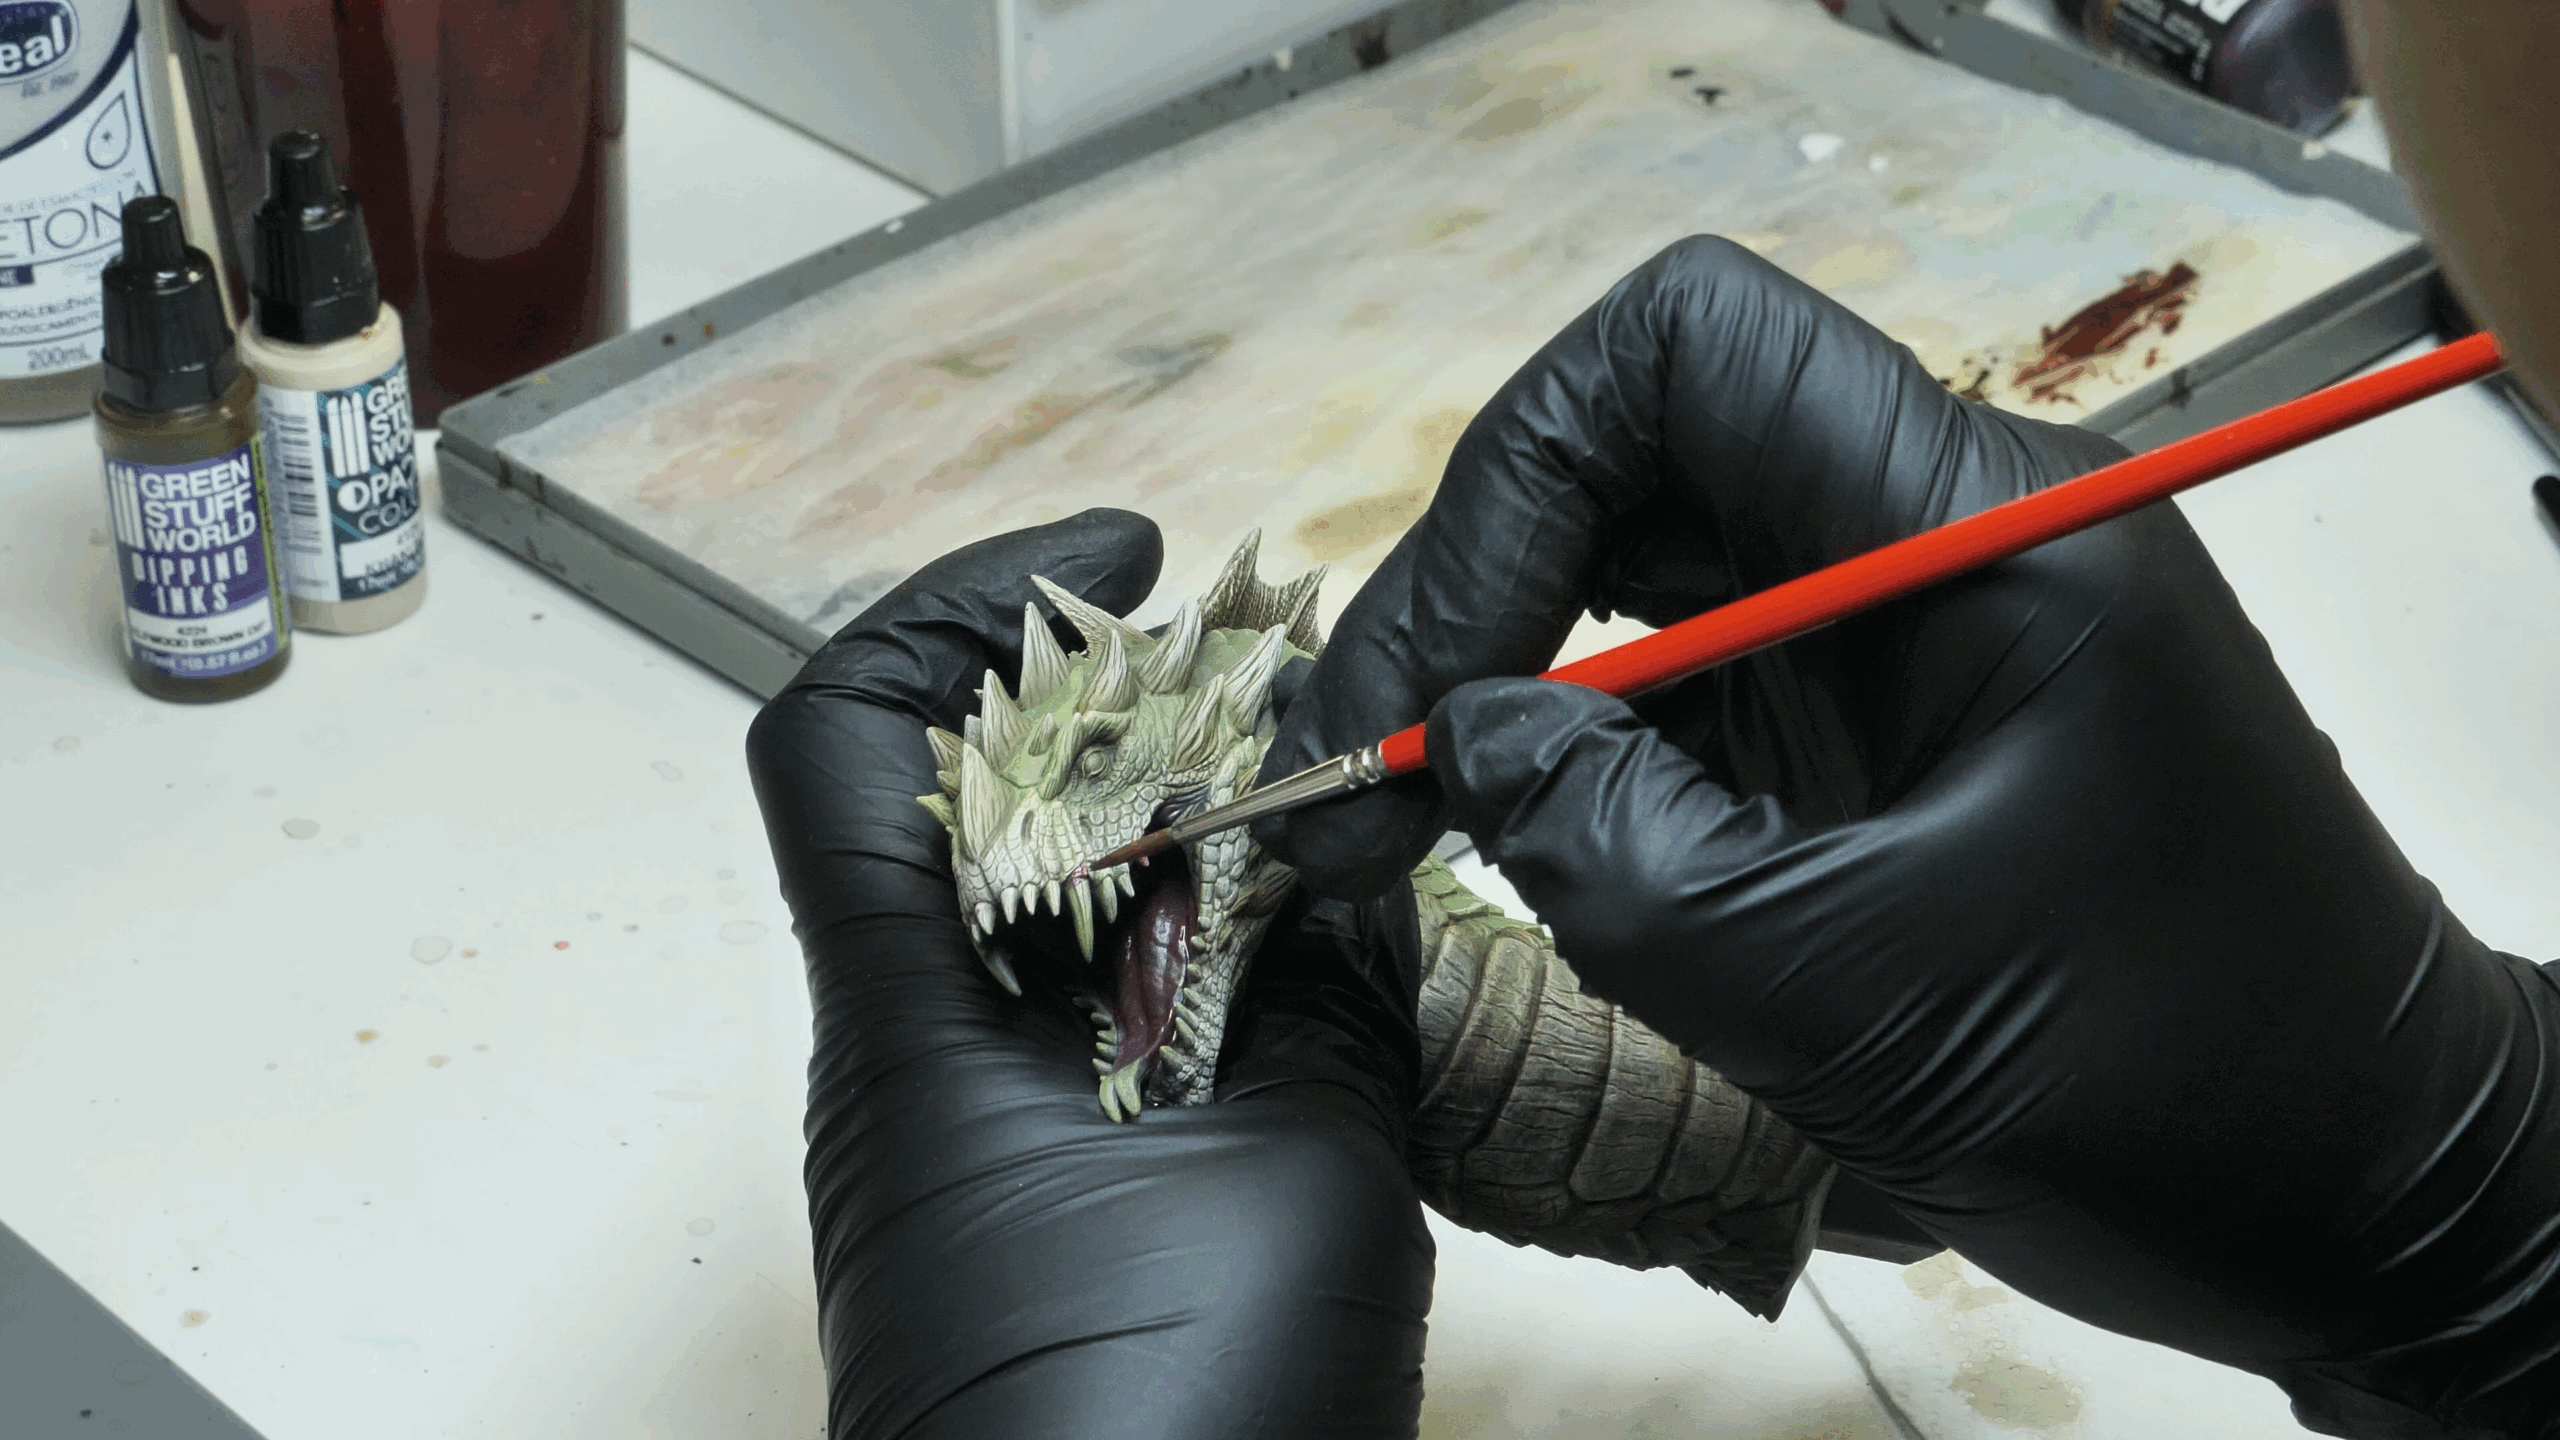
The stippling process should come after your base coat. The goal is to build up layers of texture, so we will work from dark to light. The key is to have very little paint on your brush or sponge. You want to create a speckle, not a splat.
Here are three practical, step-by-step recipes:
Recipe 1: Worn-Out Leather
This is how you get that perfect “aged look” for pouches, straps, and boots.
Base Coat: Paint the area a solid dark brown (e.g., Rhinox Hide).
Shadows: Apply a black or dark brown wash (e.g., Nuln Oil or Agrax Earthshade) to get into the crevices. Let it dry completely.
Texture 1 (Stipple): Take a mid-tone brown (e.g., Mournfang Brown) on your sponge or busted brush. Dab most of it off on a paper towel. Gently tap and poke the raised areas and center of the straps.
Texture 2 (Stipple): Take a light tan (e.g., Karak Stone) and use a fine detail brush. Stipple only on the sharpest edges and corners where the leather would be most worn. This mimics scratches.
Harmonize: If the contrast is too stark, take a thin brown wash and glaze it over the entire area to tie all the stippled layers together.
Recipe 2: Rough Stone or Concrete
Base Coat: Paint the area a dark, cold grey.
Texture 1 (Sponge): Take a mid-tone grey on your sponge. Dab most of it off. Gently tap all over the stone, but let some of the dark grey show through.
Texture 2 (Sponge): Take a light grey or off-white. Dab even more paint off. Tap very lightly, focusing on the edges and raised areas of the stone.
Pro-Tip (Storytelling): Add a third color. Stipple a tiny bit of dark green or brown near the base of the stone to create the illusion of moss or dirt.
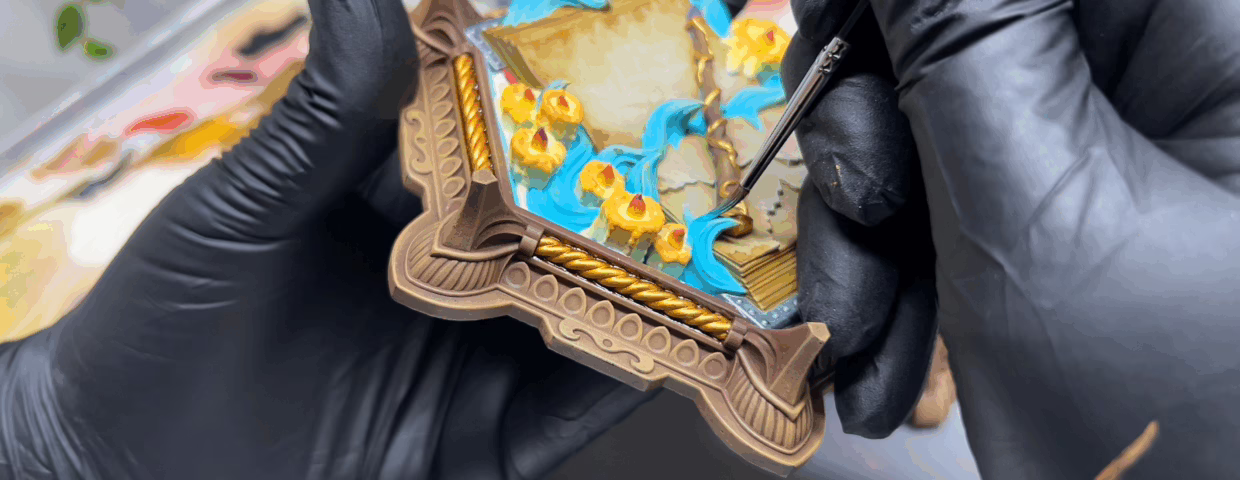
Recipe 3: The “Pointillist” Gradient (A Stylistic Choice)
This is for creating a stylistic, “painterly” gradient, often used for magical effects or vibrant cloth. This is where you must use a wet palette.
Base Coat: Paint the area with your shadow color.
Stipple Mid-Tone: Take your mid-tone on a fine brush. Begin stippling where the mid-tone will be, spacing the dots far apart as they get closer to the shadow. The dots should get closer and closer together until they are a solid mass in the center.
Stipple Highlight: Take your highlight color. Stipple inside the mid-tone area, using the same “dots-getting-closer” technique. The result is a beautiful, artistic effect.
Final Thoughts: The Pros & Cons
Pros: Stippling is much faster than glazing for creating texture. A sponge can texture a stone wall in 30 seconds. It’s great for irregular patterns, aged materials, skin freckles, or even fur. It’s also simple, and it’s quick to fix mistakes—if you stipple too much, just glaze over it with your base color and start again.
Cons: Stippling is notorious for damaging brushes (use a sponge instead). It is also not the best at creating smooth gradients. It can be very time-consuming if used for this purpose—this is where glazing is superior in both speed and smoothness.
Undoubtedly, this technique adds an extra touch of life to your miniatures. Knowing how to play with these elements is what separates beginners from professionals. Now that you’ve mastered stippling, why not check out our guide on How to Paint Water to step further into becoming a material master?
Loot Studios can help you paint highly detailed minis, statues, and props. Choose your favorite bundle from our previous releases or sign up for Fantasy or Sci-Fi to receive a new bundle every month. You can also check out some tips on our YouTube Channel.