How We Engineer Loot’s Miniatures to Print, Paint, and Play Better
Picture this: a session that was supposed to happen on Saturday is finally happening Tuesday night because, well, life is like that. You get the miniature off the build plate and grab the flush cutters, start carefully working through the forest of sprues, and then snap. The blade is gone. Desk, floor, or the carpet dimension. Gone.
You stare at the sword stub and think: Am I just bad at this? Here’s the thing. You’re probably not.
A lot of the frustration in this hobby, like broken parts, muddy details, support scars that take FOREVER to sand, paint jobs that look great in your head and messy in real life, can come from a bunch of different places.
Printer settings. Resin calibration. Support removal. Overcuring. Cleanup technique.
But there’s another factor that often gets overlooked: how the miniature was designed and prepared for printing in the first place. I know that might sound surprising, but stick with me.
Premium miniatures and average STL files can look identical in a product render. But inside the geometry, they’re completely different objects. One was sculpted. The other was engineered.
That gap doesn’t show up in the preview image, but it shows up at every stage of actually making the thing: printing, cleanup, assembly, priming, painting, and surviving contact with a game table.
If you’ve already read our article about The Difference Between Average and Premium Miniatures, think of this as going behind the curtain, into the actual decisions that separate a frustrating miniature from one that feels like it wants to be printed and painted.
The Work That Happens After the Sculpt Is “Done”
There’s a version of miniature design that ends at the render. A sculptor builds something stunning in ZBrush (a 3D modeling software), exports the STL, and uploads it. Job done. Well… kinda.
Keep something in mind: a digital object and a printable, paintable, survivable physical miniature are not the same thing.
At Loot, every model goes through a second layer of work that most hobbyists never see or even think about. After the 3D sculpt is finished, a technical lead reviews it, checking mesh thickness, identifying fragile areas, and flagging anything that could cause problems during printing, cleanup, or painting.
This technical review runs in parallel with an artistic review. Two different people, looking at the same model through two completely different lenses, at every stage of production. That dual-feedback loop catches problems before they reach your build plate.
The logic behind it all is simple: a premium miniature should never, and I mean, NEVER, fight you during the hobby process. Not on the build plate or during cleanup. And most definitely not at the painting station.
At every stage, it should feel like it was made for a real person to actually finish, not just to look cool in a thumbnail. You see, that’s a different design goal entirely. And it produces a completely different experience.
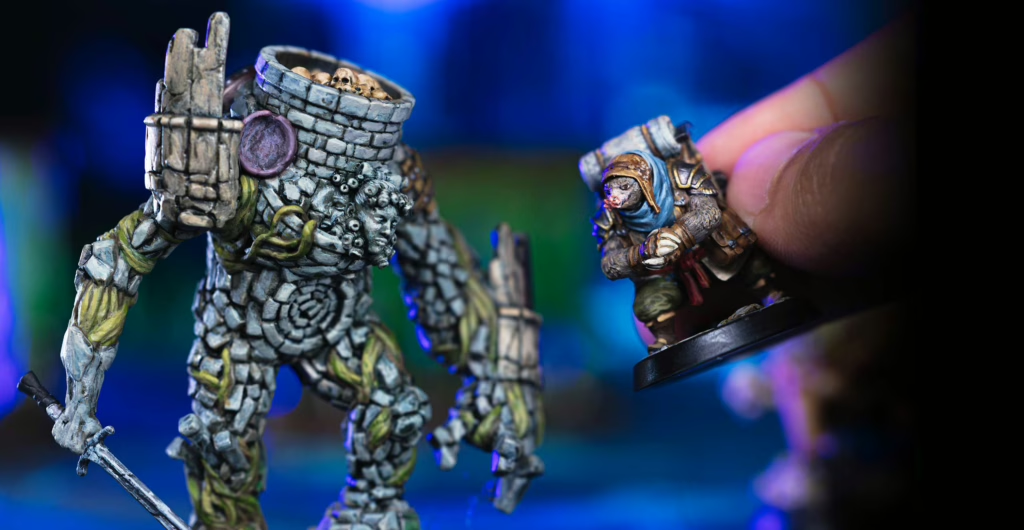
Why That Sword Keeps Snapping (And Why It’s Not Your Fault)
Let’s talk about thin mesh, because this is where most mysterious failures actually come from. (D20 in perception here)
In digital sculpting, a sword blade can be paper-thin and look razor-sharp on screen, making you shout “WOW”. In resin, that same blade is a translucent sliver. It either doesn’t print at all, coming out warped and semi-transparent, or it survives the print only to snap the moment you look at it the wrong way (true story, sadly…).
Thin geometry doesn’t just fail during support removal. It can (and probably will) deform in the IPA wash, crack during curing, or just quietly break weeks later when a temperature change finally wins.
This is why, at a 32mm scale, you simply cannot maintain realistic proportions.
Really? The Model?
CALM DOWN AND HEAR ME OUT!
I know it might sound preposterous, but a sword blade that looks correctly sized digitally has no physical mass in resin. So we must thicken it.
An arrow gets wider. A flowing cape is gently anchored to the body to prevent it from becoming a free-hanging sliver that flexes and snaps.
We call this process “stylization”, deliberately stylizing proportions so the model survives the physical world while still looking great and hyper-realistic.
Now, here’s something most people don’t know: the 32mm and 75mm versions of the same miniature are very different files. Not “slightly tweaked.” Actually different.
You can’t just scale a 32mm model up to 75mm and call it a day. If you did, everything we optimized for the small version would look a little awkward at 2.35x its original size.
Thick swords, wide arrows, capes deliberately touching the body for stability… all of it becomes comically exaggerated. So artists produce both versions simultaneously, each with its own set of thickness optimizations.
The 32mm needs those “exaggerated” proportions to survive small-scale printing. The 75mm, on the other hand, can afford to be more naturalistic.

Why We Sometimes Ask Artists to Remove Things
You might be wondering: “Why would you do that?” Well, let’s say we got carried away a few times and made this “too many details” mistake.
Our community told us. Directly.
“Your miniatures are too hard to paint. Too many elements. I can’t get into the recesses.”
That feedback stings, but it’s among the most valuable input we’ve ever received, and it changed how we approach model optimization.
More detail is not always better, believe it or not. There’s a real difference between detail density and readability, and a miniature that sacrifices one for the other becomes genuinely harder to paint well.
Think about how paint actually behaves on a miniature. Washes settle into recesses, and shadows appear almost like magic. Drybrushing, on the other hand, catches the raised edges and boom: highlights (if you want to know a little more about painting, check here)!
Both techniques only work when the surface is clear. But load a model with competing accessories, tiny buckles, a monocle, a rolled parchment, four belts, and a decorative chain… and everything falls apart. The wash doesn’t know where to settle. It just pools into uniform mud. The drybrush catches everything. Nothing reads.
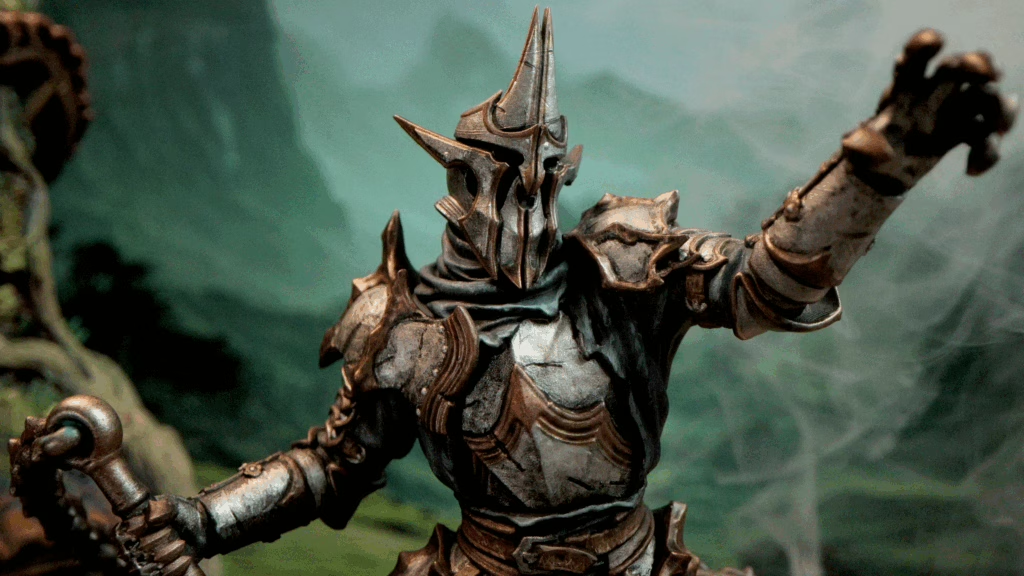
What Did Loot Do?
We clean our models. Actively.
If a 32mm miniature arrives from the artist, packed with extra accessories, we ask them to remove the extras. The monocle goes. The extra belts go. The parchment scroll that looks incredible at digital zoom and becomes an unpaintable blob at real scale — gone.
Of course, we maintain the most important details, but everything that is an ‘extra’, well… it has to go.”
That simplification is a deliberate premium decision. It takes more discipline than just piling things on. And when it’s done right, something clicks at the painting table. The primer captures the high points. The wash settles into the transitions. Suddenly, you’re looking at a paint job that makes you think, “Wait, did I actually do that?”
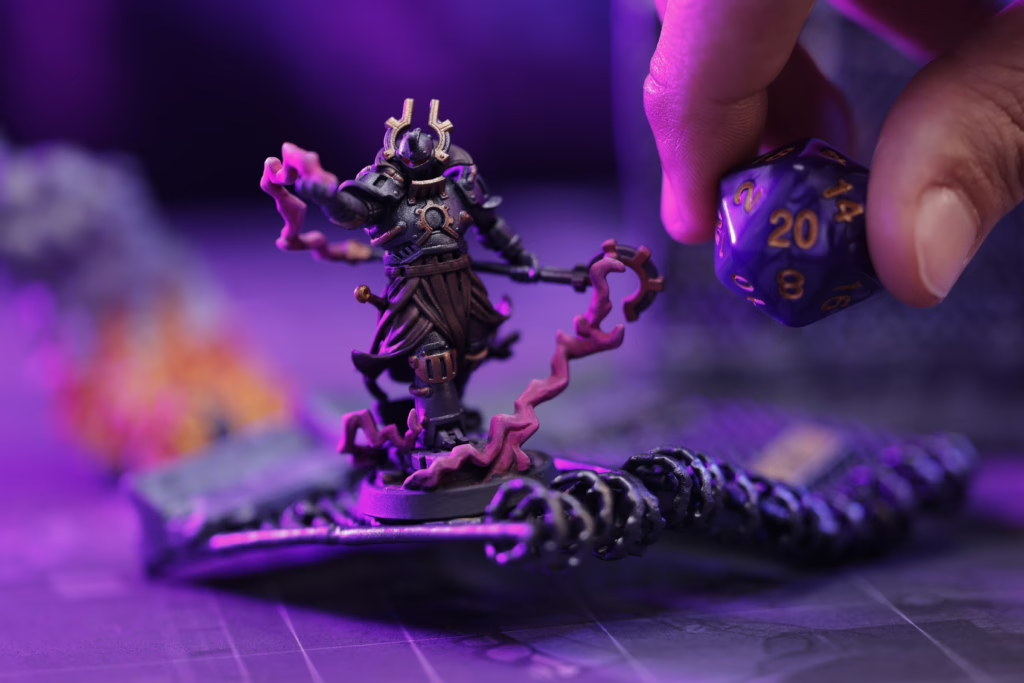
The Support Problem Starts Before You Open the Slicer
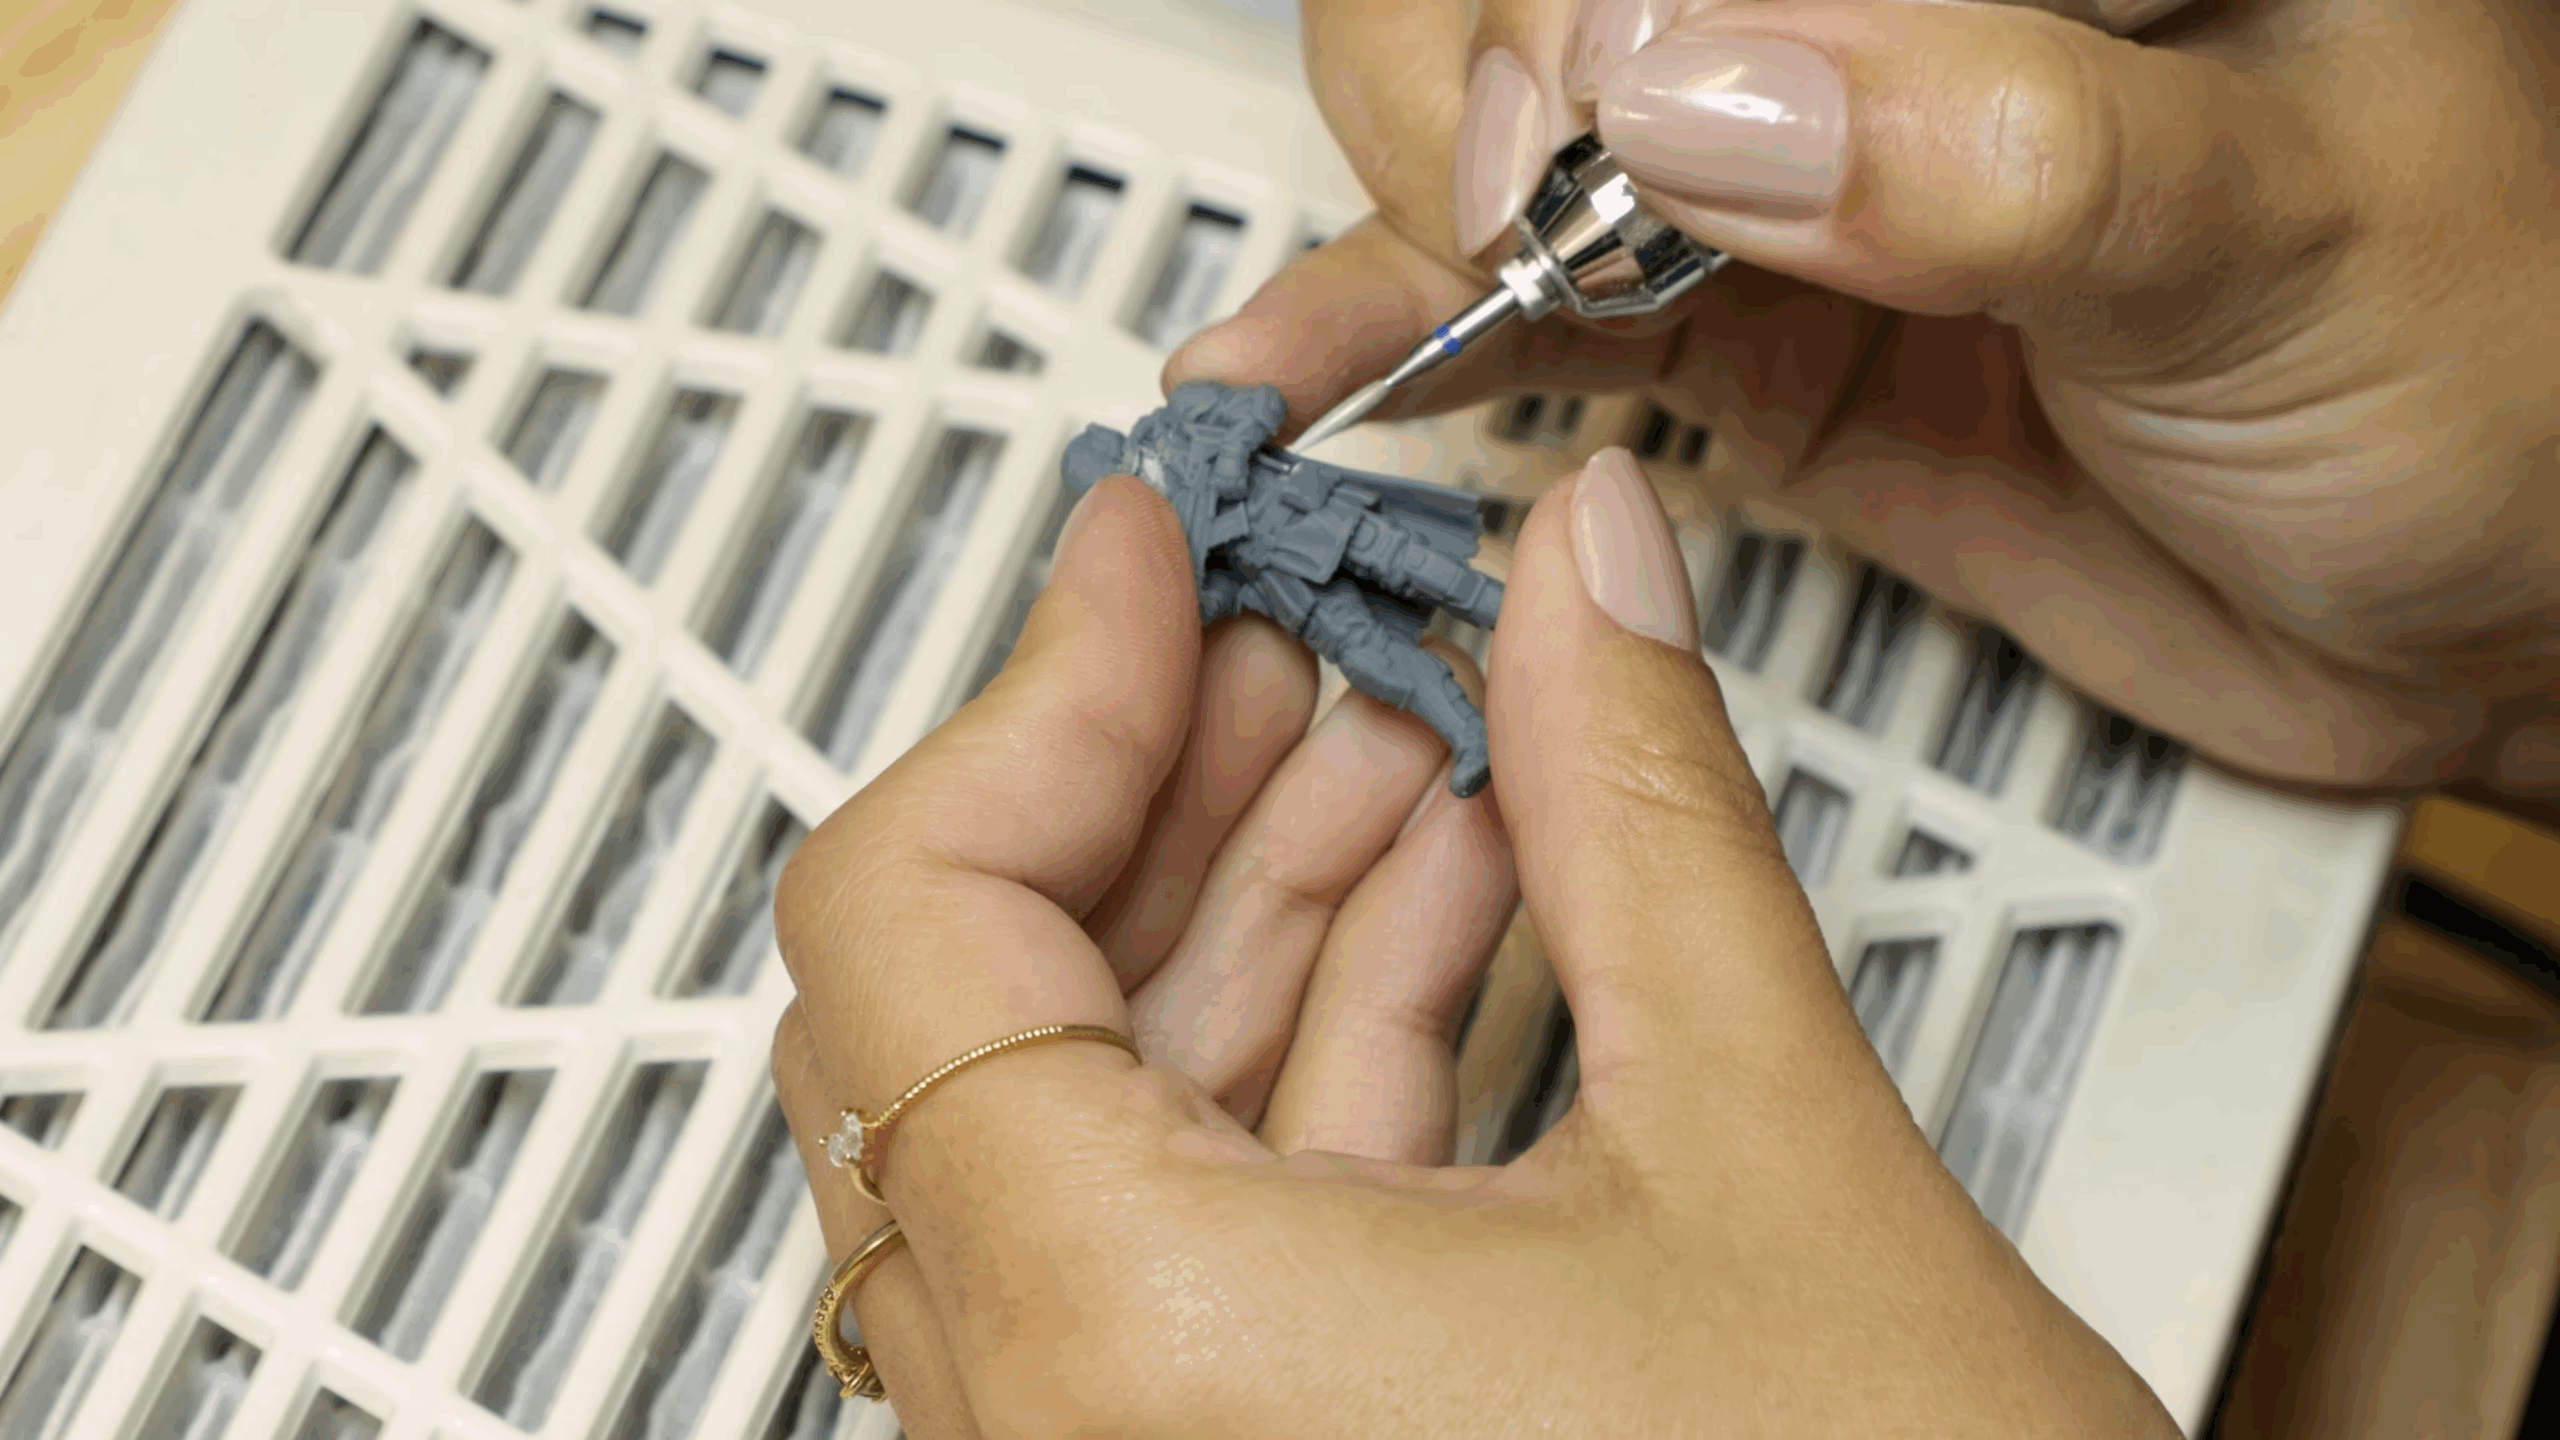
Most hobbyists think of supports as a printing problem. Load the model, auto-support, adjust a few points, and print.
Well, it can be like that when the auto-support works well, but if you want something of the highest quality, the support conversation must start during the sculpt itself.
Here’s a specific example of why this matters. Think of the letter S. It has overlapping curves — a top section, a middle belly, a bottom curve. If you have a miniature element shaped like that S and need to support it, the slicer has no choice but to run supports from one part of the piece to another rather than from the build plate.
The slicer can also stretch the supports to reach areas that would need their own support, instead of creating them properly. Part-to-part supports create marks on paintable surfaces. But, of course, we must say that the auto-support function is not horrible! It is good, but it also needs special attention to avoid problems that only a trained eye can catch.
What Defines A Good Sculpting Project?
Good sculpt engineering eliminates those situations by repositioning geometry before the supports are placed, sometimes by just a few millimeters of adjustment that the final viewer would never notice.
The same logic applies to arm positioning, cape geometry, or any other element that creates enclosed angles. We actively redesign these areas during technical review so that supports can reach the build plate cleanly. That only leaves marks where they matter least.
When a model needs to be cut into multiple pieces — large models almost always do — those cuts aren’t made randomly. We look for natural joints, areas where the seam can be hidden in shadow or under armor, and orientations where each individual piece prints with minimal support damage. Pieces always use a pin system: the positive pin goes on the smaller, lighter piece; the negative pin on the larger, heavier piece. When there are many pieces, we label them (A1/A1, B2/B2) so assembly is closer to LEGO than a puzzle. Every cut is planned for the person assembling it at home, not just for the 3D artist who made it.
We Design For Your Printer, Not Ours
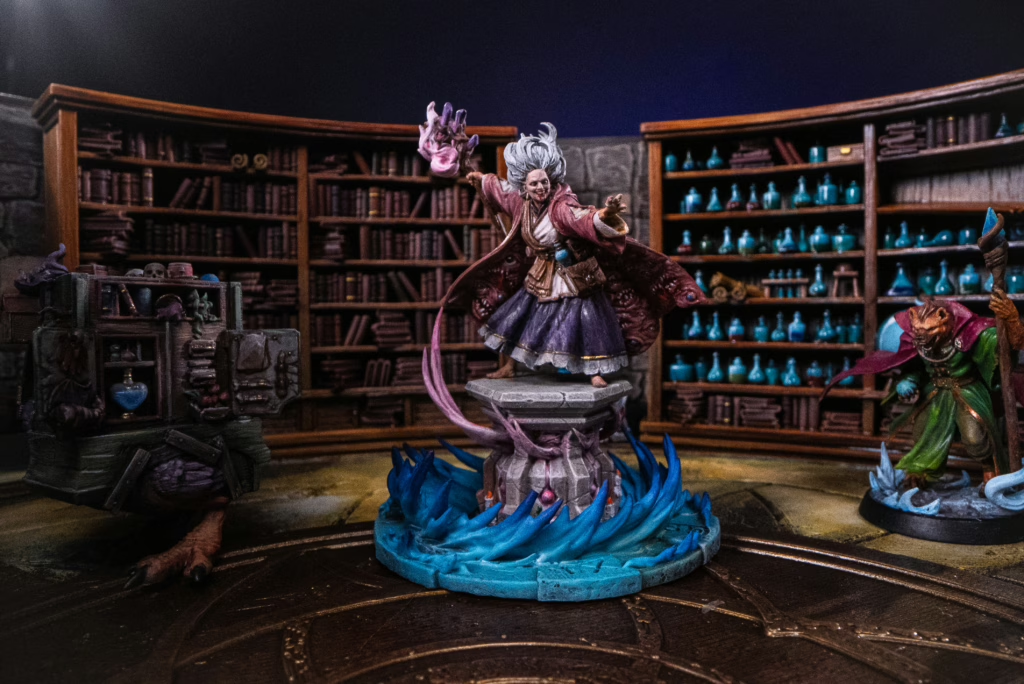
Here’s something that doesn’t get discussed enough: there is a significant gap between designing a miniature on professional studio hardware and designing it for the printer sitting in your hobby room.
Our benchmark for 32mm miniatures is the Photon Mono (a compact entry-level printer). Everything must fit on that build plate. If someone with a modest setup can’t print our 32mm models without upgrading their equipment, that’s a design failure, not a user error. For 75mm models, the benchmark is the Saturn (the smallest of the larger-format printers) that a serious hobbyist might reasonably own.
File weight matters too. When you sculpt at high resolution, you can easily end up with models that have millions of polygons. Those files are genuinely difficult to work with, and they can (and probably will) crash older slicer versions, overwhelm GPU memory, and turn a Tuesday night printing session into a two-hour patience exercise before a single layer has been exposed. We run a decimation pass on every model, targeting around 23–25MB per file. That’s light enough to open cleanly on standard hardware, while still holding all the detail that matters at print resolution.
The goal isn’t a beautiful render in our studio. It’s you, at home, opening the file without drama and pulling a clean print off the plate an hour later.
How All of This Shows Up on Your Table
Now we must connect all the pieces!
When the finishing process is fast because supports were positioned intelligently, you spend that time painting instead of repairing. If the mesh thickness is right, you can drybrush confidently instead of holding your breath over fragile geometry. If a model has been deliberately simplified, a wash tells you exactly where to go. You’re not fighting visual noise, you’re letting the sculpt do the work.
And the other side of the table matters too. Well-engineered geometry survives transport in a foam case, a friend picking the model up mid-session to examine the paint, a dropped dice tower, and the mutual panic that follows. Fragile miniatures, however beautifully painted, eventually lose to the physics of a gaming table. Properly reinforced geometry becomes part of the story.
Loot Studios can help you tell your story through highly detailed minis, statues, terrains, busts, and props. Sign up for Loot and choose your favorite bundles from our library of more than 130 options. You can also learn more about our printing and painting process by checking our YouTube Channel.
Robert, also known as Rob, is an artist, English teacher, and lifelong RPG enthusiast. When he’s not sketching worlds or guiding learners through language, he’s diving into dice-rolling adventures and uncovering the magic that makes tabletop storytelling unforgettable. Fuelled by imagination and curiosity, Rob has spent years immersed in the RPG community, studying its stories, creatures, and creativity. He currently works in the marketing department at Loot Studios, where his passion for fantasy, minis, and the RPG universe fuels everything he does. Always with one foot in the real world and one in the realms of adventure, Rob celebrates art, language, and the joy of bringing ideas to life, whether at the table, in class, or behind the scenes.