How to Clean Up 3d Print Resin Miniatures
Everything About Post-processing
So, you hit “print,” and a few hours later, a masterpiece is hanging from the build plate. You’re ready to paint, right?
Not so fast.
Your miniature may look good, but it’s currently covered in sticky, uncured resin and is not yet safe to handle. This next phase, post-processing, is a set of necessary steps that turn the print into a model that is clean, durable, safe to the touch, and ready for paint.
Don’t worry, it’s easy. Here is the step-by-step guide to doing it right.
Why Post-Process? (Safety & Quality)
This isn’t an optional step. Skipping it leads to two major problems:
Safety: Uncured liquid resin is a toxic and skin-irritating substance. You must never handle it without nitrile gloves. The curing process is what transforms it from a hazardous chemical into a safe, inert solid plastic.
Quality: The print is obscured by excessive resin, which hides all the fine details. If you just cure it as-is, that resin will cure into a sticky, ugly gunk, ruining your model.
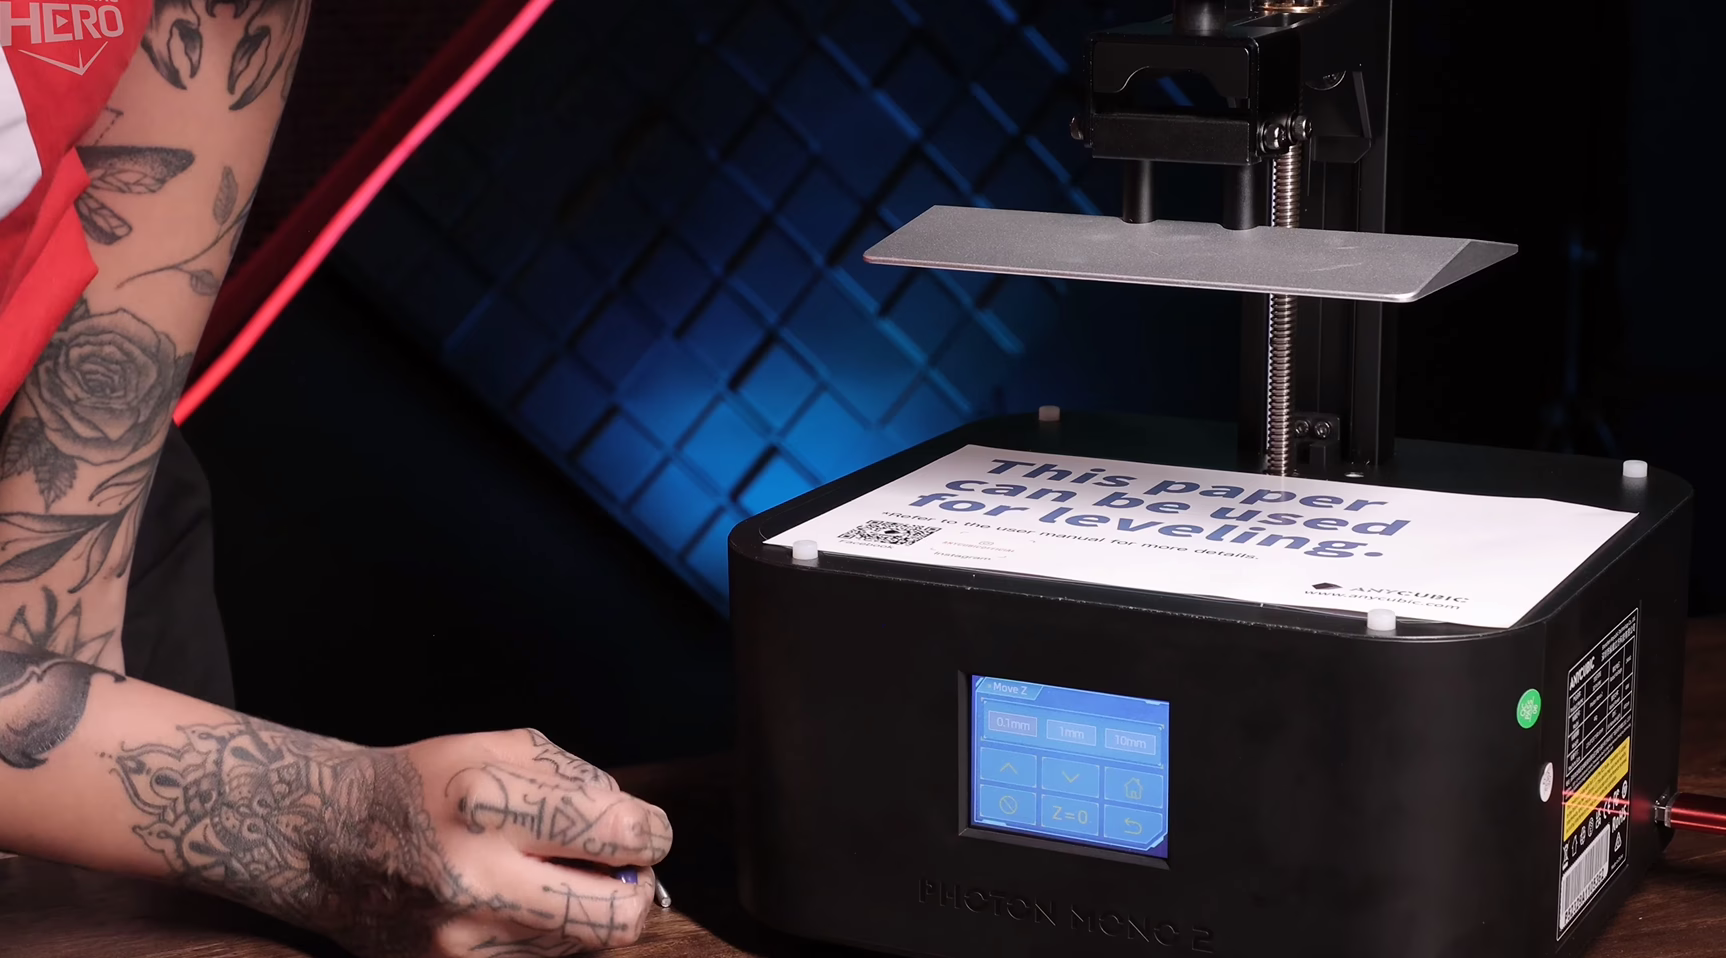
Your Post-Processing Toolkit
Before you even think about opening your printer, get your safety gear.
Safety Gear (Non-Negotiable):
- Nitrile Gloves: Not latex. Nitrile gloves are required to protect your skin.
- Respirator: A respirator with an organic vapor filter protects your lungs from resin fumes.
- Safety Glasses: To protect your eyes from accidental splashes.
Cleaning & Finishing Tools:
- A container or station for washing (e.g., a “Wash & Cure” station or two simple plastic tubs).
- Isopropyl Alcohol (IPA) 90%+ or a dedicated resin-washing solution.
- A soft toothbrush (to be used only for this).
- Flush cutters or snips.
- A UV curing station or a simple UV lamp. (Sunlight works, but it’s slower and less reliable).
The 4-Step Guide to Perfect Post-Processing
This workflow is designed to give you the best results while keeping you safe. The order of these steps is very important.
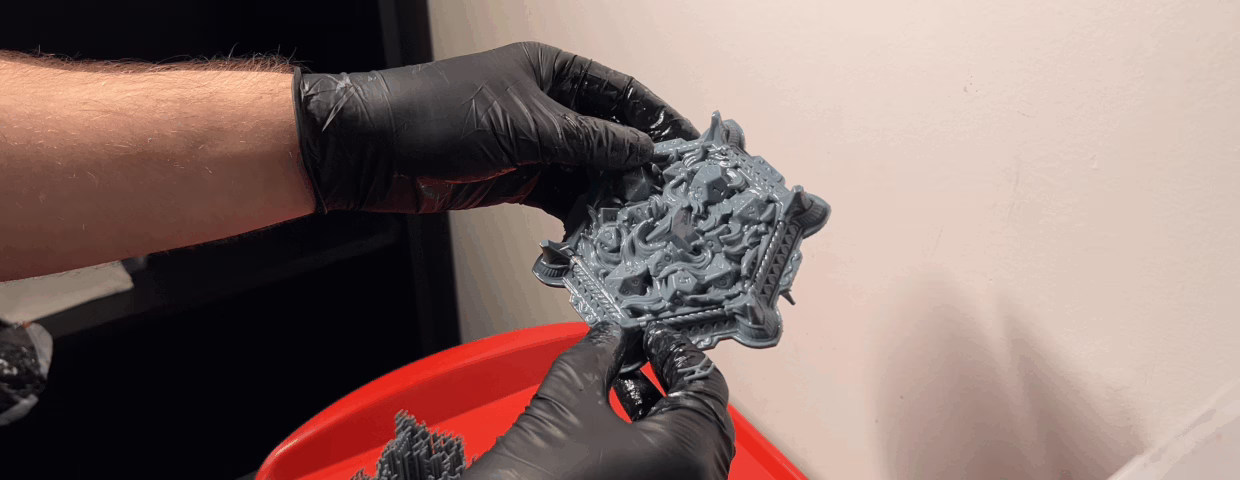
Step 1: The Wash (Get it Clean)
Your first goal is to remove all the excess liquid resin.
Gear Up: Put on your gloves, respirator, and safety glasses.
Remove from Plate: Carefully scrape your model off the build plate.
The First Bath: Place your miniature into your first tub of IPA (this is your “dirty” bath). Swish it around for 2-3 minutes to get the worst of the resin off. You can use your soft toothbrush to gently scrub crevices, but be careful not to break small parts.
The Second Bath: Move the miniature to your second tub of clean IPA. This “clean” bath will remove any final residue, leaving the model perfectly clean.
Dry: Remove the print from the alcohol and let it air-dry completely.

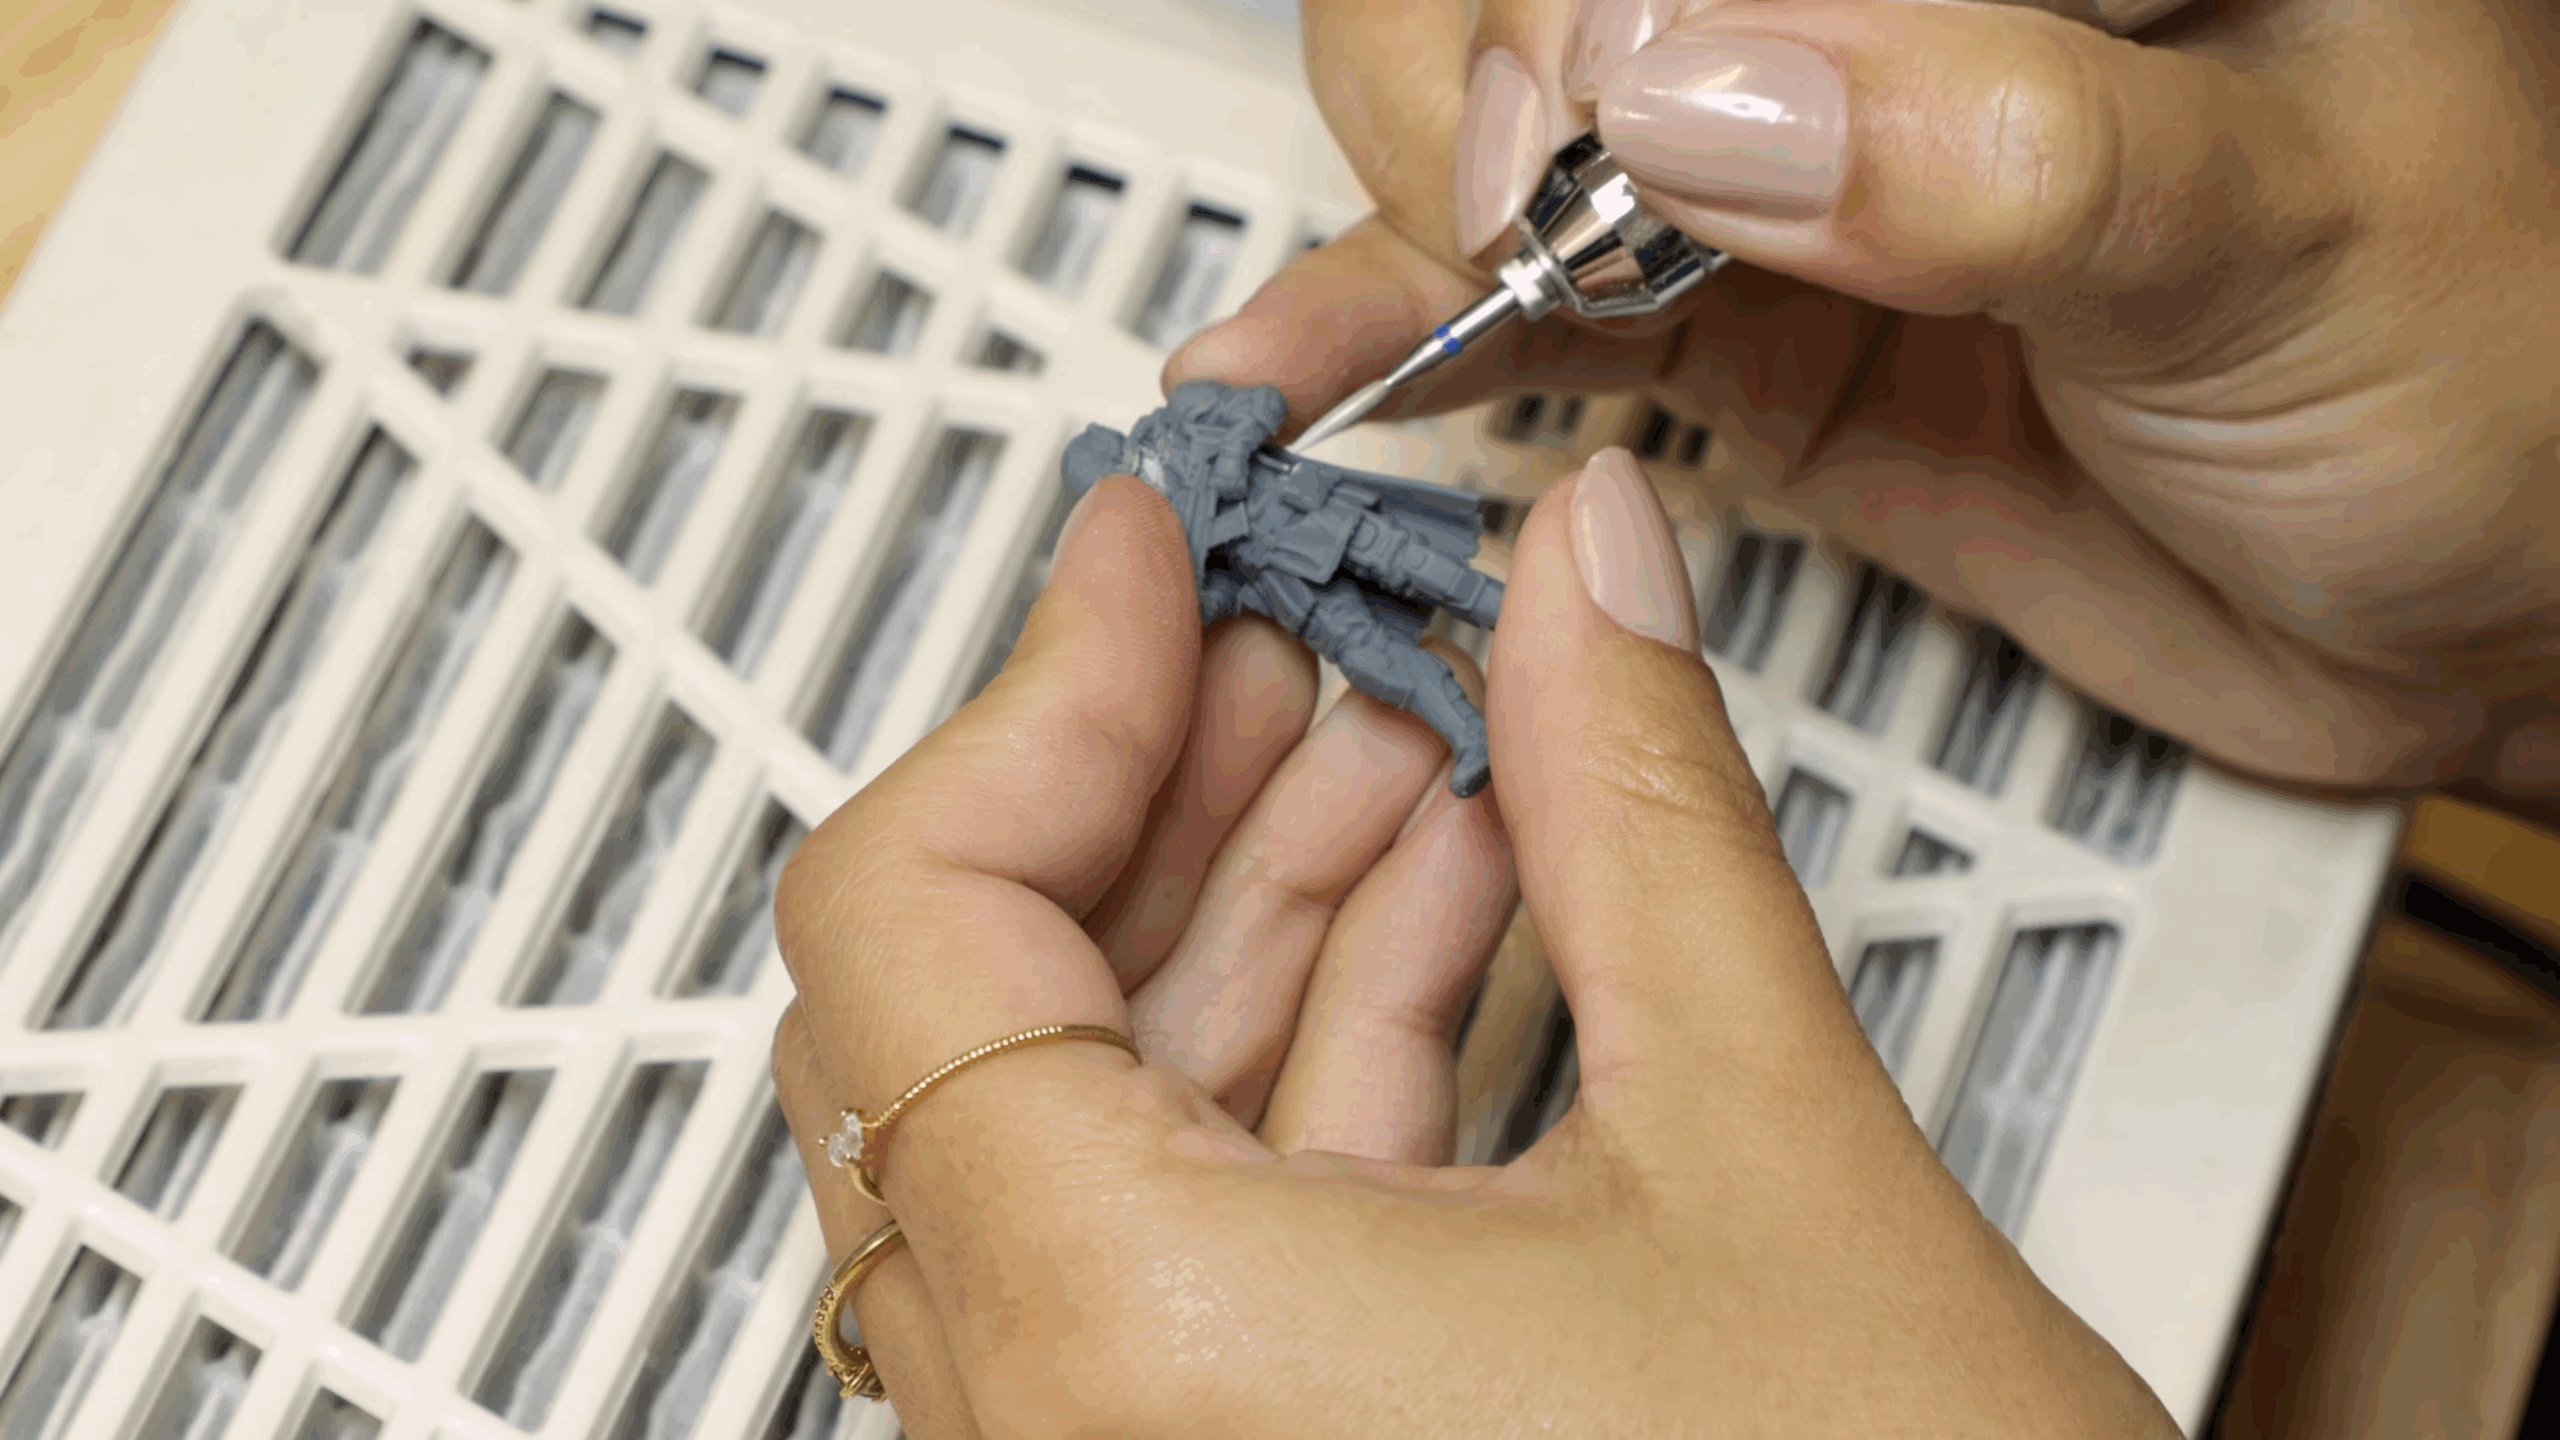
Step 2: Remove Supports
This is the step most beginners get wrong. The best time to remove supports is after washing, but before the final cure.
When the print is in this state, the supports are still slightly soft and flexible. They will peel away much more easily and are less likely to “pit” or rip off a chunk of your model.
- Put on a fresh pair of gloves (the model is still uncured).
- Using your flush cutters, carefully snip the supports off.
- For delicate areas, you can often just gently peel the support structure away with your gloved fingers.
If you are struggling with this part, you can check our free 3D printing course! You’ll learn from the basics to the advanced of 3D printing with resin!
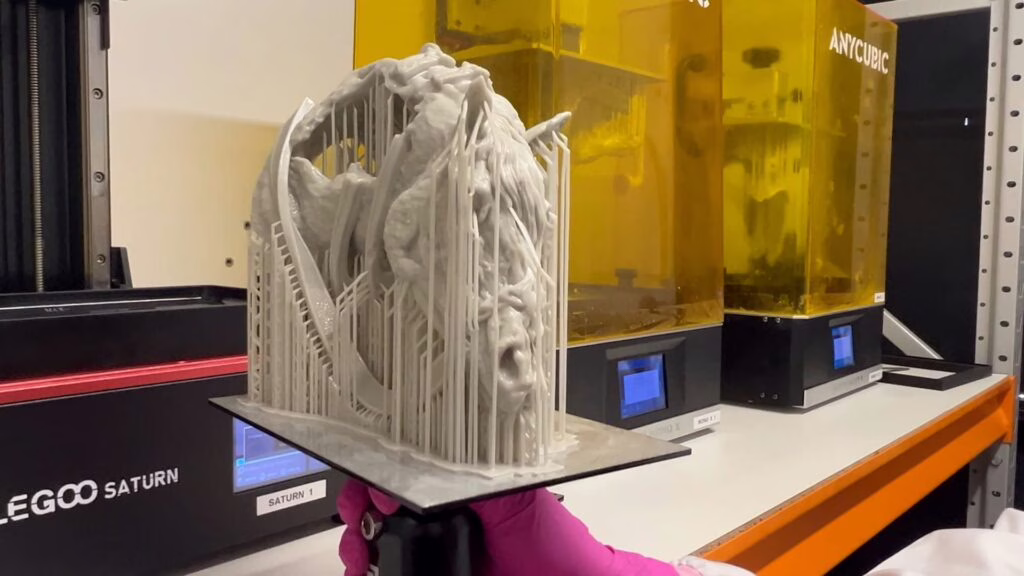
Step 3: The Final Cure
This is the most crucial step for safety. Curing utilizes UV light to trigger a final chemical reaction, transforming the “green” resin into a hard, safe-to-handle solid.
Using a Cure Station: This is the easiest way. Place your model in the station and run it for the recommended time (usually 3-5 minutes, depending on the resin).
Using Sunlight: Place the model in direct sunlight for 3-4 hours. Note that this is less controlled and can lead to uneven curing or over-curing.
Water Curing: Some hobbyists submerge their prints in a clear bowl of water and then shine a UV light on them (or place them in the sun). The water can help scatter the light for a more even cure and blocks oxygen, which can speed up the process.
After this step, your miniature is fully cured and safe to touch without gloves.

Step 4: Cleanup & Assembly (The Final Finish)
Now that the model is safe, you can proceed with your actual model preparation.
Sand/File: You’ll see tiny “pips” or “nubs” where the supports were. Use a hobby knife to carefully shave them off, or use sanding sticks to smooth them down. Always wear a dust mask when sanding resin, even after it has cured.
Fill Gaps: If you have any small holes (resulting from support removal) or gaps (if the model is assembled in parts), you can fill them. Do not use plastic or wood putty. The best materials are epoxy putty (like Green Stuff) or a drop of UV resin that you cure with a small UV flashlight.
Assemble: Use superglue to assemble any parts.
Final Thoughts
This process is the difference between a “good print” and a “great model.” It’s the foundation that every amazing paint job is built on. Once you get into a rhythm, these steps become a quick and easy habit that guarantees a safe and professional-looking addition to your collection.
Loot Studios can help you paint highly detailed minis, statues, and props. Choose your favorite bundle from our previous releases or sign up for Fantasy or Sci-Fi to receive a new bundle every month. You can also check out some tips on our YouTube Channel.