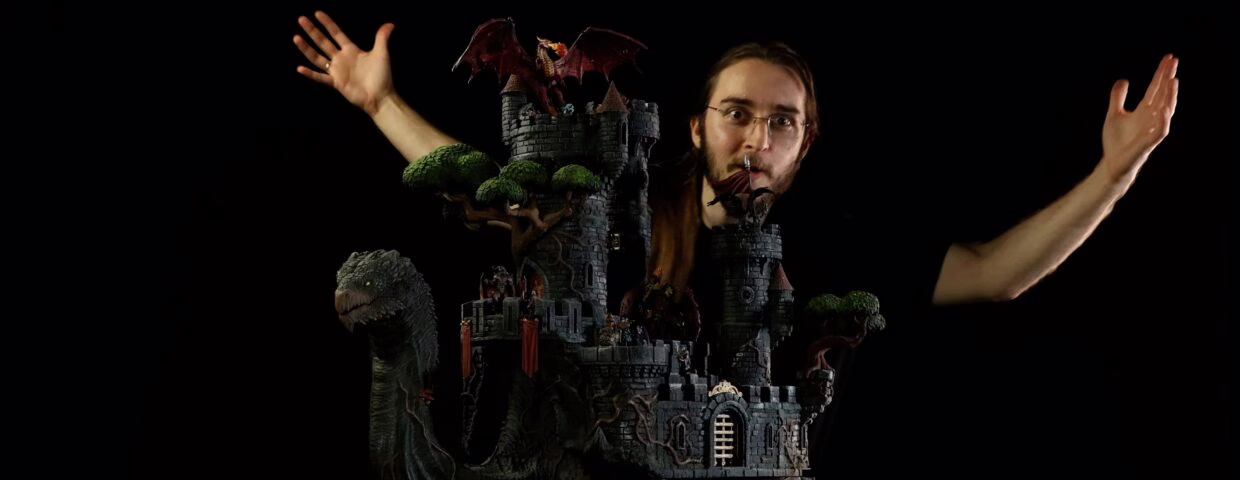
How To Drybrush
Simple Flourishes that Give Extra Depth for Your Work
Drybrush is… Well, as you may expect, a technique that involves bristles almost devoid of paint. It is commonly used in lots of different media, not just minis. Applying paint this way provides a special texture on your chosen surface, meaning that your miniatures will gain lots of complexity in just a few minutes, consuming little material.
It is best done over a base coat to provide uniform and special coloring. It is often employed with metallic paints to give the characteristic sheen of armor, guns, and the like. Drybrush may also be used to simulate rougher textures, such as stone, bone, sand, or fur. While some types of skin can be reproduced with this method, if this is what you’re looking for, we’d recommend a specific article on painting realistic skin.
How to Drybrush Your Miniatures
You’re ready to add some fast highlights? The great thing about drybrushing is that the process is very forgiving. It’s more about the feel than exact ratios, but we can break it down into a simple, step-by-step process.
Choose Your Brush
First, put your expensive Kolinsky sable brush away. This technique is brutal on bristles and will destroy a good brush. You need a dedicated drybrush. The best options are:
A Dedicated Hobby Drybrush:
These are designed for the job, often with stiff, flat, or dome-shaped bristles.
A Cheap Makeup Brush:
This is a classic painter’s “hack.” A cheap, dome-shaped cosmetics brush is soft, dense, and perfect for creating a smooth, blended highlight.
WANNA KNOW MORE ABOUT BRUSHES? CLICK HERE!
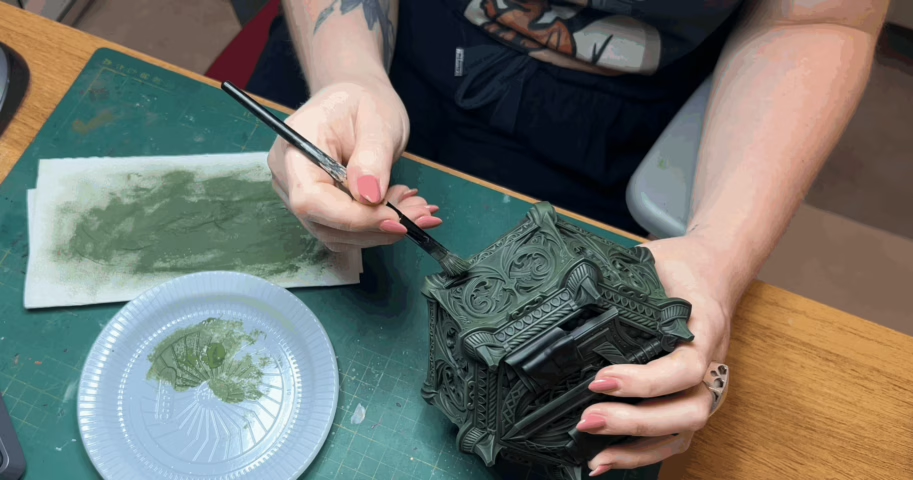
Prepare the Base Layer
Drybrushing must be done over a dry base coat. It works best when you apply a light color over a dark base (for example, drybrushing a light grey over a black stone wall). Make sure your base layer and any washes are 100% dry before you begin, or the paints will just smear together into a muddy mess.
Load and Remove the Paint
This is the most important step and defines the entire technique. Load your brush by dipping the tip into your highlight color. Remove the paint. On a paper towel or a piece of cardboard, wipe the brush back and forth. Keep wiping. Wipe it again.
When you think you’ve removed enough paint, wipe it some more. Your brush should look like it’s clean, with only a tiny, powdery pigment residue left.
Pro-Tip:
Test the brush on your knuckle. If it leaves a dusty, faint streak, it’s perfect. If it leaves a wet line of paint, you have way too much.
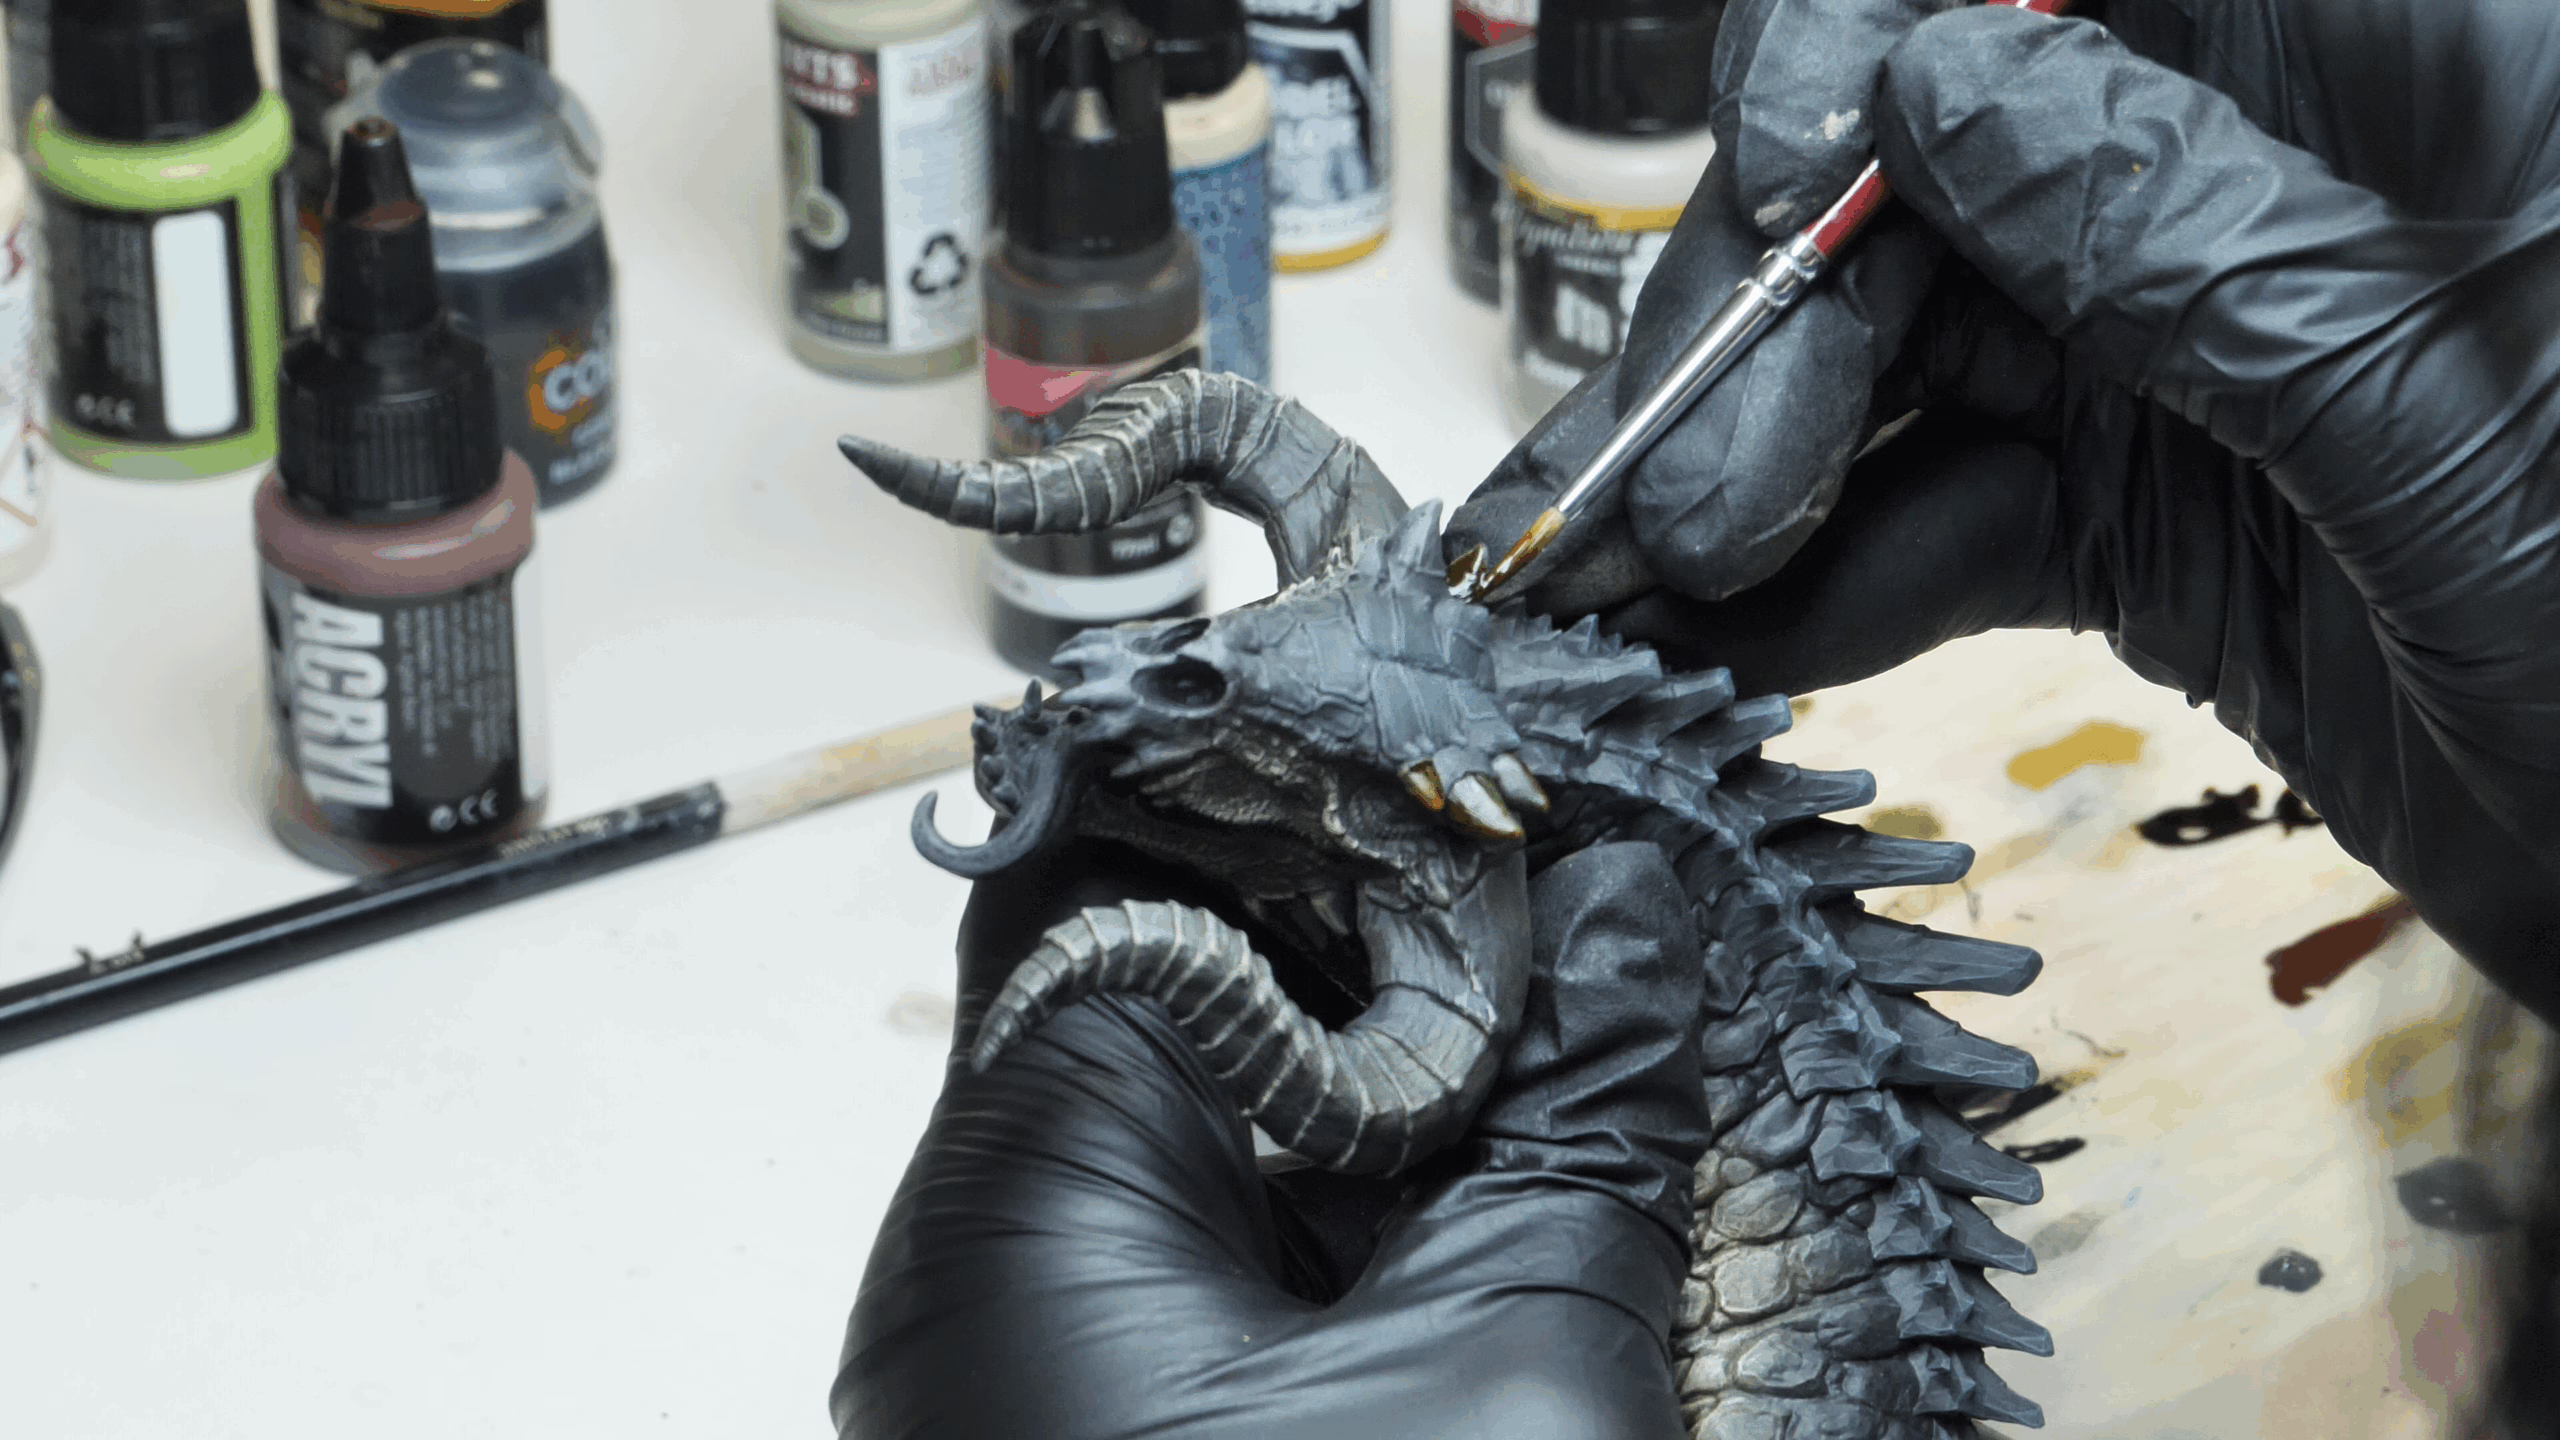
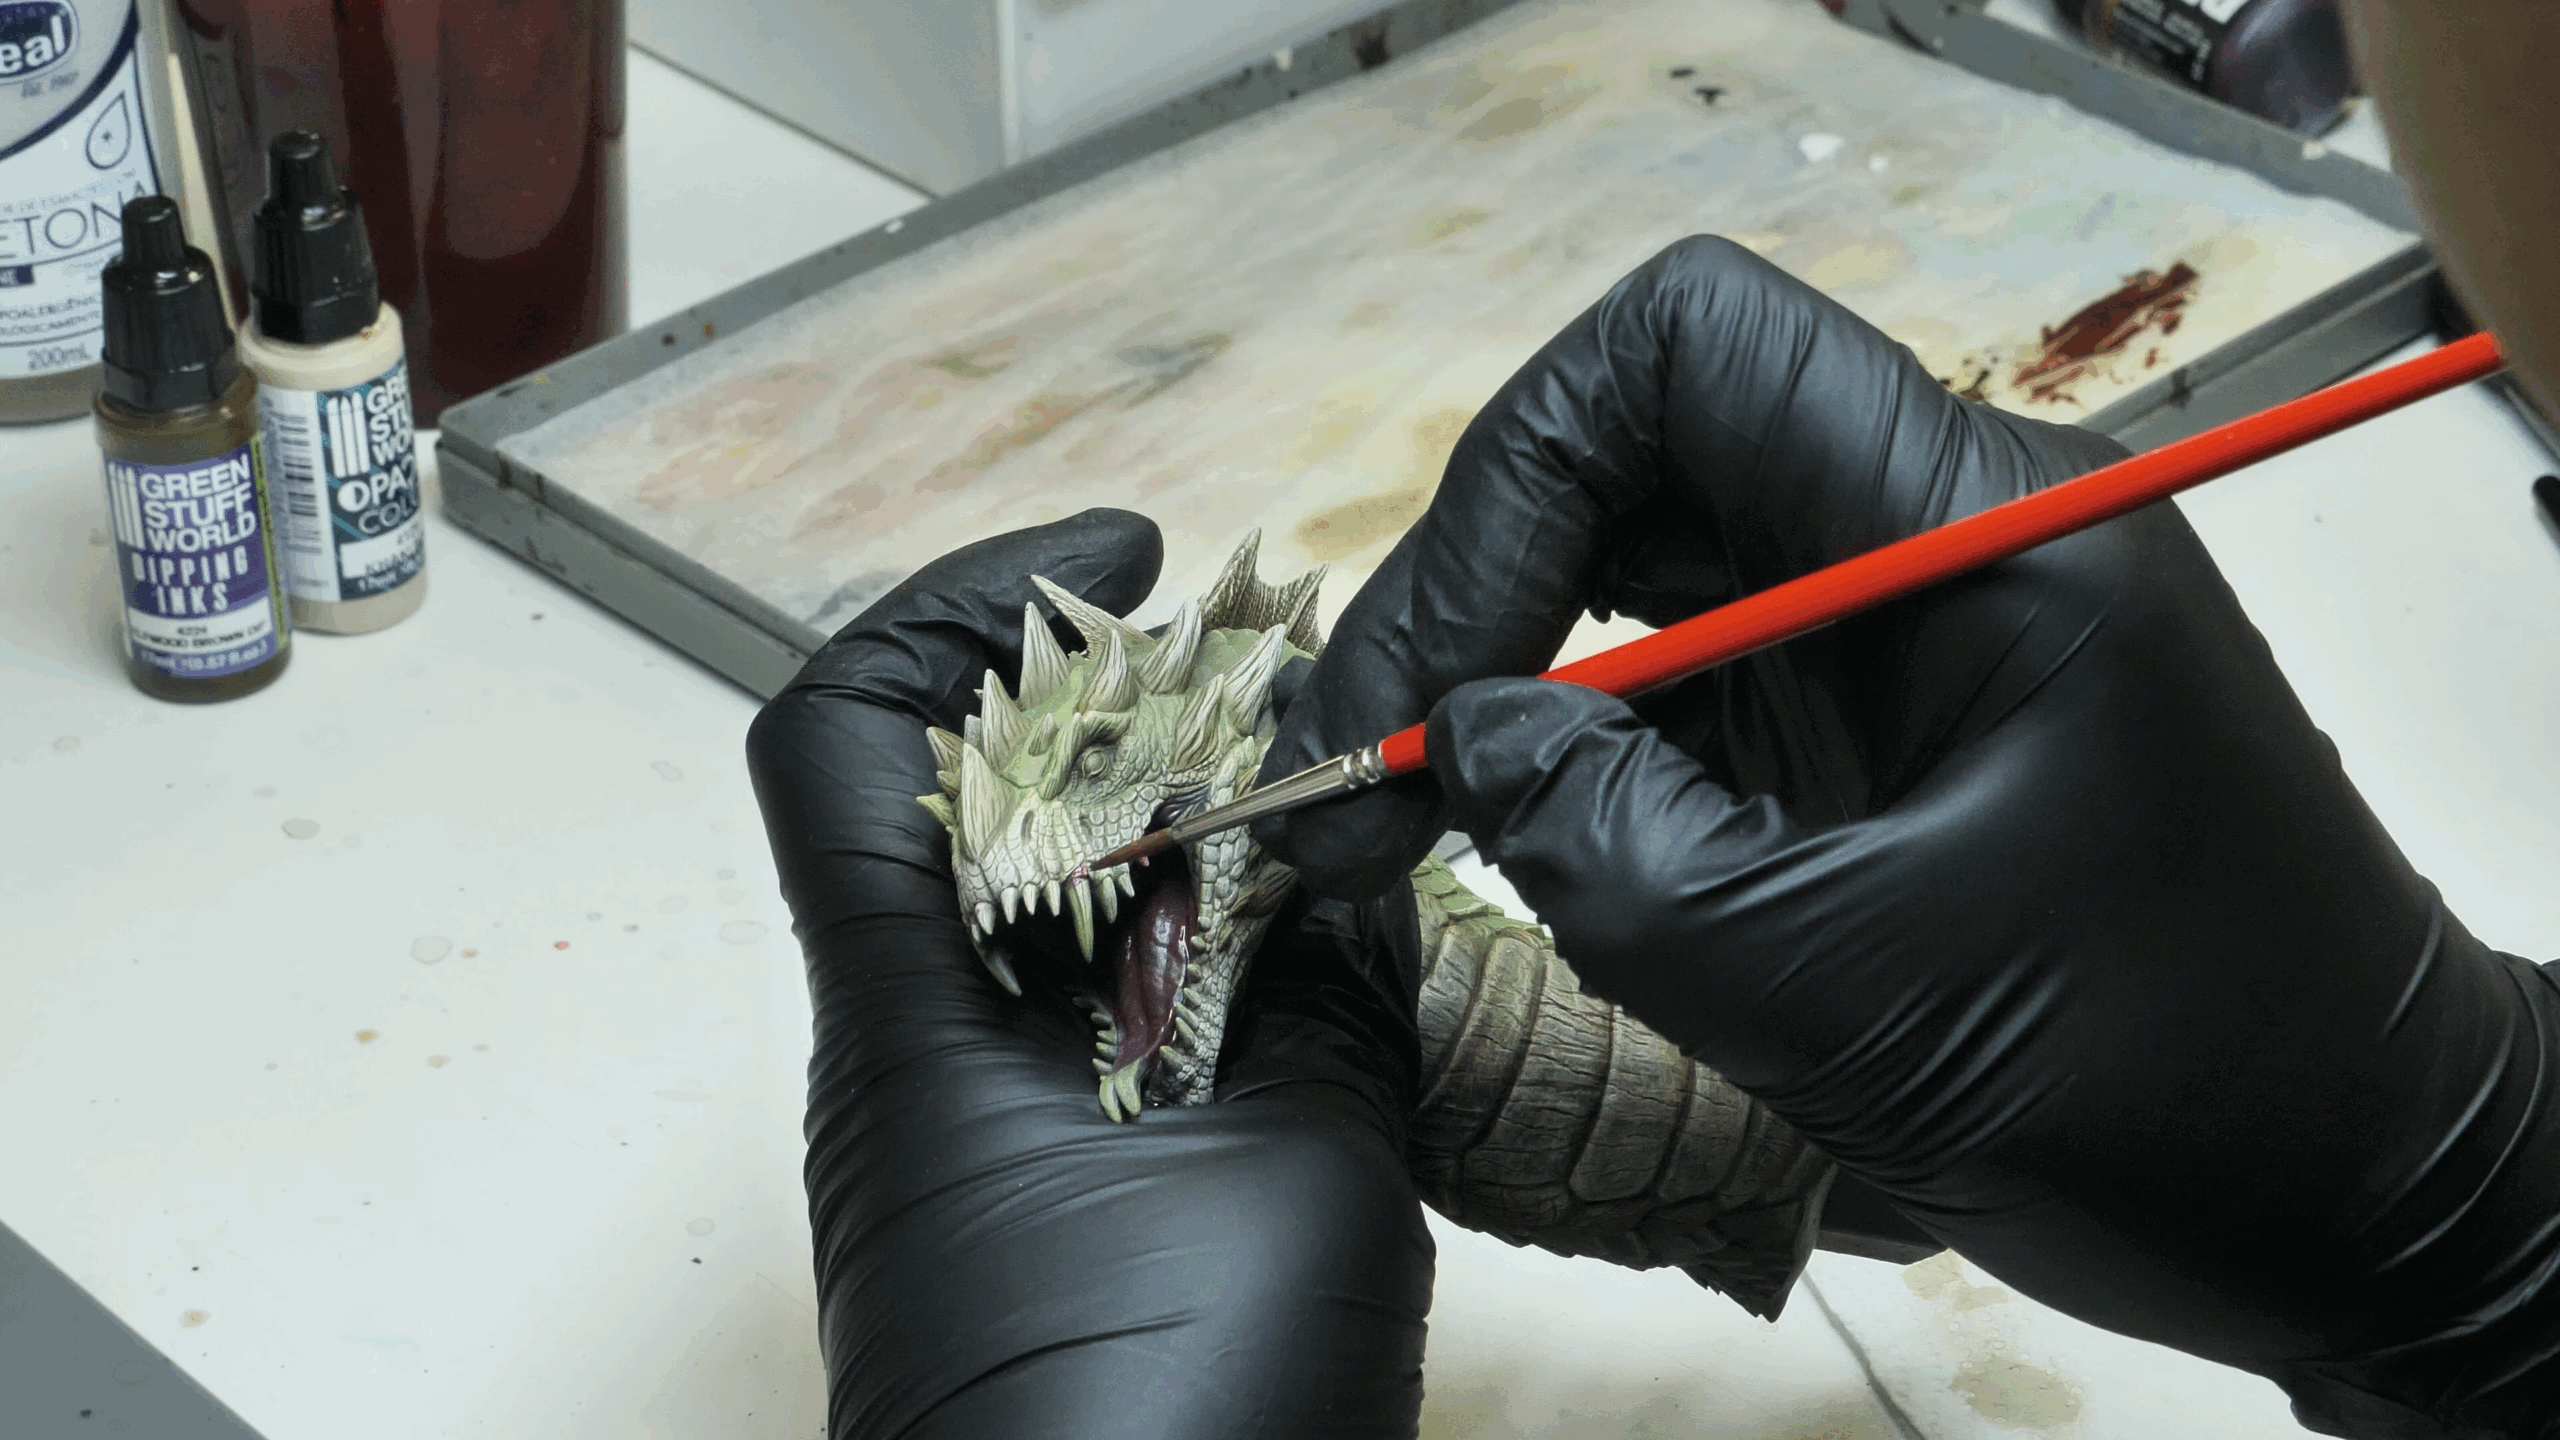
Apply the Paint
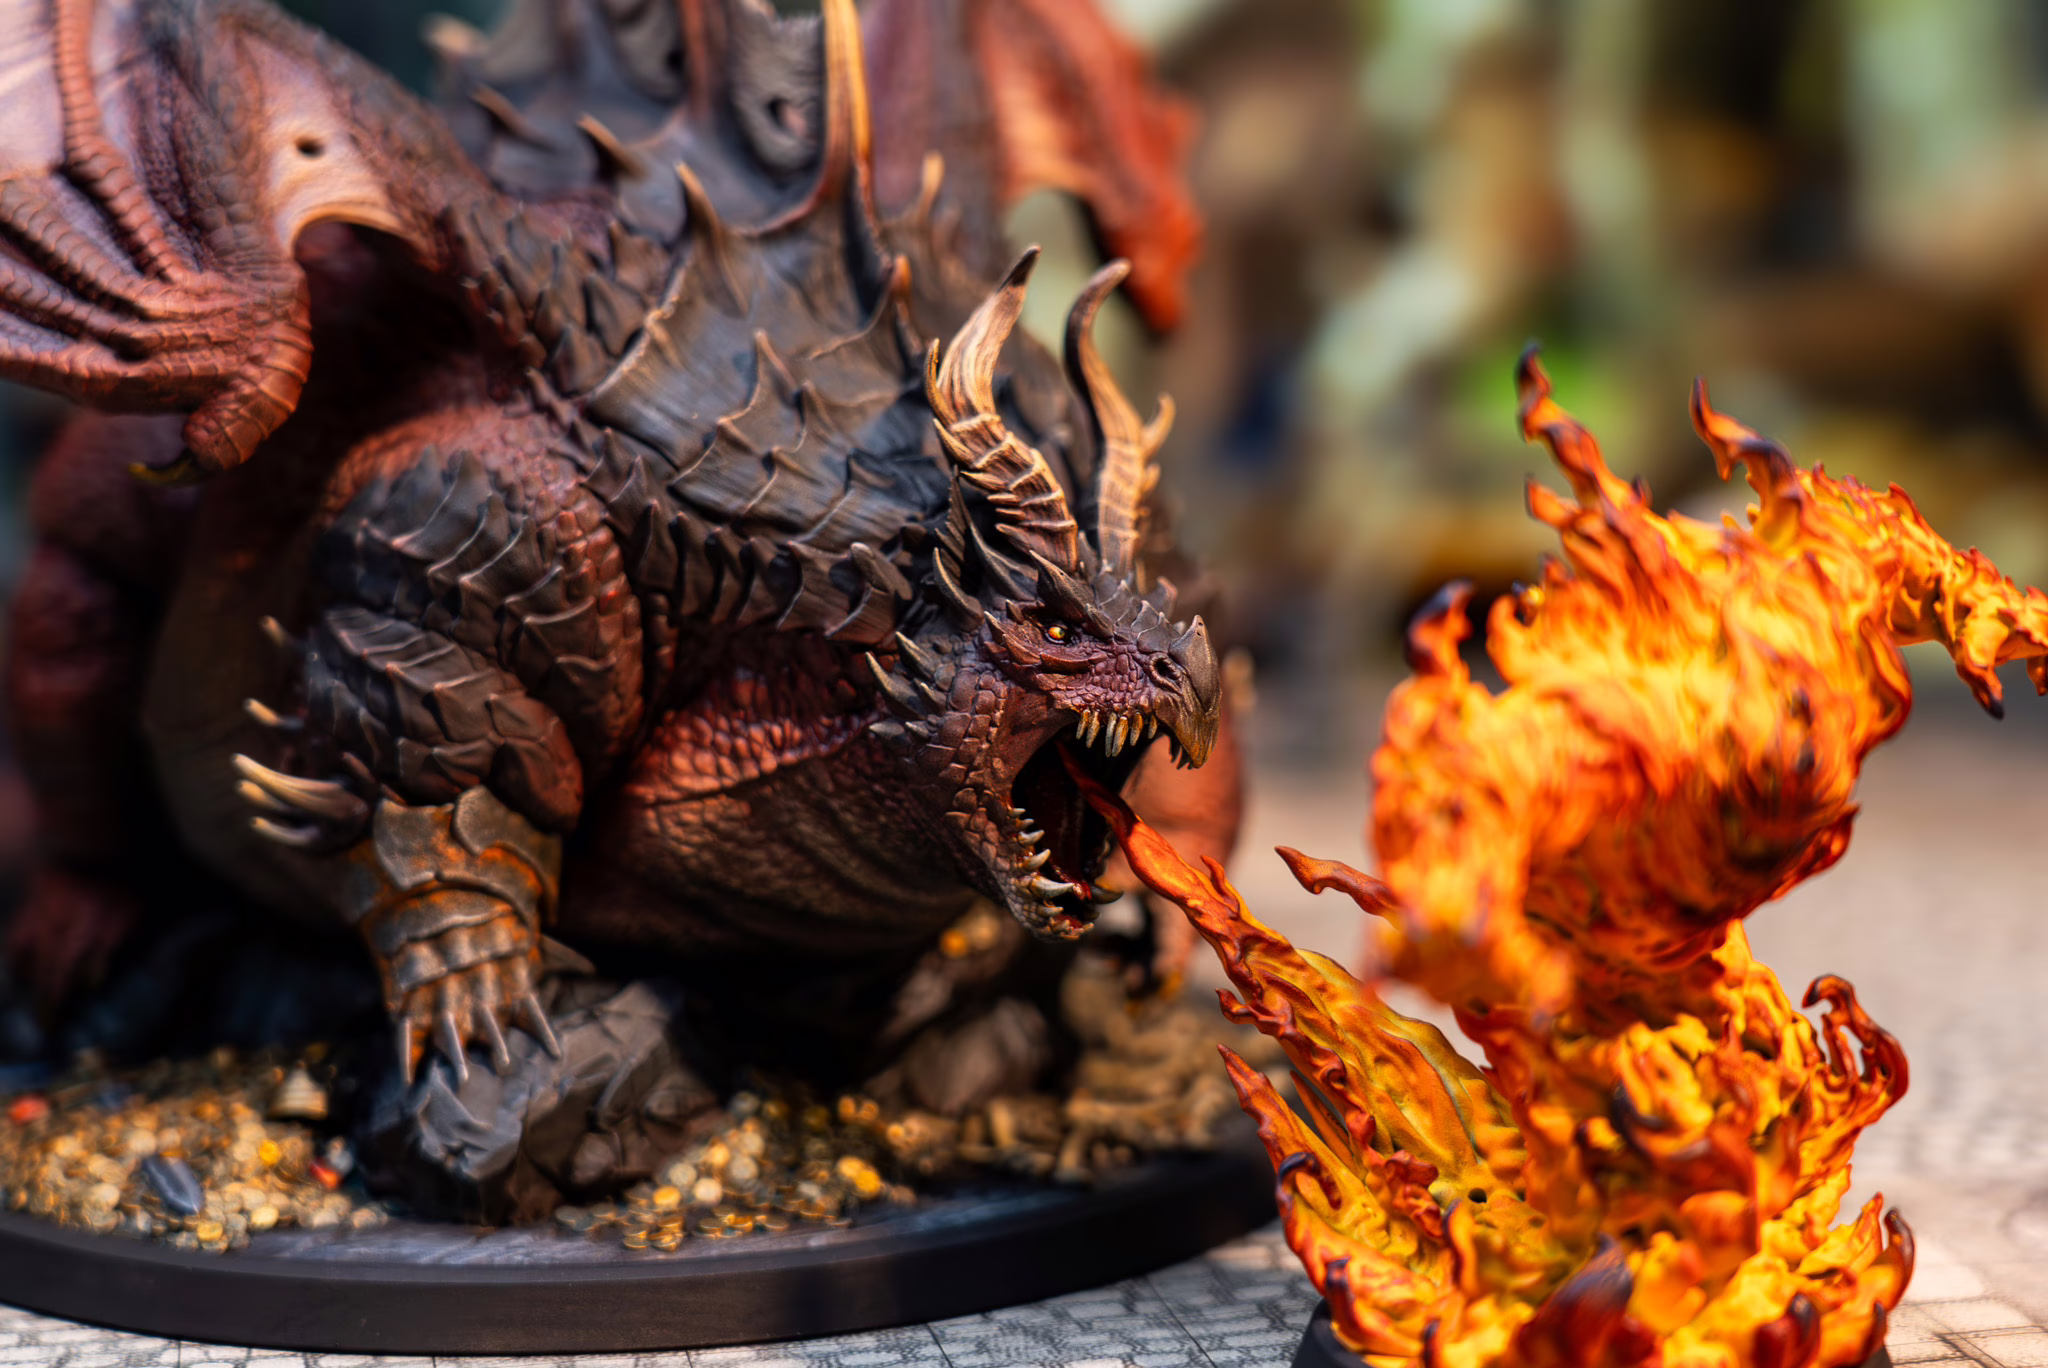
Now for the magic. Lightly and quickly brush back and forth over the textured area of your model.
Don’t press hard. The goal is to let the bristles gently “kiss” the raised edges. You will be amazed as the details (the edges of the stone, the links of the chainmail, the strands of fur) magically appear. It’s always better to build this effect up with two or three very light passes than to do one heavy, chalky pass. If you want to learn more about miniature painting, take a look at our playlist on Youtube!
Refining Your Technique (Overbrushing)
A common variation of drybrushing is called “overbrushing.” The technique is the same, but you intentionally leave slightly more paint on your brush than with a true drybrush. This applies the highlight not just to the sharpest edges but also to the upper-mid-tones, creating a stronger, faster highlight that’s great for base coating large textured areas.
Final Thoughts
Drybrushing is a fast, powerful, and essential skill for any painter. It may be “messy,” as the pigment can get a bit dusty, but the results speak for themselves. It’s the quickest way to make a model look “finished” and to make all those sculpted details stand out. Don’t be afraid to experiment with different amounts of paint and pressure. It’s one of the easiest techniques to learn and one of the hardest to live without.
Loot Studios can help you tell your story. Choose your favorite bundle from ourprevious releases or sign up for Fantasy or Sci-Fi to receive a new bundle every month. You can also check out some tips on our YouTube Channel.