How to Create Marble Effect
A Step-by-step Guide to Painting Realistic Marble on 3D Prints and Miniatures

Have you ever watched a beautifully finished miniature or a tiled chess board? You may have wondered, “How did they get that stone to look so real?” Well, the answer is here. In this guide, we’ll walk you through everything from the theory to the hands-on techniques. You’ll learn both the artistic and practical choices. This includes: what the Marble Effect is, what paint to use for marble painting, which tools give the best marble texture, and how to translate the recipe for boards, bases, and tiny pieces.
Are you ready?
What is the Marble Effect?
At its core, the Marble Effect is an imitation of the natural patterns found in stones like Carrara, Verde Alpi, and Calacatta. Those are types of marble that you can find in nature. Yes, dear, marble is a natural stone, that’s why it is so expensive.
Real marble is defined by subtle shifts in value and hue, punctuated by veins that travel in a particular flow. Artists recreate this look by combining base tones, adding texture, and using veining techniques to suggest depth. Basically, the marble effect is a layered illusion of depth and randomness produced by careful color choices and directional marks that mimic the natural direction of the veins in stone.
Materials and Techniques
If you’ve ever Googled “Painting marble”, you’ve probably noticed there’s no shortage of opinions about which paints or tools to use. The truth is, the best setup depends on your scale, your surface, and the level of realism you’re after. But whether you’re painting a full-sized prop or a delicate miniature, a few choices can make or break your marble effect.
Materials
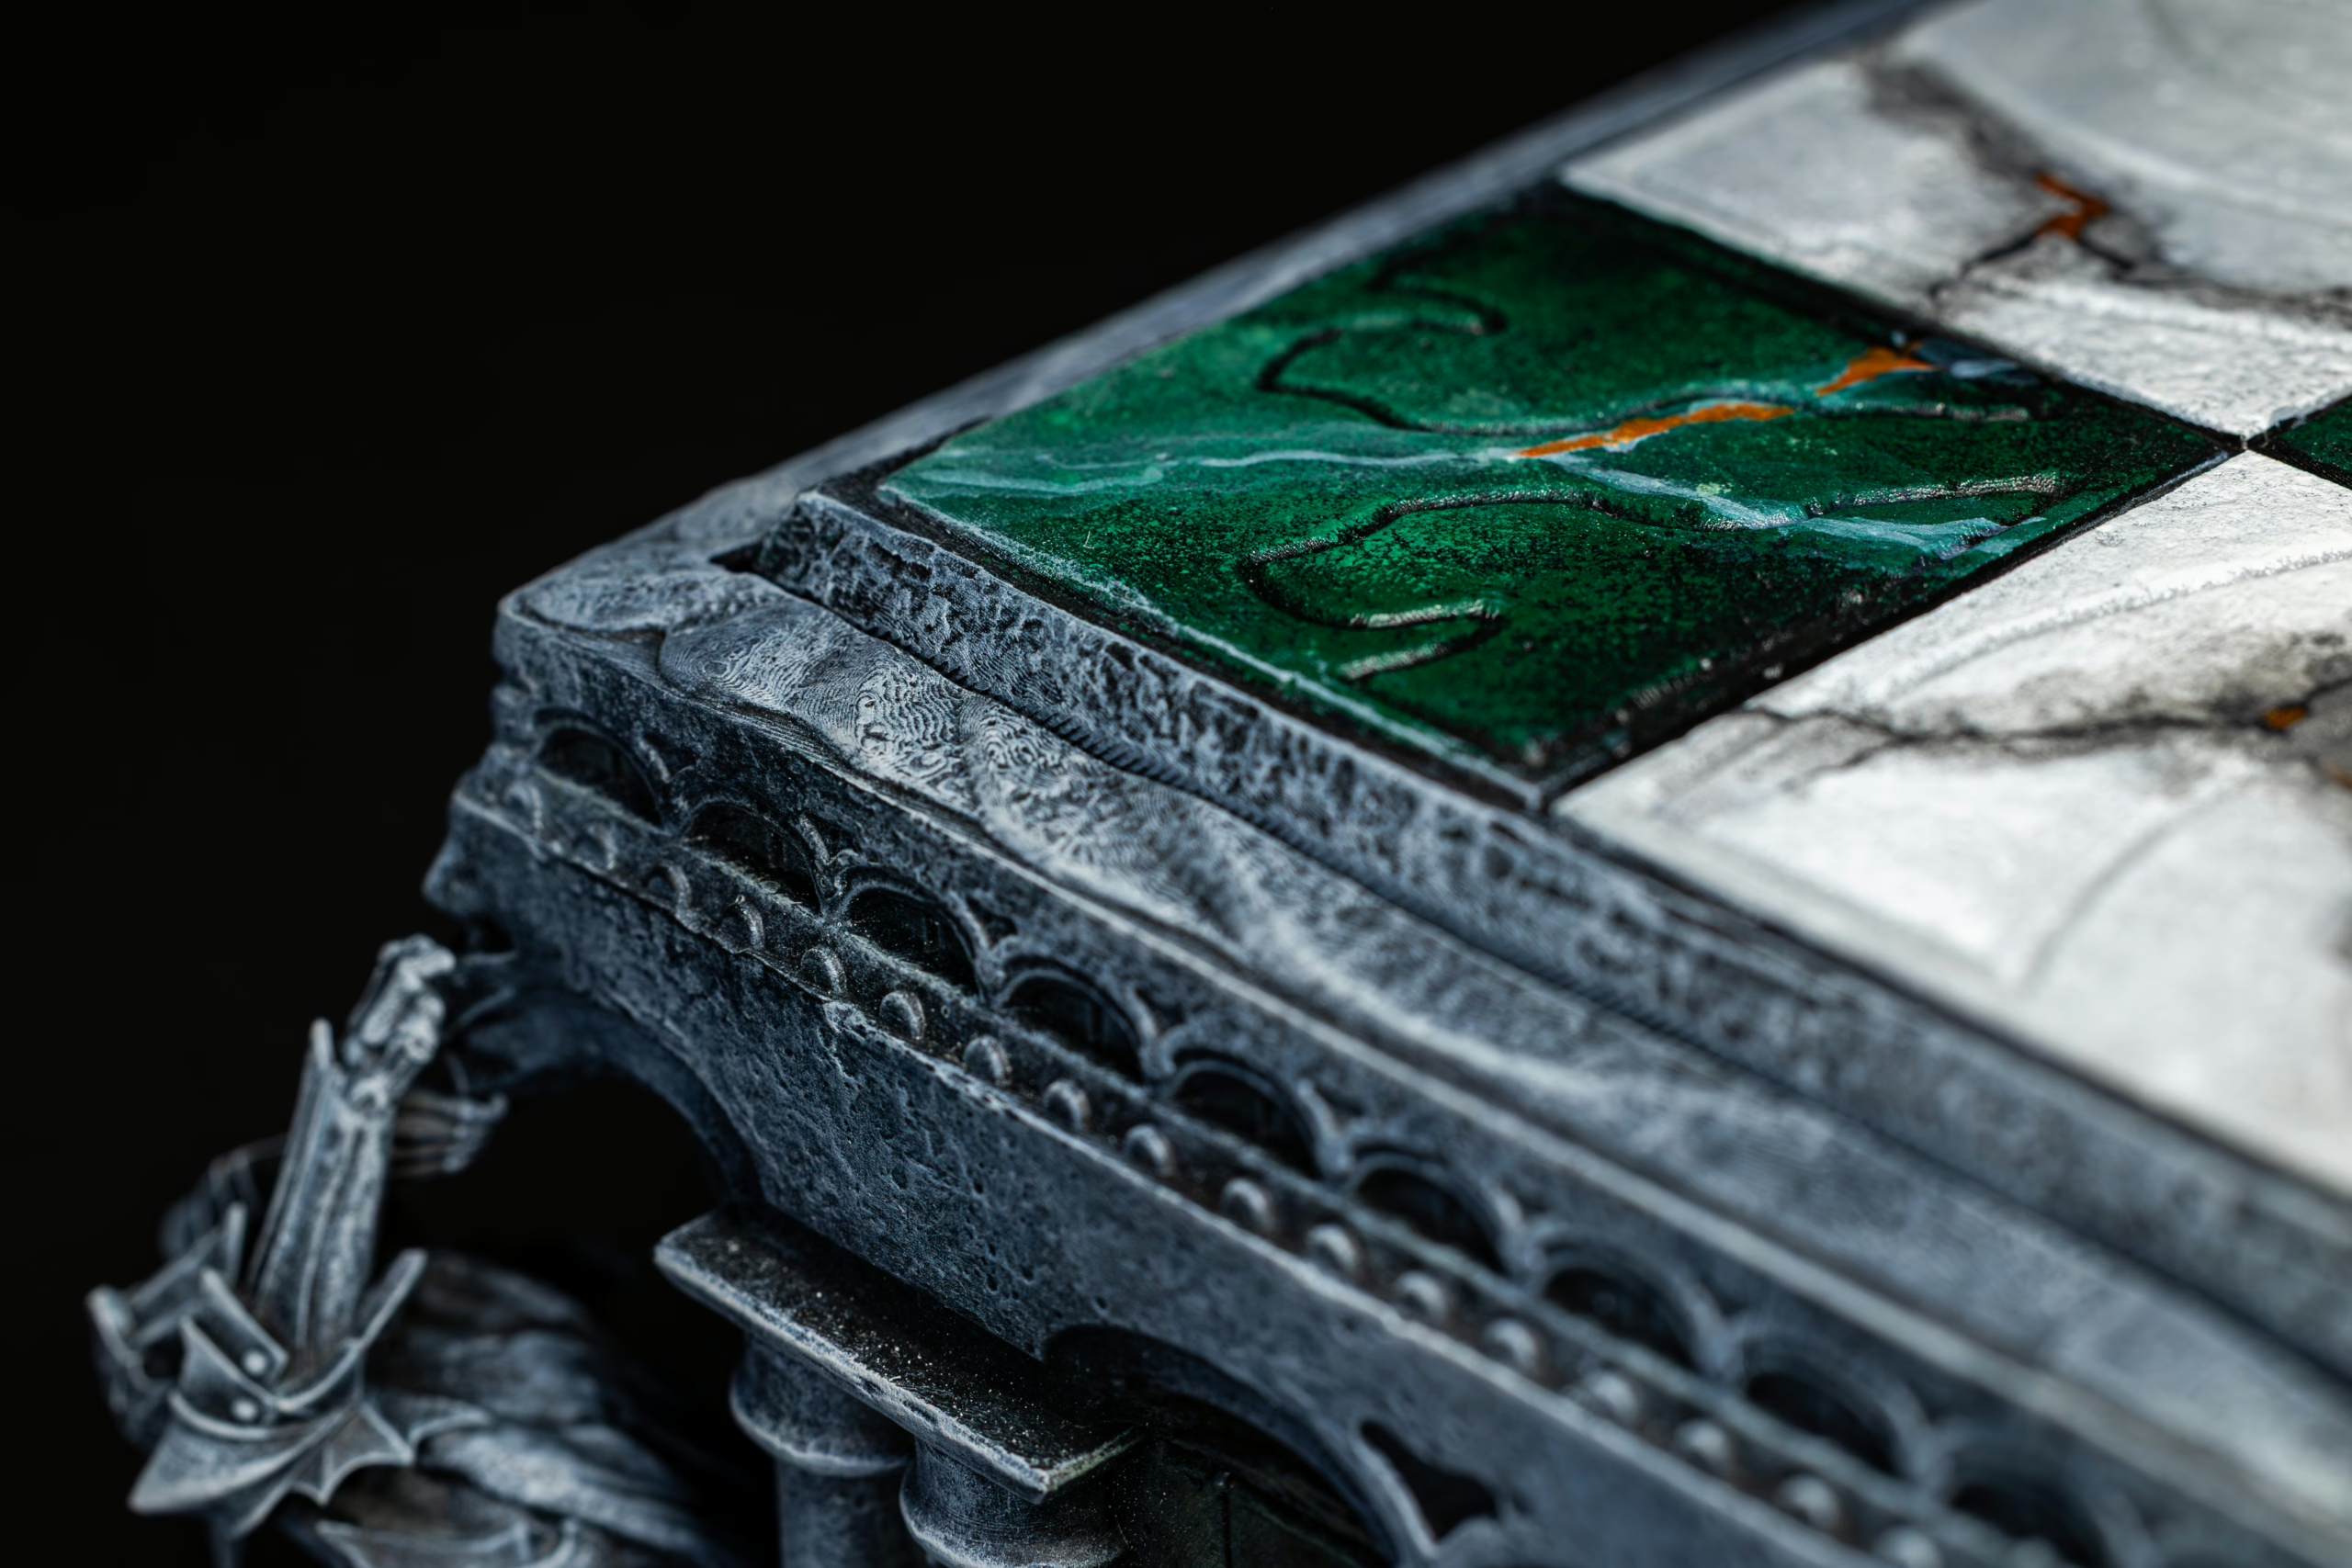
Acrylic hobby paints are the usual go-to for miniature work — and for good reason. They’re consistent, highly pigmented, and easy to control when layering or glazing. Brands like Army Painter, ProAcryl, Scale 75, and Green Stuff World deliver professional results without the stress of guessing how they’ll behave once thinned. Their quick drying time also means you can build texture and veins faster. That makes them ideal for testing how to paint marble bases or smaller decorative pieces.
That said, if you’ve ever wondered what paint to use for marble painting beyond the tabletop scale, there are alternatives. Like Chalk paint, for instance. What is chalk paint, you might ask? Think of it as a texture-forward paint made to mimic the feel of weathered surfaces. With that in mind, it can be adapted for marble texture if handled with care.
This paint brings a beautifully matte, velvety finish that works wonders for props and larger surfaces. It doesn’t glide like acrylics, and it needs sealing to stay durable. It also creates a soft, aged stone feel that’s perfect for stylized designs.
Techniques
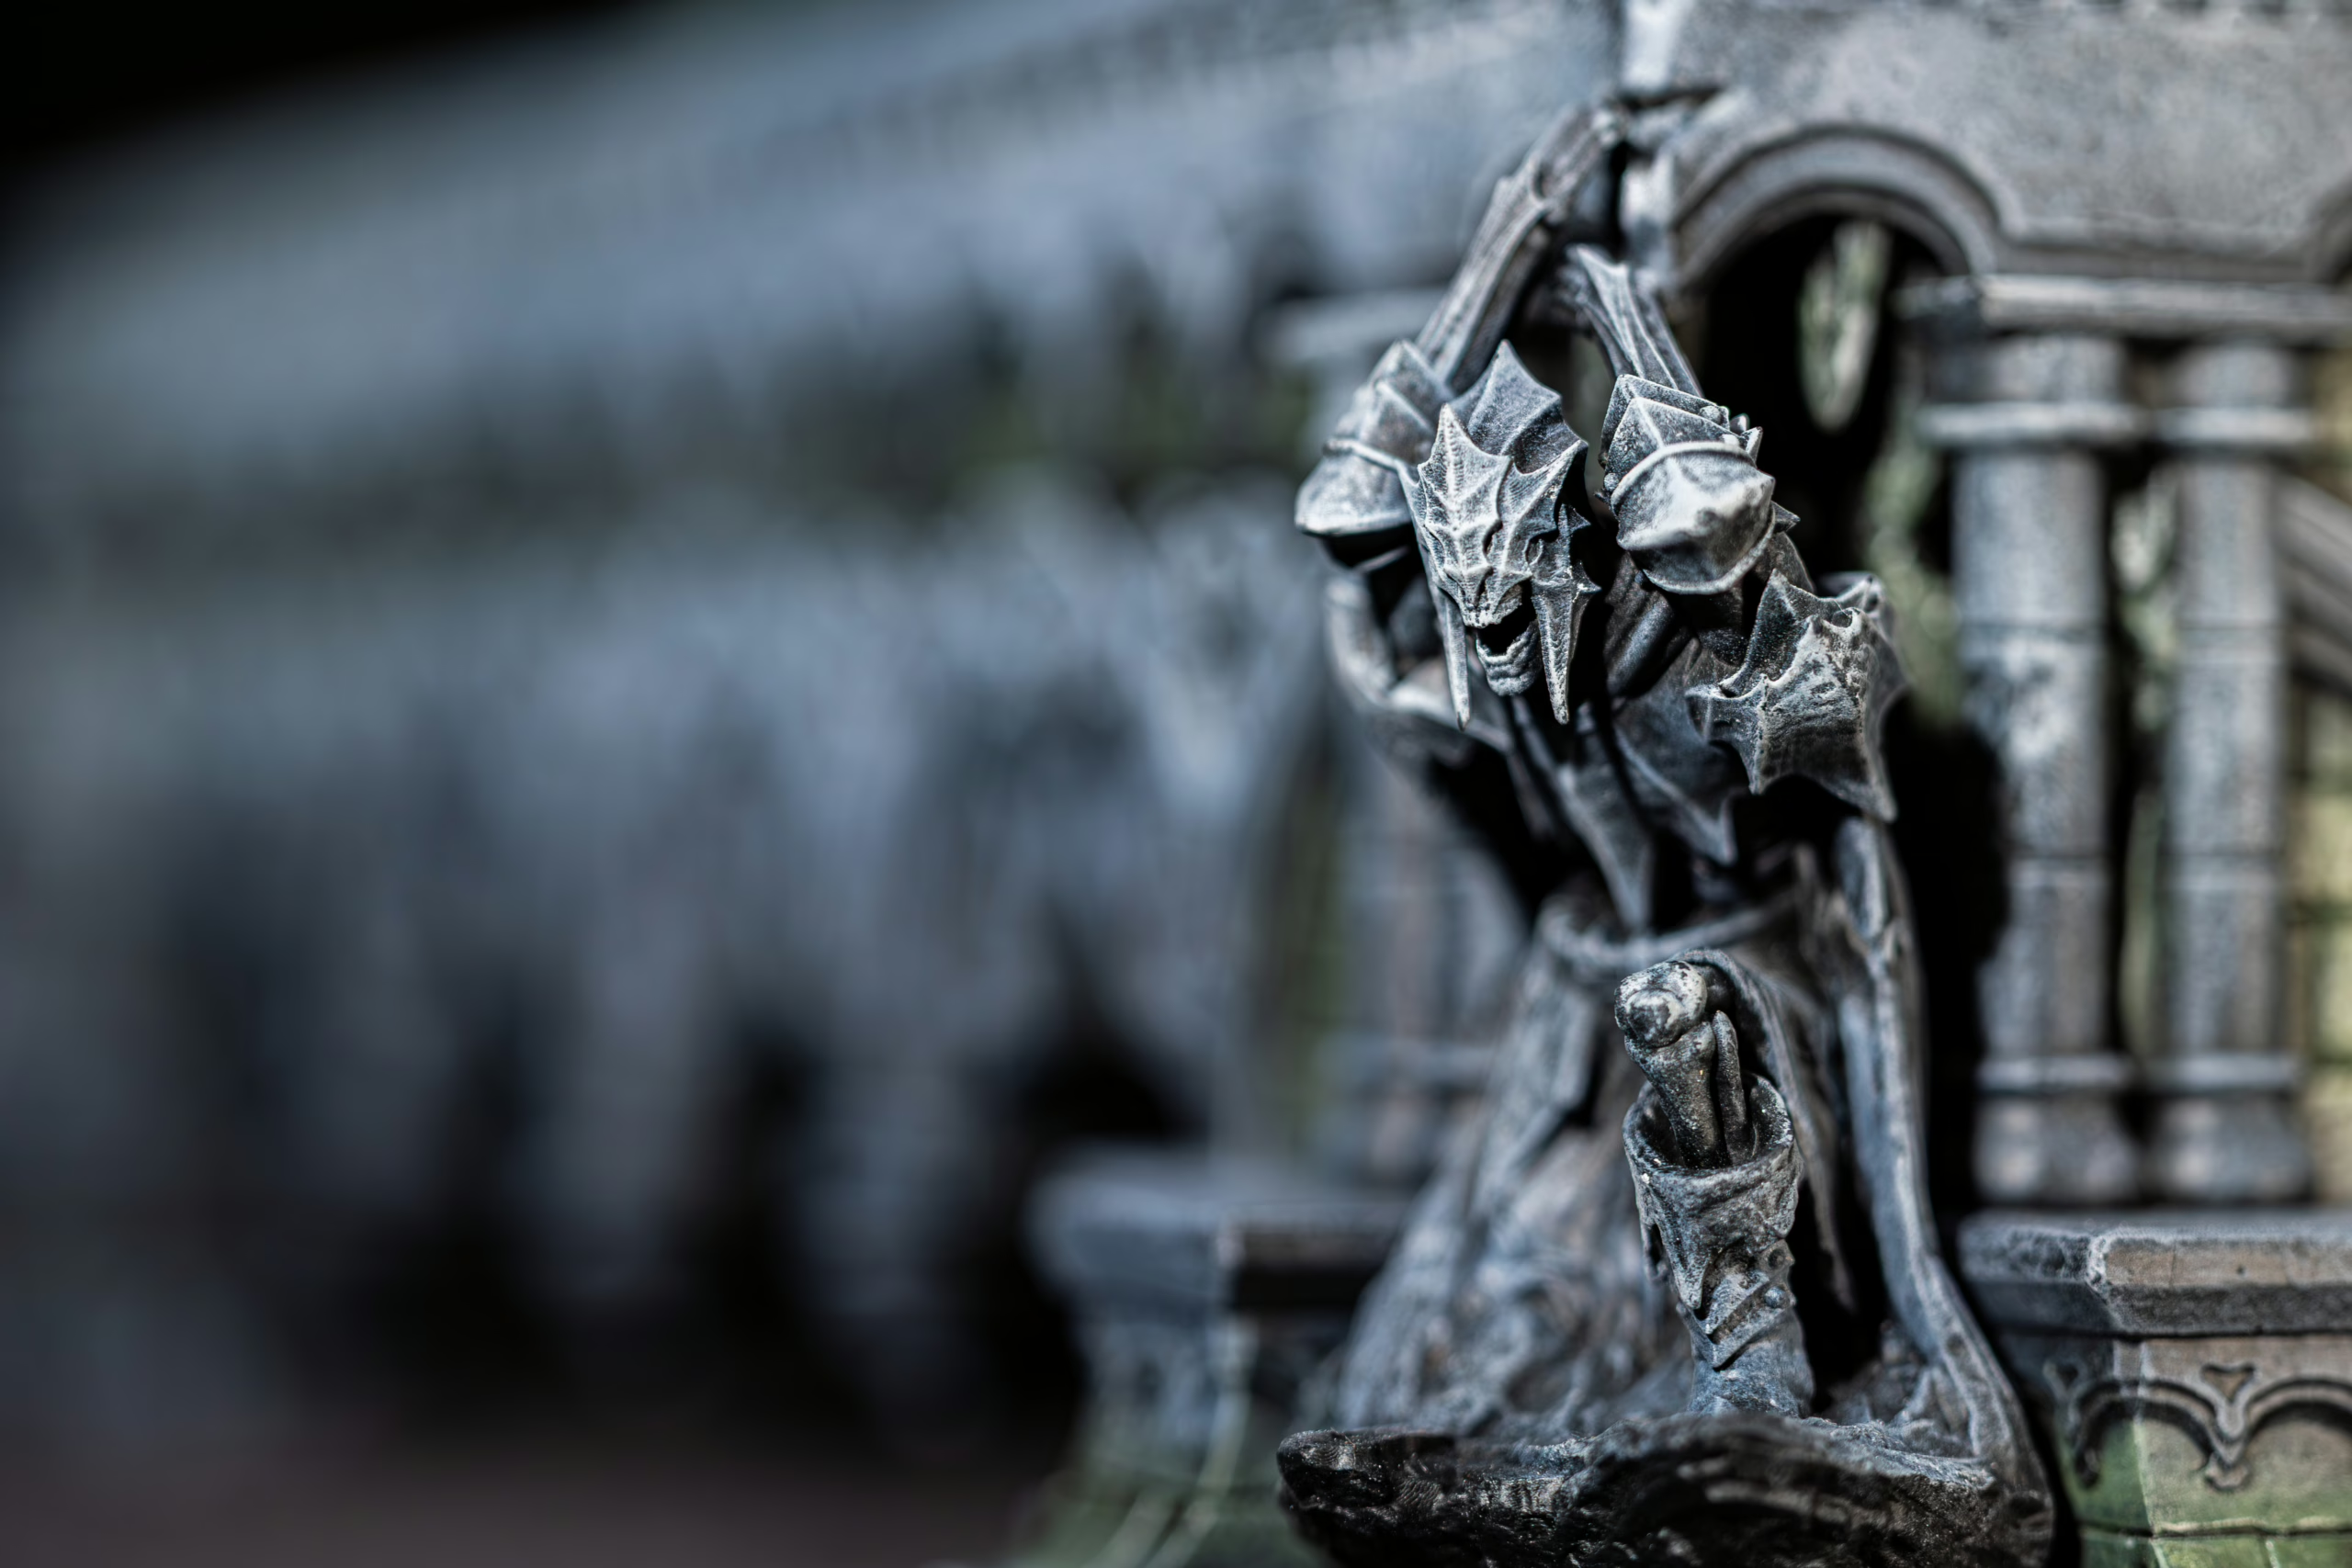
When it comes to painting with acrylic paint, keep in mind that technique matters as much as materials. Thinning in small increments is key — you want to understand how your paint behaves when you stipple or spatter it. Whites tend to darken as they dry, so keeping a damp brush handy to blend or brighten veins later is a must. These small adjustments make all the difference when you’re trying to capture that layered, translucent quality of real marble.
How Do You Create the Marble Effect?
The next step in your creative journey is learning how to paint marble veins. That is the detail that turns flat paint into stone. Creating a convincing Marble Effect is a mix of observation and control. Start by studying reference photos to understand how veins run, where highlights appear, and how colors blend.
White Marble
Begin with a clean, primed surface. For white marble, prime white or light gray. Base with a warm light gray, such as Army Painter Ash Grey. Create your marble texture by fraying a piece of sponge and loading it mostly with white and a touch of your base gray.
Dab randomly and work square by square for boards or section by section on larger miniatures. Let dry and reapply where whites appear darker after drying. Next, paint thin veins using a dark gray like ProAcryl Dark Neutral Grey.
You can vary line thickness and direction, and stipple a very diluted wash over these lines to fade them into the base. Small highlights in Scale 75 Victorian Brass add subtle opulence. Finish with glazes of pure white to smooth transitions and correct mistakes, then seal with the appropriate varnish.
Green Marble
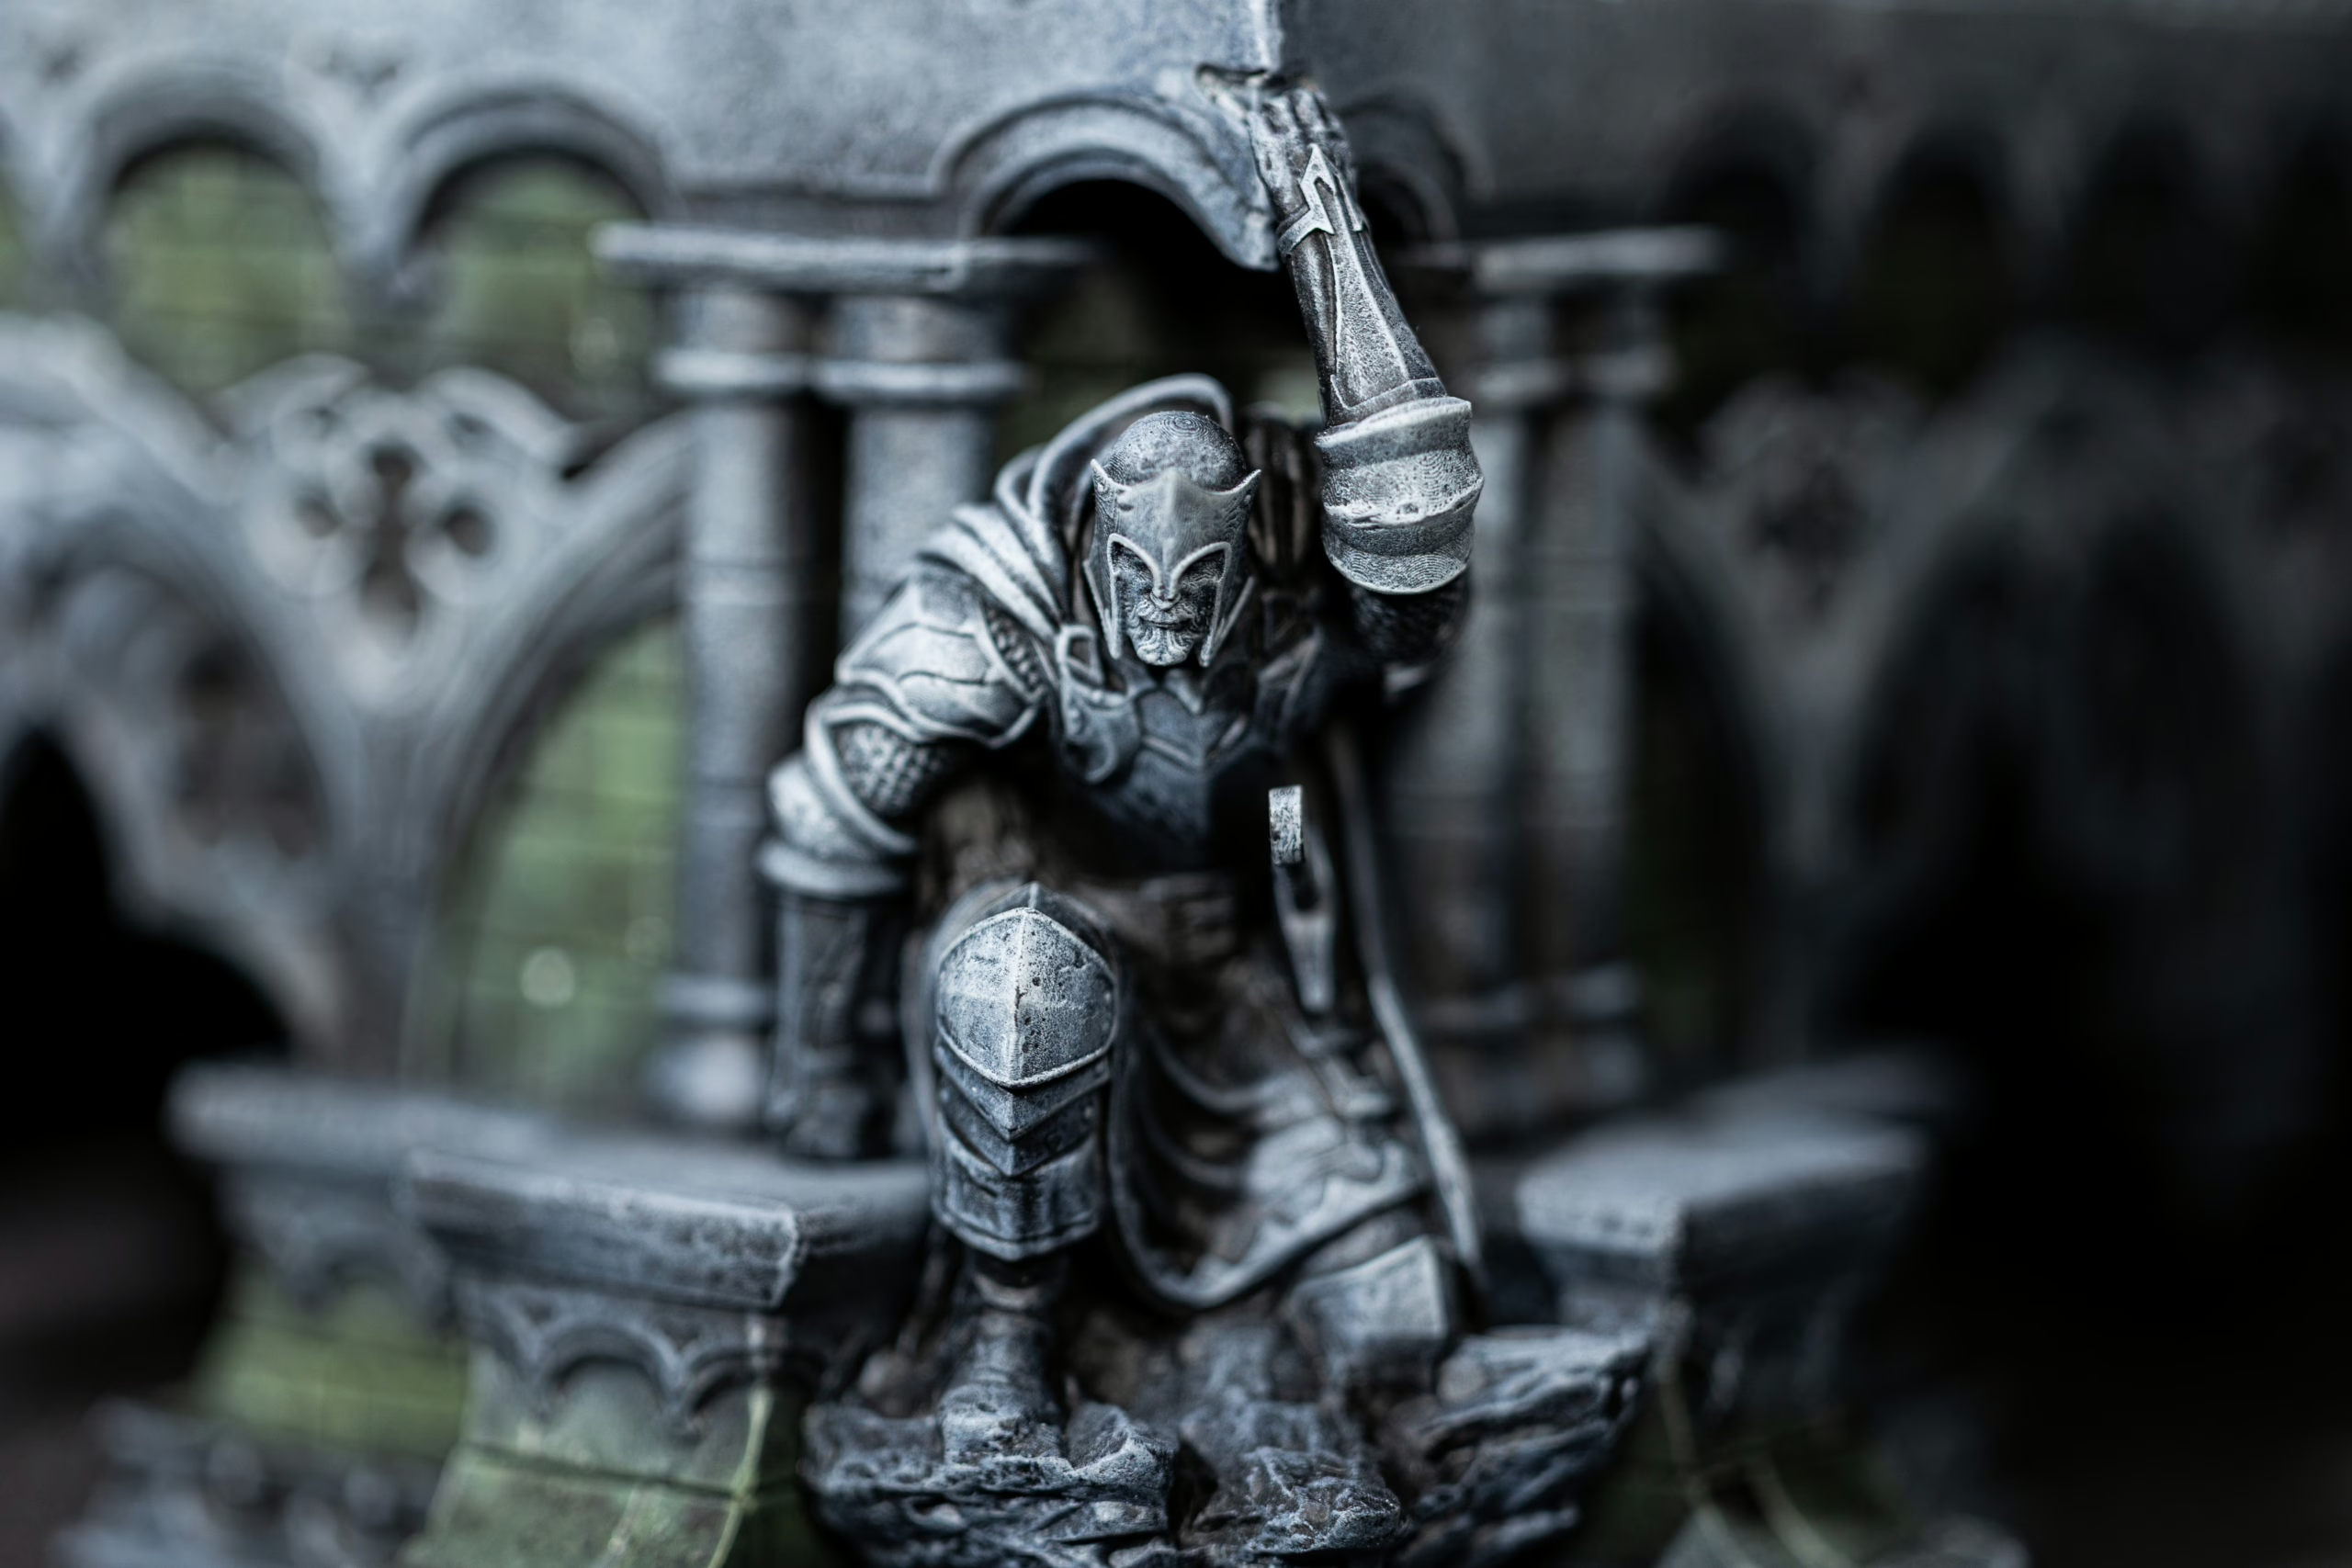
For green marble, repeat the process but start with black, work with saturated dark green and a light desaturated green for texture, then trace veins with light gray and glaze them to soften. Remove masking tape only after sealing for crisp edges.
Every artist develops a rhythm for this, but the secret lies in variation. Mix the direction of your veins, play with thickness, and don’t be afraid of imperfections. Natural marble is random and unpredictable, which is exactly what gives it beauty. The same goes for how to paint marble bases — scaling your veins and colors to fit the piece keeps the illusion believable.
Marble Effect on Miniatures
And if you’re working on miniatures, how to paint marble effect miniatures becomes a question of precision and restraint. The smaller the piece, the more important it is to stay subtle. Thin, diluted layers of paint preserve the sculpture’s details while giving just enough color depth to suggest real stone. Adapt scale and pressure. Splash diluted paint for random veining and then refine lines afterward. Dry brushing and targeted washes will help blend high-contrast areas into believable stone.
Metallic touches, like a soft trace of gold over thicker veins, can elevate the look — just make sure not to overdo it.
In the end, painting marble isn’t about copying nature perfectly. It’s about suggesting it — building layers of marble texture, controlling your light and color flow, and knowing when to stop. If you ever feel lost, reference real marble photos or slow down to experiment with color mixes. You’ll start to notice how each brushstroke contributes to the illusion.
Popular Color Combinations & Styles
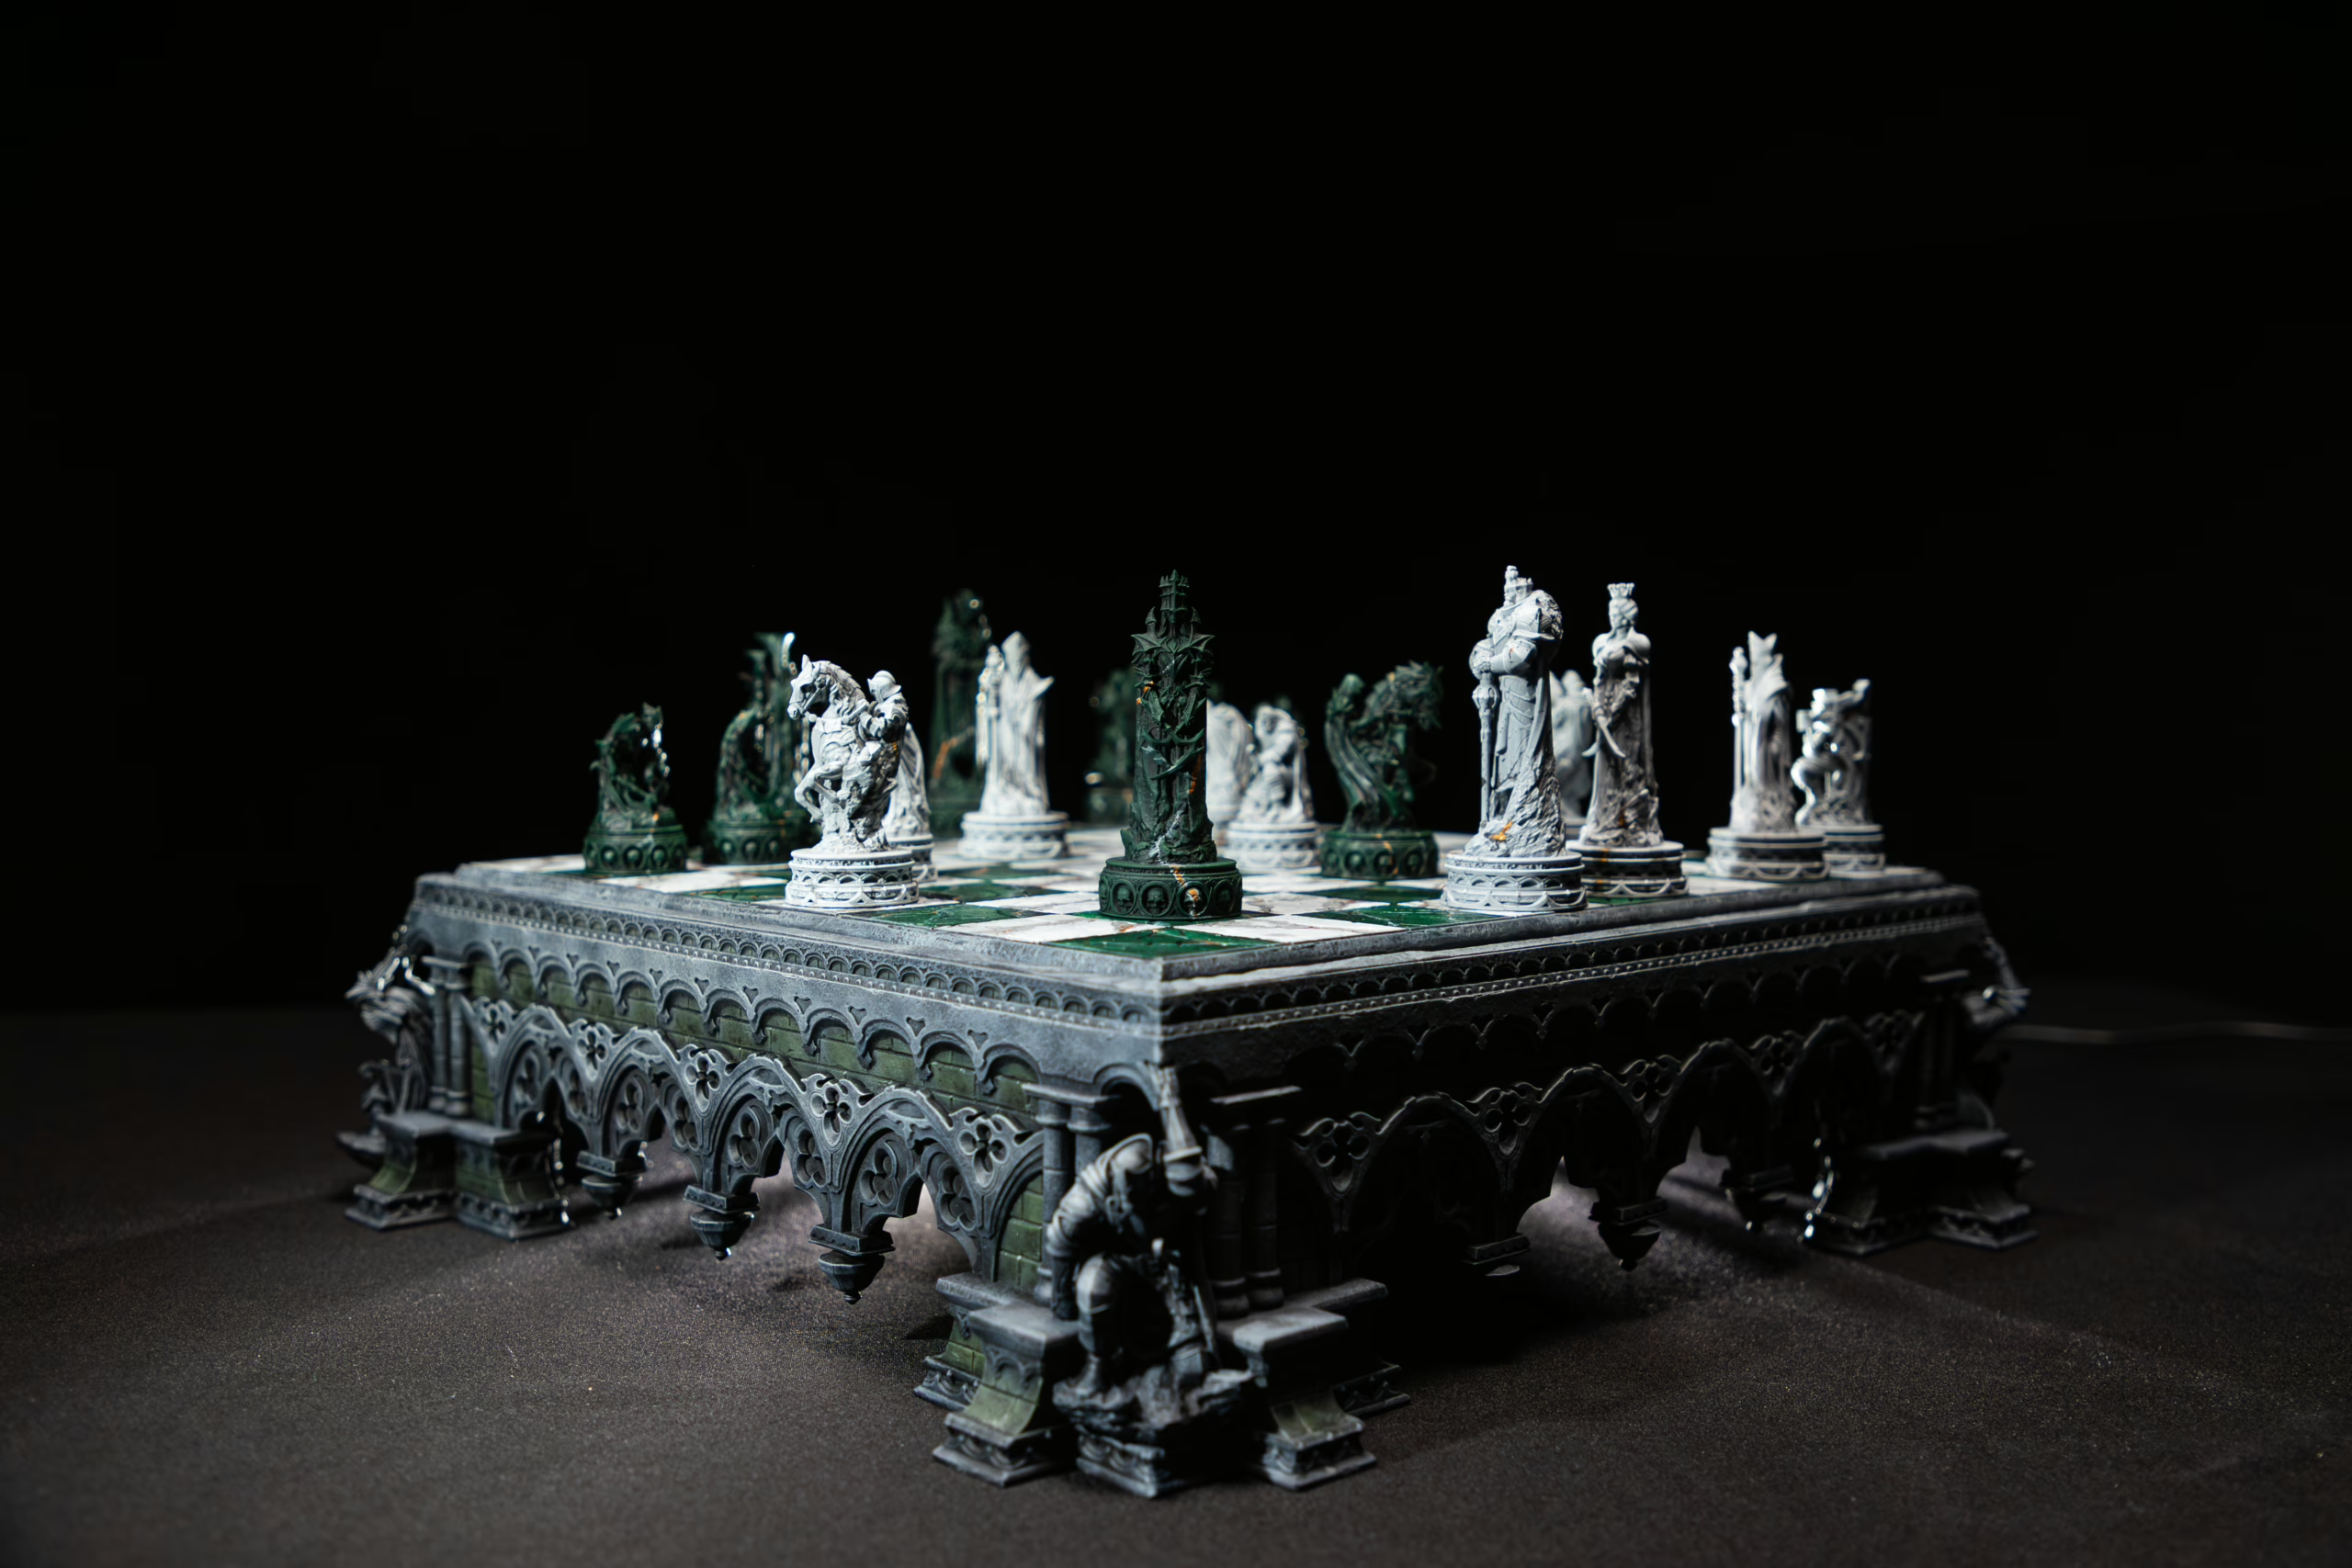
There are infinite looks, from white Carrara-like slabs to dramatic black marbles with bold white veins and even exotic green marbles with golden flecks. Popular pairings for miniatures are warm light gray with pure white highlights for classical floors, and deep forest greens with subtle gray and gold accents for regal or fantasy boards.
When you experiment, think about contrast: higher contrast veins read well on gaming boards at distance; subtler veins work for close up pieces and small bases. Try mixing a dominant dark color with a desaturated light color for a modern look, or warm gray and slightly yellowed whites for aged stone.
Final Tips and Troubleshooting
If veins look too harsh, soften with a damp brush or glaze over with a very thin white or mid-tone. If the texture appears too repetitive, vary sponge pressure, switch sponges, or add freehand stippling. And, if whites darken when dry, reapply highlights strategically. Always keep reference images handy and test new color combinations on scrap pieces before committing.
And if you’re ready to take it further, our YouTube video on how to paint a marble effect walks you through the process step by step, from classic white to rich green marbles. Watch it in action, see how the colors behave, and then make it your own. Once you get the hang of it, you’ll realize that painting marble isn’t just about technique — it’s about patience, observation, and the joy of turning paint into stone.
Loot Studios can help you tell your story through highly detailed miniatures. Choose your favorite bundle from our previous releases or sign up for Fantasy or Sci-Fi to receive at least one new bundle every month. You can also check out some tips on our YouTube Channel.


