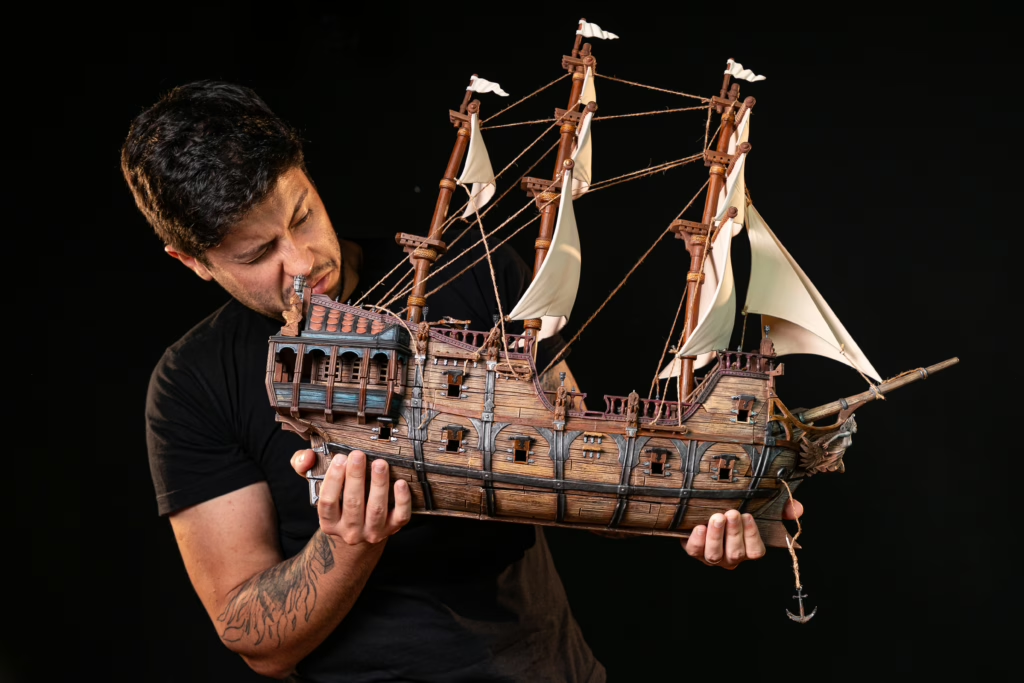
This is how you know the difference between average and premium miniatures
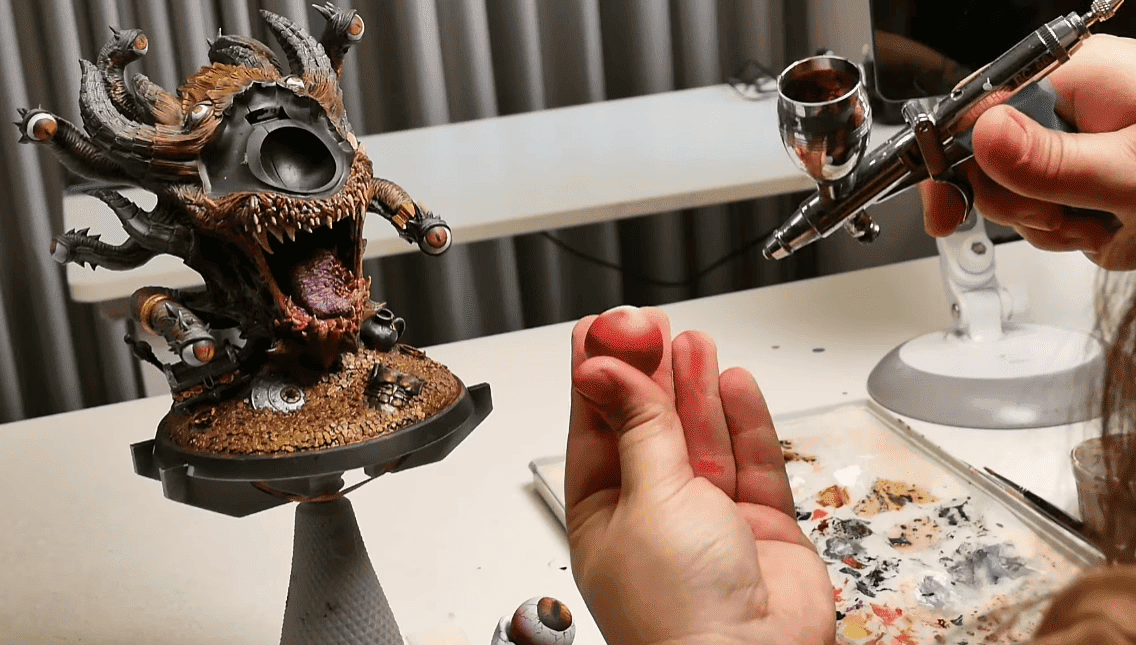
There’s a specific sound every enthusiast knows. Not the pop of a support releasing cleanly (but we DO love that). It’s another sound! A sharp, dry crack that means something important just broke, and that sound alone throws away the last 6 hours of printing. And, let’s be honest, that’s not what you expect from premium miniatures.
The thing is: It’s not bad luck (at least, not always). That is a symptom of something bigger.
But now you might be wondering:
“Well, my printer is calibrated, my FEP is brand new and right placed, what the heck could it be?”
If your setup is okay, then the problem might be something you’d never expect: The mini itself. This article is a look inside that process, what it involves, what the team looks for, and why it matters for every miniature that carries the Loot Studios name.
What “Premium Miniatures” Actually Means in Resin Printing
First, let’s make something clear. The word ‘premium’ is used loosely; it must be defined precisely.
A premium miniature is one that survives its own lifecycle:
- printing
- removal
- washing
- curing
- handling
- painting
- tabletop use
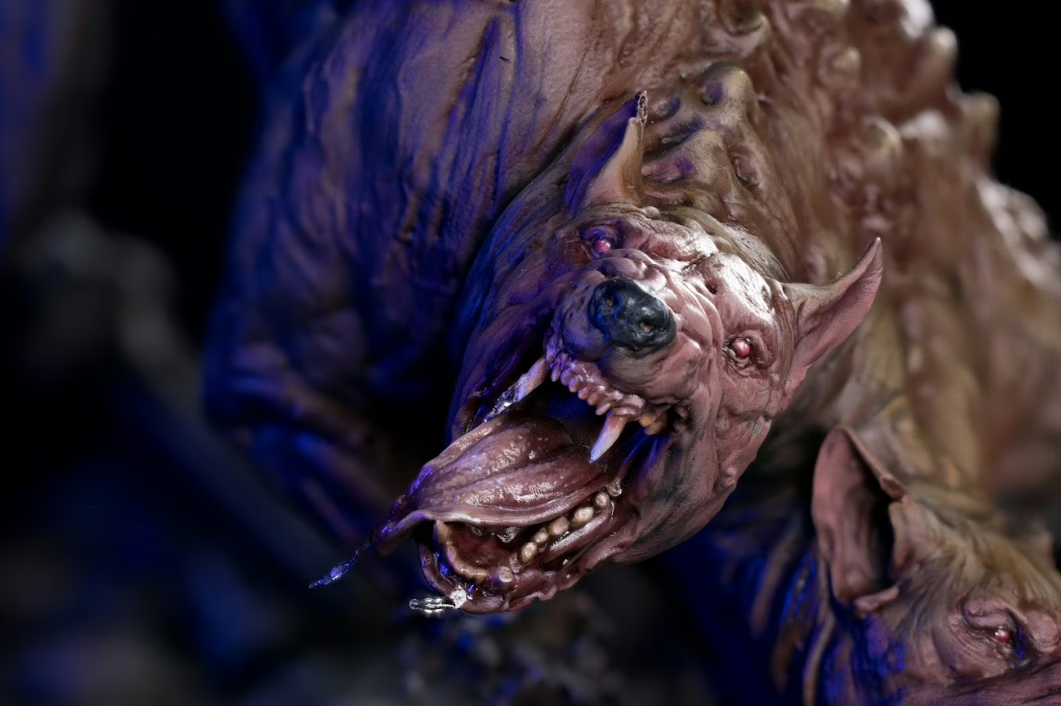
All of that without requiring intervention at every stage. It must hold details at the scale it was designed for, release from supports without scarring, and feel solid rather than fragile when a player picks it up.
And that, my fellow Looter, is the result of decisions made long before the resin ever hits the vat. I’m about to be a little technical here, but stay with me!
Those decisions fall into four domains:
- Geometry: Is the sculpture physically viable at this scale and in this material?
- Support strategy: Are supports placed to protect the detail and ensure a clean release?
- Exposure calibration: Is the resin cured enough to be stable, but not so much that it becomes brittle?
- Post-processing discipline: Are washing, curing, and finishing treated as precision steps, not afterthoughts?
Each domain can independently produce a failure. Understanding them together is what separates a reliable pipeline from a series of expensive experiments, and that is what we are going to talk about below!
The Real Reasons Resin Prints Fail
Most troubleshooting advice online circles back to the same three answers:
- Level the bed.
- Increase exposure.
- Check your FEP.
Those are valid starting points. But for a premium miniature scale work (the kind we deal with EVERY SINGLE DAY at Loot Studios), failures are usually more nuanced than that.
Geometry Problems: When the Sculpt Can’t Survive Itself
Resin is not forgiving of thin cross-sections. A sword blade that looks elegant in a digital render may be 0.3mm wide at a 32mm scale, but it will still snap. Not because you mishandled it, but because it was designed for visual impact without considering material physics.
The fix isn’t always “make it thicker”. Sometimes it’s orientation, tilting a blade so that peel forces act along its length rather than across it. Sometimes it’s adding a small sacrificial support spine that gets removed after curing. The point is that geometry problems need geometric solutions, not just exposure tweaks.
Before printing, look for:
- Cross-sections thinner than 0.8mm at your target scale
- Long horizontal spans with no midpoint support
- Cantilevered elements (outstretched arms, horizontal weapon shafts) with no connection point to the structure below
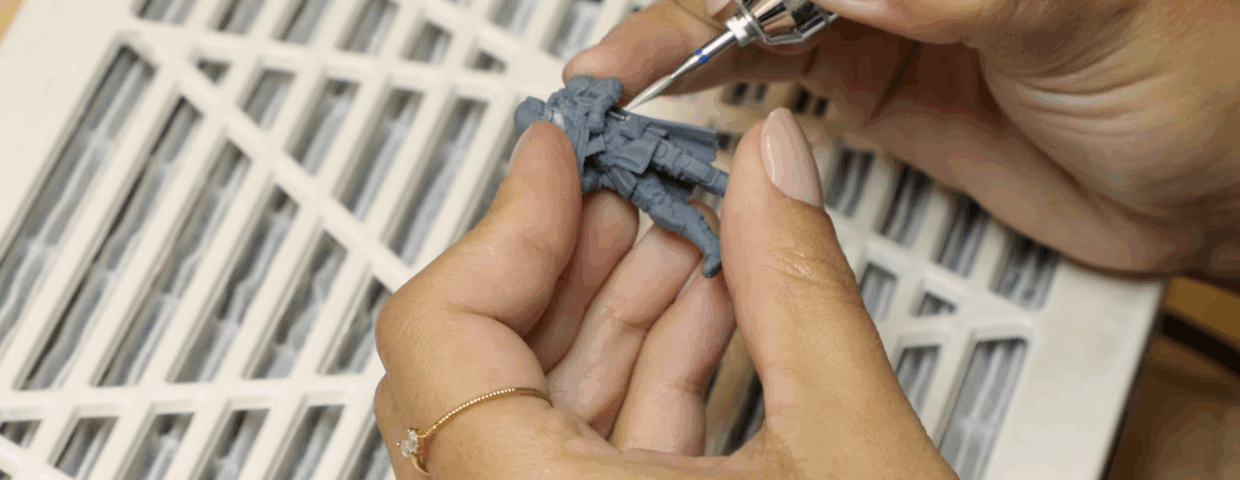
This is why every file we release at Loot goes through a full technical mesh review before it ever touches a slicer. If a sword is so thin that it’ll snap when someone picks it up, we go back and thicken the geometry without sacrificing the sculpt’s visual read (making all the calculations possible). It’s a balance between art and engineering, and it has to happen before the print, not after.
Support Failures: The Two Mistakes That Destroy Minis
Supports exist to solve a physics problem: during printing, each layer must be anchored against the peel force that separates it from the FEP. Without support, geometry fails, deforms, or detaches entirely.
The two most common mistakes pull in opposite directions.
Under-supporting causes print failures: islands that don’t connect, sections that warp mid-print, and entire pieces floating in your vat.
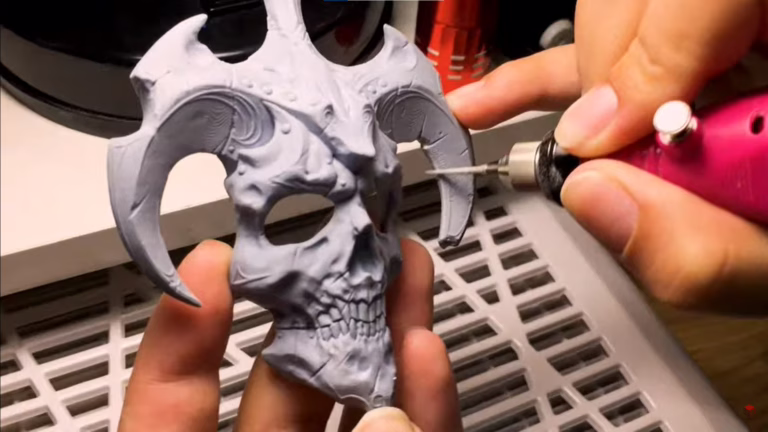
Over-supporting / poorly placing supports causes finishing failures: Supports that land on the hero face of a miniature (the forward-facing, detail-rich surfaces your eye goes to first) leave contact scars that require sanding, filling, and re-texturing. Do it imperfectly, and the detail is gone forever. Do it perfectly, and you still lost an hour you shouldn’t have needed.
The goal isn’t maximum support coverage. It’s the minimum necessary support, placed on surfaces the viewer won’t scrutinize. That requires understanding the geometry in three dimensions and making deliberate choices, not just clicking “Auto Support” and hoping for the best. That might work here and there, but trust me when I say this, you’ll have some problems throughout most of the process.

When support is wrong, you’ll see:
- The piece falls, warps, or delaminates mid-print
- The support tears the detail instead of popping free
- Large contact craters in areas that can’t be sanded without losing texture
- Hundreds of tiny nub marks because the auto-support blanketed the whole surface
- Marks landing right on the face, hands, or weapon details
When support is right:
- The piece prints completely
- Supports pop free with minimal pressure
- Marks land in low-visibility zones
- Finishing takes minutes, not hours
At Loot Studios, we do a deep technical review of every mesh before placing a single support. We look for islands that will fail, identify the hero surfaces, and place contacts where they won’t ruin the areas your players will actually look at. Then we test across multiple printer families (Elegoo, Anycubic, Phrozen) because what works on one machine can fail on another. When you download a Loot Studios miniature STL file, that research is already done. You wake up to a premium miniature, not a mess, in your vat.
If you want to know a little more about printers and resins, take a look at this video on our YouTube channel!
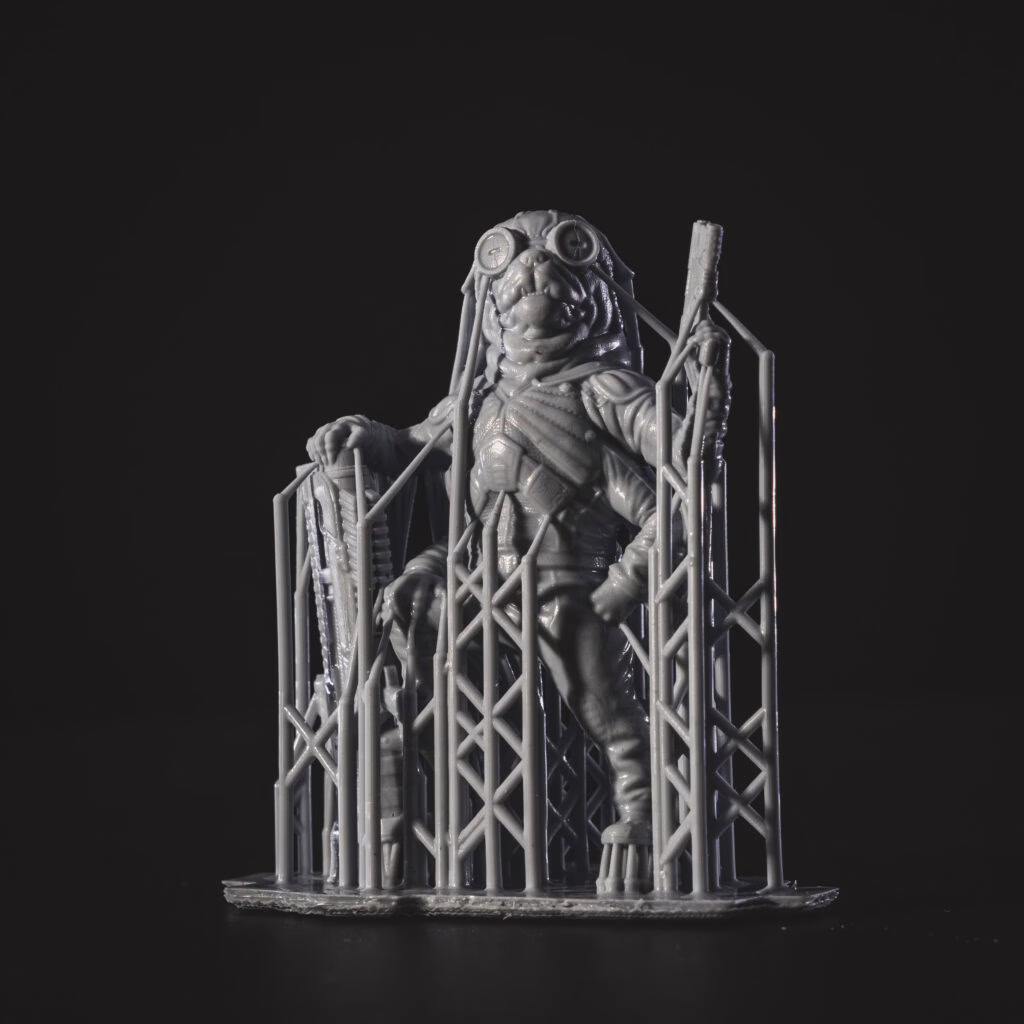
The Internal Void Problem Nobody Talks About Enough
Hollow printing is standard for large pieces. It saves resin and reduces suction forces on flat-bottomed geometry. But hollowing without drain holes creates a failure mode that shows up weeks or months after the print looks finished.
Uncured resin trapped inside a hollow model doesn’t evaporate. It keeps reacting slowly with ambient UV light and heat. Over time, the pressure builds against the shell, and eventually you’ll hear a popping sound… Yeah, minis explode when you don’t have the drain holes or close the ones from your minis.
And yes, we learned that in the hard way, after losing several minis that were already finished…
Exposure: The Range Between Two Different Failures
Under-curing gives you rubbery, tacky prints that warp as they continue curing under ambient light.
Over-curing gives you rigid prints that feel solid, until you apply any lateral pressure. Over-cured resin is internally stressed. It snaps instead of flexing. Chips instead of denting. That’s the brittleness behind every “snapped sword” story in this hobby.
The correct exposure isn’t the maximum that produces a complete print. It’s the minimum that produces a dimensionally accurate, stable print with consistent layer adhesion. For most hobby resins, that sweet spot is narrower than people expect. It’s worth finding precisely through a calibration print, not guessing from forum posts.
How long should I cure miniatures, and can I over-cure them?
Yes, over-curing is a real problem. Most standard hobby resins are fully cured in 20 minutes in a UV station, roughly 10 minutes per side. Beyond that, additional UV exposure keeps cross-linking the polymer network, making the piece increasingly brittle. A correctly cured piece feels rigid but not glassy. If pieces are snapping under normal handling pressure, over-curing is a likely contributor. Also: never cure a shiny miniature. If the surface is still shiny after washing, it hasn’t been washed enough. Cure it shiny, and that finish gets locked in permanently.
A simple calibration test
Print a test matrix across a 20% range around your current setting. The right exposure produces the sharpest fine detail without over-expanding thin positive features. Document it per resin, per printer, and per temperature range (cold rooms require longer exposures).
And if you want to know which test we use here, take a look at our 3D printing hero course!
Finishing Is How You Read the Miniature
Most people treat post-processing as cleanup or the tedious phase you push through to get to painting. That’s a limited way to think about it.
To us, finishing is a diagnostic tool. Every miniature that arrives at our finishing station carries a full history of everything that happened before it got there. The finishing stage is where that information becomes legible, if you know what to look for.
When finishing takes longer than printing, that’s not a finishing problem. It’s a printing problem that finishing is absorbing. The cleanup time is the signal.
A well-dialed pipeline produces prints that finish in minutes, not hours. If your cleanup is eating your evenings, something upstream needs attention. Then again, it is a very stressfull process for a premium miniature, don’t you think?
The Almond Oil Trick
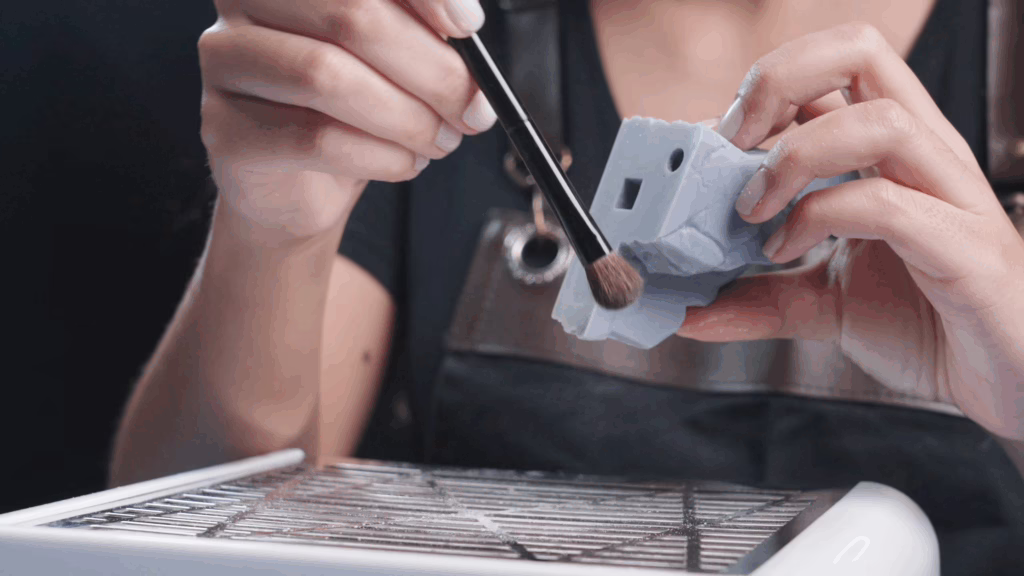
After sanding, you’ll sometimes get white “ashy” marks from abrasion, which are difficult to remove without damaging the surrounding detail. If you are going to paint the mini, that’s not a problem! Just keep it dust-free, spray primer, and that’s it.
Now, if you are going to keep them unpainted, apply a small amount of almond body oil with a soft brush, then remove the excess. That way, you can give a finishing touch to your minis and have them made beautifully!
Pre-Supported Files: What the Label Actually Guarantees
“Pre-supported” appears on almost every STL listing, and the term has nearly lost its meaning. It currently describes everything from rigorously tested production files to a five-minute auto-support job that was never printed before being published.
The distinction matters. A file that was auto-supported and never test-printed may work fine on the creator’s specific machine configuration, and fail on yours. Printer model, FEP condition, ambient temperature, resin brand, and even vat age; all affect what a file needs to print successfully.
A genuinely reliable pre-supported file has been:
- Manually reviewed and checked for unsupported islands, thin cross-sections, and contact placement.
- Test-printed on at least one physical machine.
- Reviewed for drain hole placement on any hollow geometry
When evaluating a file publisher from a premium miniature, the most honest signal isn’t their render quality. It’s whether they show print photos instead of renders, publish orientation guidance, and stand behind their files when something doesn’t work.
That’s the standard we hold ourselves to at Loot. Every file gets tested. Every support gets reviewed by hand. Because we know that the DM opening that file at 8pm on a Friday night doesn’t have time for a support failure, they have an encounter to prep.
Multi-Part Assembly: The Tolerance Problem
Multi-part miniatures introduce a failure mode that has nothing to do with printing quality: parts that simply don’t fit.
Resin printing is dimensionally accurate within a range, but that range matters for tight-tolerance joints. A shoulder socket designed with 0.1mm clearance in the file may need 0.2–0.3mm real-world clearance to account for resin expansion, orientation effects, and support removal cleanup.
If you’re consistently fighting fit issues on multi-part files, try a clearance test print before committing to the full model. Print just the joint components, test the fit, and adjust scale or clearance in the slicer first.
For gaps that make it to assembly, a resin-talc paste ( uncured liquid resin mixed with talcum powder until you get a yogurt consistency) creates a gap filler that cures rigid under UV and sands cleanly. Stronger and more sandable than cyanoacrylate for this application. Spot-cure with a handheld UV torch, work the texture to match the surrounding surface, and the repair disappears under primer.
Why This Matters at the Table
There’s a downstream consequence to all of this that’s worth being direct about.
A miniature that needs extensive repair before painting requires more skill and more time from whoever is using it. That’s fine for experienced hobbyists who enjoy craft work. But for the Dungeon Master who needs six enemy units ready for Saturday, or the player who wants to paint their character without also rebuilding it, the print quality isn’t a preference. It’s the difference between a usable product and one that sits unfinished in a drawer.
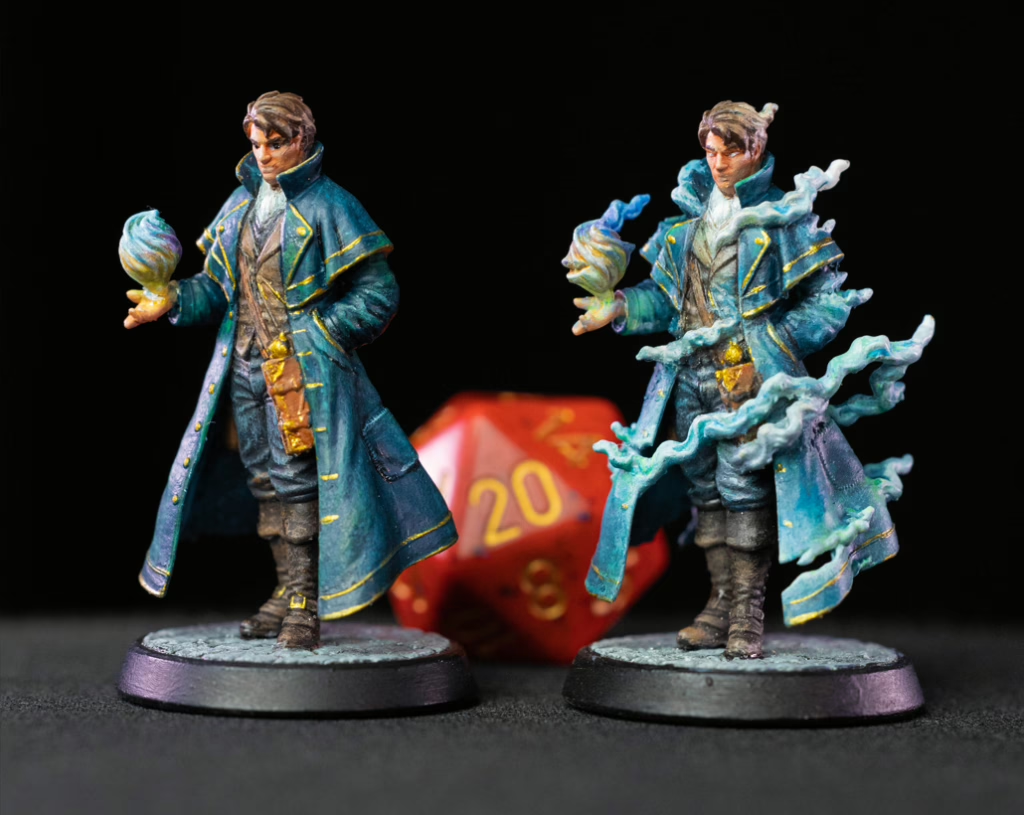
When you drop a massive, high-detail resin boss on the table, the energy in the room shifts. Players lean in. Their eyes go wide. The physical presence of a well-made miniature anchors the story in a way theater-of-the-mind simply can’t.
A miniature covered in support marks, or with an arm glued on at a slight angle because the plug didn’t quite seat right doesn’t anchor the scene or hook the players. It distracts them. Players see a print that needed more work, not the Lich they’re supposed to fear.
RPG miniatures are the bridge between the story in your head and the reality at your table. When that bridge is built with quality, the immersion holds.
Common Failures and Their Causes
Snapped thin features (swords, staffs, fingers): Geometry + exposure. Thin features are fragile by nature at scale; over-curing makes them brittle. Review orientation and exposure calibration.
Support contacts tearing the surface: Tip diameter too large or contact depth too deep. Reduce both, and keep contacts off high-visibility surfaces.
Print detaching from the build plate mid-print: Insufficient bottom exposure layers, contaminated plate surface, or cold room temperature. Check the bottom layer multiplier and plate adhesion.
Hollow model cracking weeks after printing: Trapped uncured resin in an internal void. Confirm that drain holes exist and are clear before and after washing.
Tacky surface after UV curing: Wash it thoroughly the first time. If it is still tacky, you have two options: Sand it during the finishing process or re-print the mini.
Warping on large flat pieces: Suction forces without drain relief. Add drain holes, use a raft, or split the geometry.

Build Quality Into the Process, Not Into the Cleanup
The consistent thread across every failure above is this: quality that has to be repaired at the end of the process is quality that was lost somewhere earlier. Support scars, thin features, internal voids, fit problems, and none of these are best solved at the finishing stage.
They’re best prevented at the planning stage.
The hobbyists and studios who produce consistently excellent work aren’t more skilled at cleanup. They’ve built a process where cleanup is minimal because every prior step was done deliberately. That’s the standard worth working toward.
Start with files designed for printability. Calibrate your machine once, properly, and document it. Treat support placement as a craft decision, not a slicer checkbox. Give post-processing the same respect as the print itself.
The result isn’t just better miniatures. It’s a hobby that feels like making things instead of troubleshooting them.
If you want to see exactly how our printing process works, our 3D Printing Hero course is completely free and will guide you through the whole process, helping you print the same way Loot Studios does.
Loot Studios can help you paint highly detailed minis, statues, terrains, and props. Choose your favorite bundle from our previous releases or sign up for Fantasy or Sci-Fi to receive a new bundle every month. You can also check out some tips on our YouTube Channel.

Robert, also known as Rob, is an artist, English teacher, and lifelong RPG enthusiast. When he’s not sketching worlds or guiding learners through language, he’s diving into dice-rolling adventures and uncovering the magic that makes tabletop storytelling unforgettable. Fuelled by imagination and curiosity, Rob has spent years immersed in the RPG community, studying its stories, creatures, and creativity. He currently works in the marketing department at Loot Studios, where his passion for fantasy, minis, and the RPG universe fuels everything he does. Always with one foot in the real world and one in the realms of adventure, Rob celebrates art, language, and the joy of bringing ideas to life, whether at the table, in class, or behind the scenes.