Best Finishing Tips for Resin Miniatures
Learn how to make your minis look way cooler!
If you’ve ever worked with resin miniatures, you know the excitement of pulling a detailed figure from your printer’s vat. But here’s a secret: the real magic happens after printing. That’s when finishing steps transform a good mini into an outstanding centerpiece for your game table. Whether you’re just starting out or already a seasoned hobbyist, mastering finishing techniques is what takes your miniatures from decent to professional quality.
Why Is Finishing So Important?
When a resin print comes fresh out of the curing chamber, it’s far from complete. Small support marks, surface dust, and minor imperfections can easily ruin the final result if left untreated. Finishing your resin miniatures not only removes these flaws but also prepares the surface for a flawless paint job or polished display finish. In short, finishing is what separates hobby prints from showcase pieces.
Lucky for you, we’ve separated some important tips to adhere to your printing routine. Here they go:
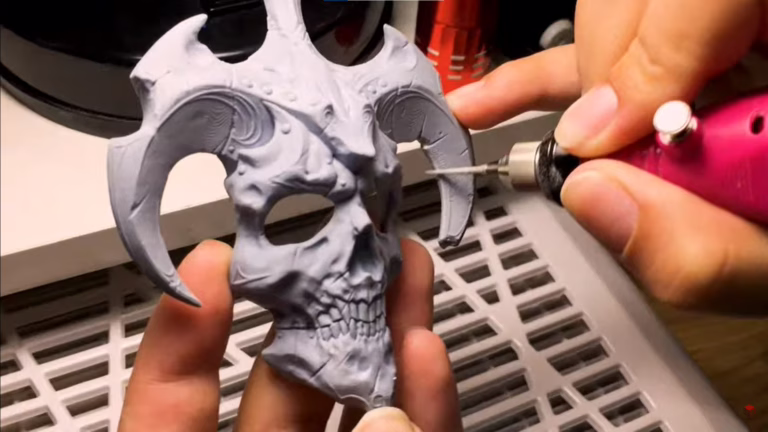
Tip 1: Sanding Tools
One of the must-have tools is a nail drill with diamond bits. Look for a lightweight model that makes changing bits easy. This will save you time and effort. Once your miniature has been cleaned and cured, you’ll likely notice small support marks on the surface. Different diamond bits handle different areas: cone-shaped bits are perfect for tiny details and hard-to-reach spots, especially on 32 mm miniatures; triangular bits work best for straight edges and joint areas; and larger bits are ideal for bigger surfaces like terrain pieces and statues.
If you prefer a manual approach, crafting your own sanding tools using wooden sticks and sandpaper is a great alternative. This method lets you tackle small details by hand, almost like a meditation exercise, while you refine your piece. Whatever technique you use, always remember to wear a dust mask during sanding. Resin dust is something you definitely don’t want to breathe in.
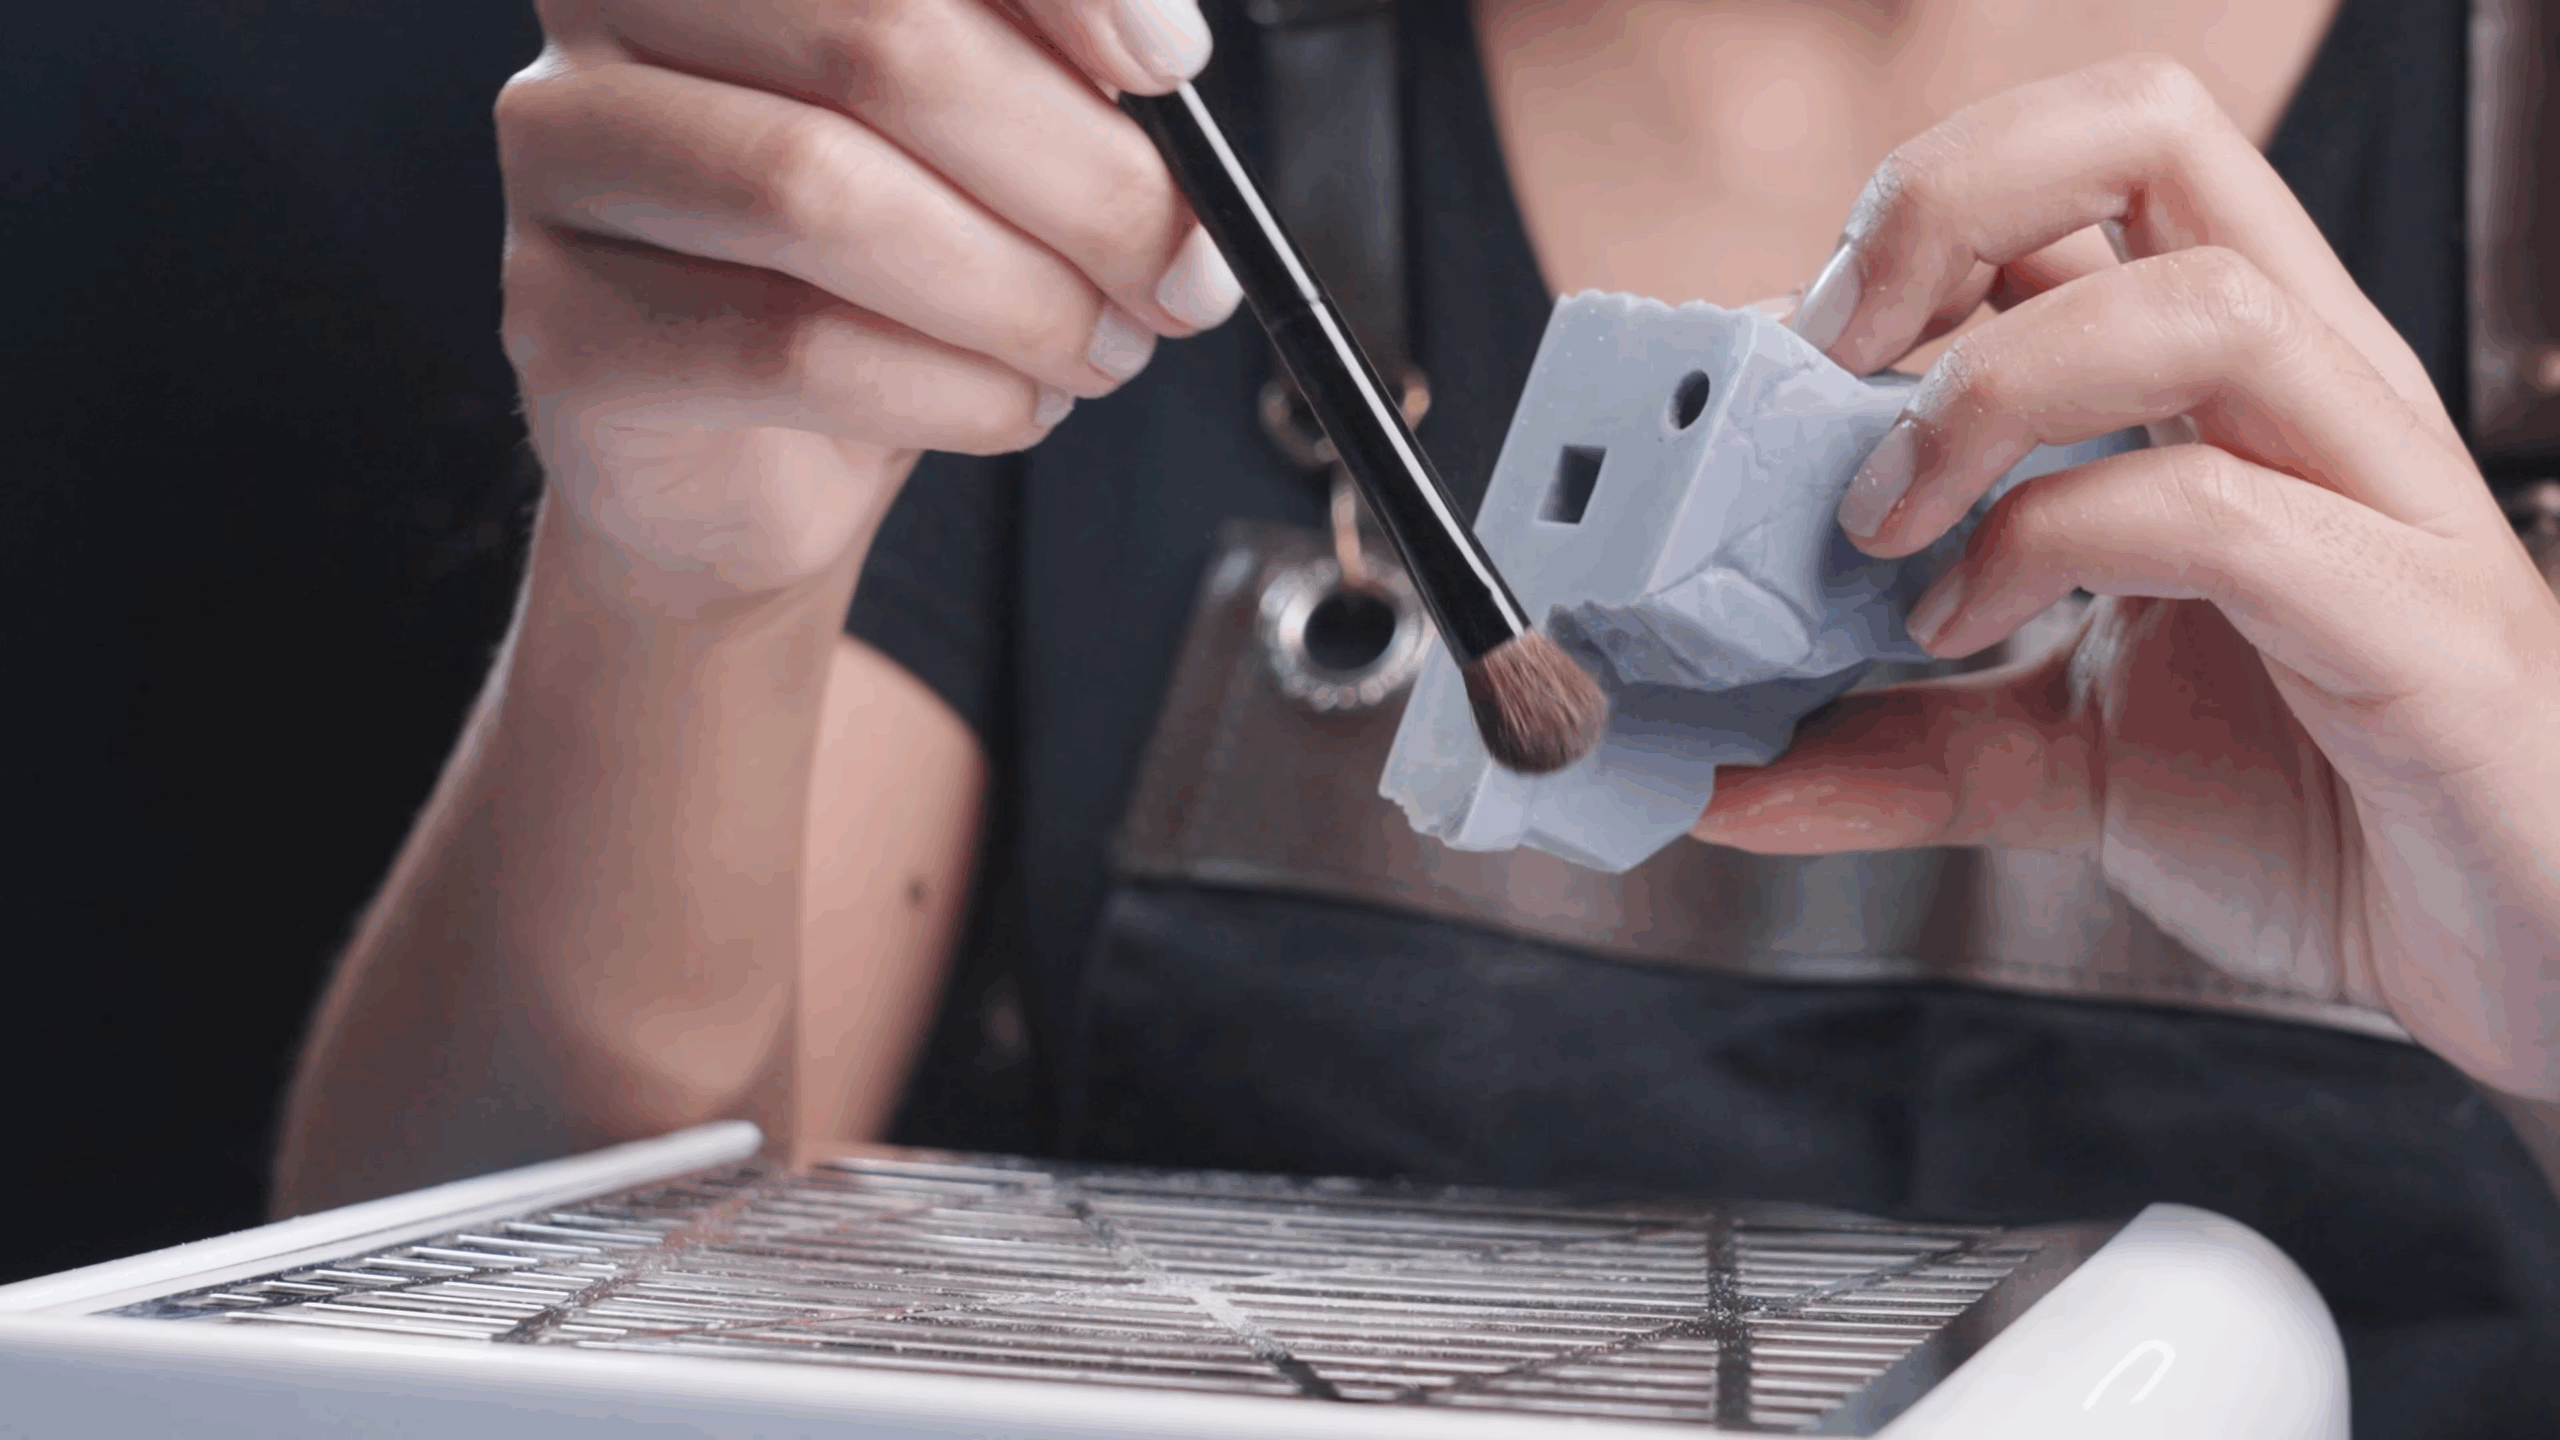
Tip 2: Remove the Dust!
Once sanding is done, your miniature will be covered in fine dust. Leaving this residue behind can ruin your work —and your breathing—, so you need to remove it completely. Using a nail dust collector while you work is an efficient way to keep dust levels low. After that, a soft brush helps clear away the remaining particles.
Even so, stubborn dust can cling to the surface, giving your miniature a white, powdery appearance. To fix this, apply isopropyl alcohol to deep-clean the surface and reveal hidden imperfections. This simple step helps you check your progress and ensures your mini is coming along well.
Tip 3: Pre-Assemble Before You Glue
Before you even think about gluing, it’s crucial to pre-fit all the pieces of your resin miniatures. This helps you understand how parts connect and ensures everything lines up properly. This step is particularly important for larger models that come in multiple pieces to fit different printer sizes. If something doesn’t fit, don’t worry. Just return to sanding until everything clicks into place.
Tip 4: Best Gluing Practices
When you’re ready to assemble, using the right glue matters. Superglue creates strong, permanent bonds, and for those in a hurry, a glue accelerator can speed up the process dramatically. A handy trick is applying glue to one part and accelerator to the other. When they meet, the bond is almost instantaneous, preventing your pieces from sliding out of place.
Made a mistake? No panic! Simply use acetone or nail polish remover to dissolve the bond, sand the area clean, and try again. Easy-peasy-lemon-squeezy.
Tip 5: The Warping Effect
Resin miniatures sometimes warp slightly, creating small gaps where parts should fit snugly. Thankfully, fixing these gaps is straightforward. A simple yet effective solution is making your own filler: mixing UV resin with baby powder. Adjust the mixture depending on how thick you need your filler to be. Apply this mixture with a silicone brush or a toothpick for precise work, and cure it under a UV LED desk lamp. This allows you to keep one hand on the mini while applying the filler, making the process quicker and cleaner.
If mixing your own putty isn’t your style, there are excellent pre-made products like Greenstuff UV Putty that can do the job just as well.
And remember: Always, AL-WAYS protect yourself, wearing gloves, mask, and UV safety glasses at all times while handling resin. Safety first, people!

Tip 6: Blend Everything
Blending seams and adding texture is the next important step. Use a round file or your diamond bits to smooth out the joints between parts. This not only hides imperfections but also enhances realism. In cases where you need to recreate a texture rather than remove material, apply a thicker putty filler using a toothpick, carefully sculpting the surface to match surrounding details. Like any skill, this takes practice, but over time, you’ll develop the ability to mimic textures like stone, skin, or metal with ease.
Tip 7: Polishing!
One final touch can truly transform your resin miniatures: a smooth, polished finish. While alcohol is great for spotting imperfections during finishing, it can leave behind white sanding marks once it evaporates. To remove these permanently, apply a tiny amount of almond oil—or any neutral oil—using a brush. This step erases the sanding marks and leaves your miniature looking smooth and showroom-ready. It’s like skincare, but for your minis. If you’re planning to paint your miniature, you don’t need to worry too much about this step, as your primer will cover any small imperfections. But for display pieces, this oil trick can make your raw resin models look flawless.
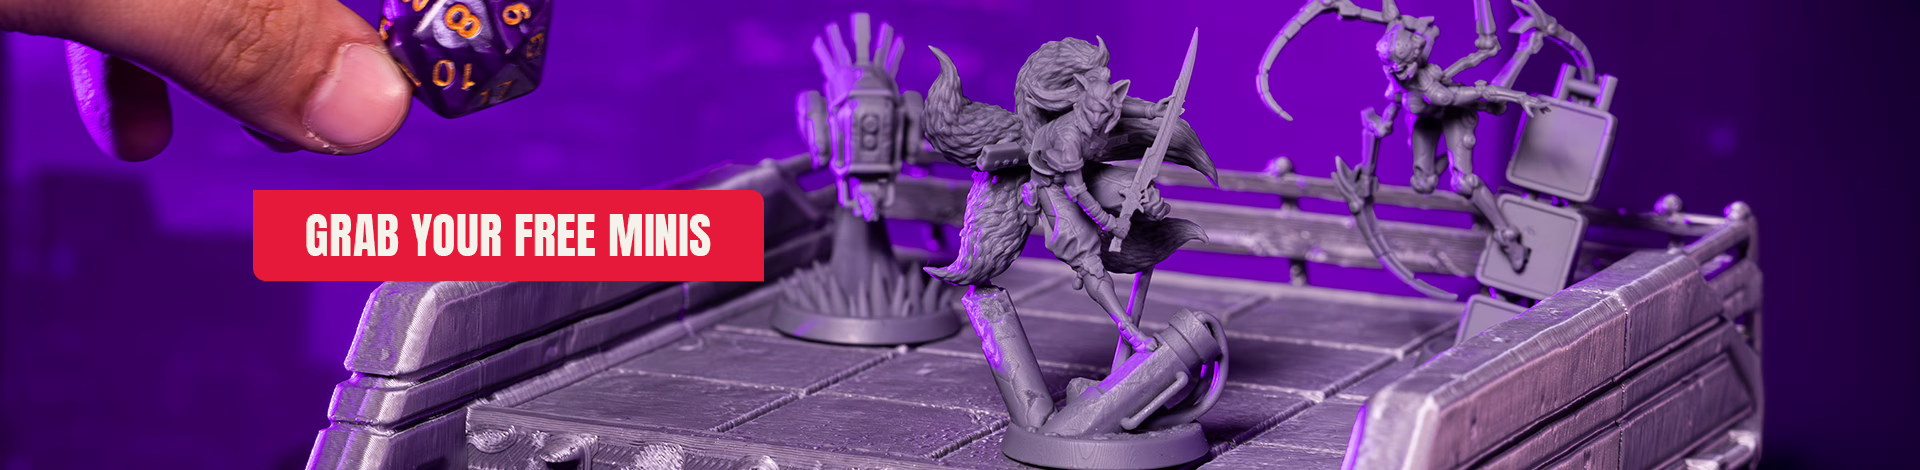
If you’ve read this far but don’t have any resin miniatures to practice on, don’t worry. Loot Studios offers a Free Mini Pack that you can download right now. It includes high-quality miniatures and terrain pieces you can print and practice your finishing skills on—without spending a cent.
You can go to our YouTube Channel to see more pro tips like these, or if you’re serious about learning more, check out our free 3D printing course: From Zero To Hero. It’s designed to help hobbyists like you become true experts in resin printing and finishing.
Final Thoughts
With these professional finishing techniques in your toolkit, your resin miniatures will stand out on any battlefield, display shelf, or RPG session. From choosing the right sanding tools to mastering gap-filling and perfecting the final polish, every step takes you closer to that professional-level finish.
And remember, at Loot Studios, we’re always here to help you print, finish, and paint the miniatures of your dreams. Download your free minis, join our course, and subscribe for more professional tips and tricks. Happy printing—and even happier finishing!
Loot Studios can help you paint highly detailed minis, statues, and props. Choose your favorite bundle from our previous releases or sign up for Fantasy or Sci-Fi to receive a new bundle every month. You can also check out some tips on our YouTube Channel.

Luiza Romagnoli is an autistic Brazilian woman, journalist, and obsessed with RPG. She has been writing since she can remember, but it was in 2017, posting texts on Instagram, that she began to take it seriously. She has a poetry book published by Patuá Publishing House: sirva o chá. Nowadays, Luiza is a multi-hyphenned professional: she’s a writer, translator, English and Spanish Teacher, and has an RPG stationery store: Papelaria do Aurel. Although having all these jobs almost leave no room for her D&D sessions, she still loves them.