How To Glaze Your Paintings
Layers of Light, Shadow, and Beauty
The glazing technique first became popular during the Renaissance period, when artists decided to experiment more with oil painting and glaze instead of mixing their paint directly on the palette, which allowed them to achieve the soft and realistic tones of portraits and paintings of that period. By adding extremely thin layers on top of the painting, they were able to alter its color and subtly blend shadows and lights. The very nature of glazing encourages experimentation, as new thin layers can be added on top of each other and drastically change what the artist first envisioned.
Nowadays, glazing is a simple and fundamental blending technique that is usually recommended for all painting enthusiasts, for many kinds of paintings, and not exclusively for oils. This technique consists of controlling thin layers of paint to blend tones, changing the chroma, value, hue, and texture of a painting or surface. Acrylic and oil paints are still common today, albeit less seen on the canvas and more on miniatures, persisting in the hearts of hobbyists and professionals alike and enduring the rapid advances of our digital world. Here’s how this ancient technique can help with making miniatures look more professional.
What is Glaze Painting?
Glaze painting is the technique of applying a very thin, transparent layer of paint over a dried, opaque base coat. Think of it like a piece of stained glass. You’re not covering the color underneath; you are tinting it. This is the opposite of a base coat, which is designed to be opaque and cover everything.
Glazes are used for many reasons:
- To smoothly blend two different colors.
- To subtly change a color’s hue (e.g., make a red cloak “warmer”).
- To deepen and enrich shadows with a vibrant, pure color (like a blue or purple) instead of just black.
How to Use Glaze Paint on Miniatures
Alright, you understand the theory. Now, let’s get paint on the model. The great news is that glaze painting isn’t a complex, scary process. It’s just a patient one. Forget the idea of needing to be a master painter; if you can hold a brush, you can glaze. We’ll walk you through it, step by step.
Step 1: Prepare the Base Layer
You cannot glaze over bare primer. A glaze must go over a dried base coat. For best results, you should have your base colors and your first highlights already painted on the model. The glaze will be used to unify these layers.
Pro-Tip: Make sure your base layers are 100% dry. If you try to glaze over damp paint, you’ll just pull it up and create a mess.
Step 2: Mix the Glaze
This is the most important step. A glaze is just two things: a tiny bit of paint and a lot of medium.
Get a Glaze Medium: Don’t just use water. Water breaks the paint’s acrylic binder, which can make it dry chalky and leave “tide marks.” A dedicated Glaze Medium (from brands like Vallejo or Citadel) keeps the paint consistent.
Create Your Mix: On a palette, mix 1 part paint with 4 to 10 parts medium. The ratio isn’t exact. You are aiming for a consistency of tinted water.
Test It: Paint a streak on your thumbnail or a piece of white paper. If it looks like watery paint, it’s too thick. It should look like transparent, colored water.

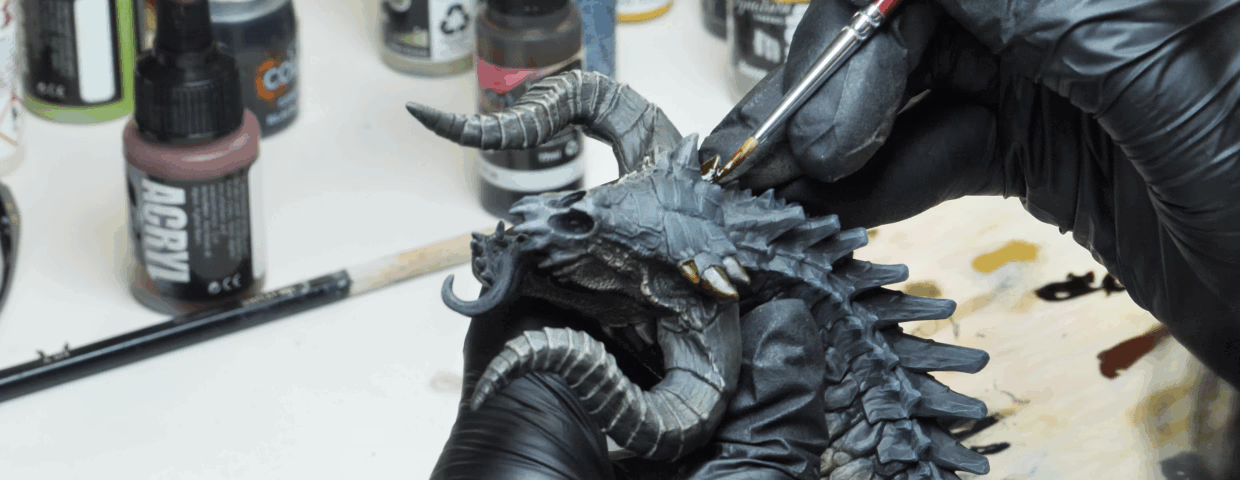
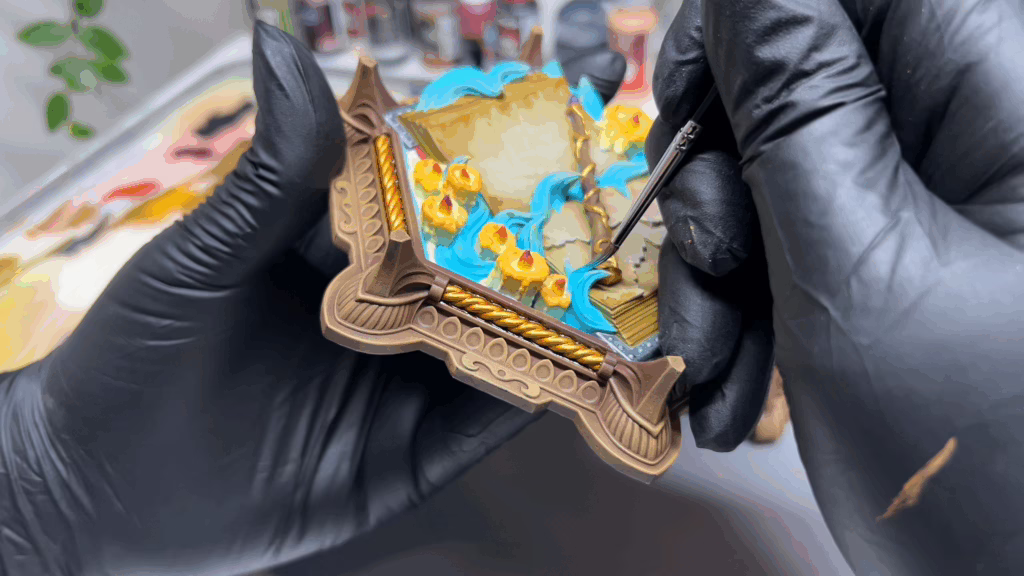
Step 3: Apply the Glaze
This is not a wash. A wash floods a model to find recesses. A glaze is a controlled application. Load your brush with the glaze mix. Wick off the excess. Touch the brush to a paper towel until it’s just damp, not soaking wet. This is the key.
If your brush is too wet, it will pool and create those ugly tide marks. Apply the glaze with a gentle, smooth stroke. Pull the brush towards the area you want to be the darkest. For example, to shade a red cloak, you would pull your purple glaze into the fold.
Step 4: Build Layers
Your first layer will look like… nothing. Don’t panic. That’s correct.
The Golden Rule of glaze painting is patience. You must let each layer dry completely (this can take 5-10 minutes) before applying the next. If you try to paint over a wet glaze, you will just tear up the layer underneath. The magic happens on the third, fourth, or fifth layer. Each transparent coat builds on the last, creating a silky-smooth blend that is impossible to get with any other method.
Step 5: Refine the Glaze
Glazing is also a “magic eraser” for your highlights. Let’s say you painted a shoulder pad, and your highlight looks too stark and chalky. You can mix a glaze of your mid-tone color and apply a thin layer right over the transition. This will instantly soften the blend and make the two colors look like they belong together.
Final Thoughts
Glaze painting isn’t a single, scary technique. Once learned, it’s a fundamental skill that will unlock a new level of painting for you.
The entire process boils down to patience and transparency. Remember to keep your layers thin, let them dry completely, and trust the process. Grab a spare miniature, mix a test glaze, and try it. You’ll be amazed at the results.
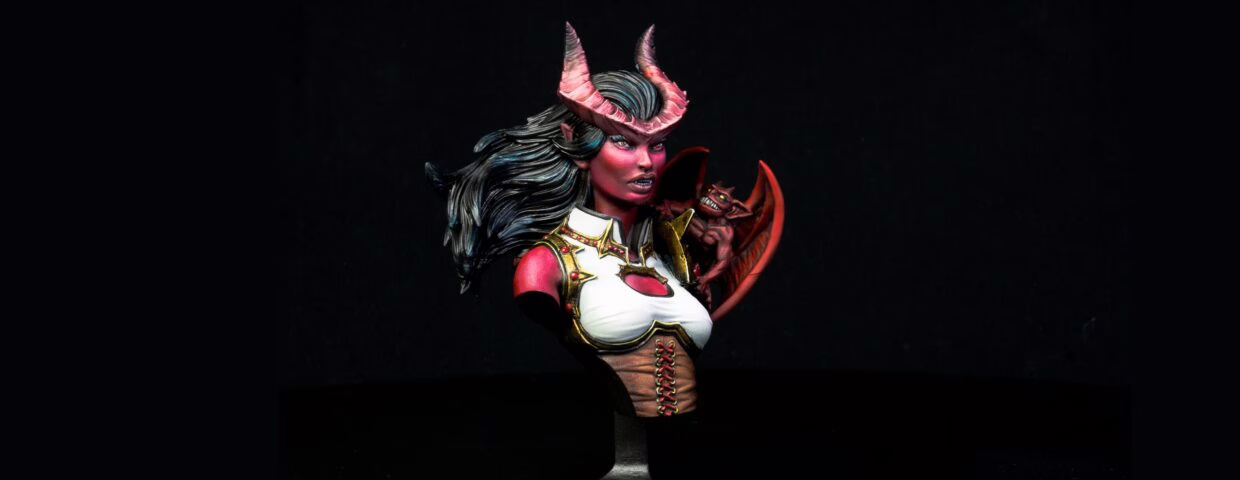
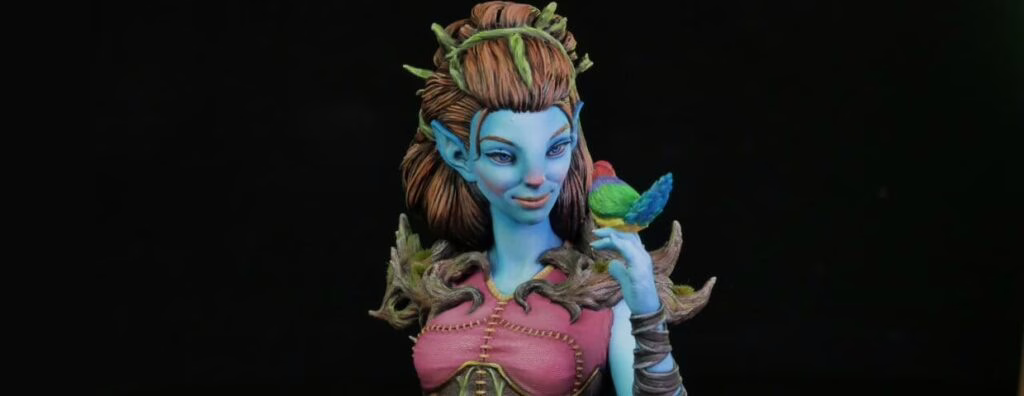
Loot Studios can help you paint highly detailed minis, statues, and props. Choose your favorite bundle from our previous releases or sign up for Fantasy or Sci-Fi to receive a new bundle every month. You can also check out some tips on our YouTube Channel.